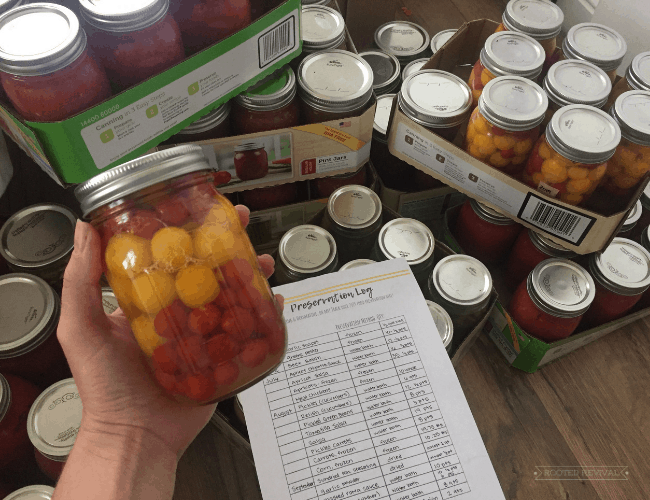
Home canning is a wonderful way to preserve your harvest and increase your self sufficiency. Here are some basics you need to know to get started!
Over the last half a decade, canning has become a part of our everyday lives – especially in the late and summer and fall during the garden harvest! Learning how to can our food has been one of the best things we’ve done as gardeners, homesteaders and people who like to eat! There’s just nothing that feels as satisfying as creating beautiful canned delicacies from your own harvest!
But, canning wasn’t always that easy for us! I vividly remember our first canning experience. We had purchased all of our canning supplies and done the necessary reading. We carefully followed the recipe instructions and – after 8 painstaking hours! – produced 8 pints of marinara sauce.
The sauce was divine! But, looking back now, I can still feel how nervous we were. Not to mention that it took us 8 hours – which is crazy! We still often spend whole days and whole weekends canning, but at least we have more to show for it now!
Home canning is an art as much as it is a science! And the more you do it, the easier it becomes. Soon, it will just be second nature! But there are some very important things to learn. And, if you learn safe canning methods early on, it will make your canning experience that much better!
**This post contains affiliate links. We may receive a commission at no expense to you if you choose to sign up for services using these links. See our full affiliate disclosure here. Thanks for helping support this blog! **
So, let’s talk a little about the basics of safe home canning! In this article, we will cover:
- The risks of home canning
- Safe canning methods
- The importance of acidity
- All about jars, lids & bands
- Storing & using home canned foods
- Where to find info and safe recipes
What are the risks of home canning?
The primary concern with home canning is the growth of pathogens under low-oxygen environments – most specifically, botulism. Botulism spores are present on most food surfaces. However, they are only harmful when they replicate under low oxygen conditions.
There are, of course, a huge variety of bacteria, yeasts and other pathogens that occur naturally on our foods. These food are grown in living soil after all, which is teaming with life!
You can help to reduce the risks associated with these bacterias by washing your produce before canning. However, washing only minimally reduces the bacteria. Peeling crops that grow underground, along with above ground crops like tomatoes, can also help to reduce the amount of pathogens present. Sterilizing your jars in boiling water prior to canning is also vital if you will be processing the jars for less than 10 minutes!
The most important thing you can do to protect yourself and your family is to follow safe canning recipes and practices. These recipes ensure that acidity and heat levels are correct to help reduce these pathogens and keep food safe for extended periods of time.
When canning, use tested, current (after 1990), approved recipes. These are recipes that have been tested to ensure they have a correct acidity level to keep your food safe. It’s very important to follow these recipes and measure your ingredients! I rarely use a recipe when cooking, but when it comes to canning, I don’t take any chances! Even substituting or changing the amount of lower acid ingredients (like onions and garlic) in a mix can hazardously impact the acidity level of the whole recipe.
Safe Home Canning Methods
There are two primary canning methods: water bath canning and pressure canning. These are the only two safely approved methods of canning.
Water Bath Canning:
Water bath canning is the easier (or maybe just less intimidating) of the two methods. The equipment is also more affordable, making it a great option for beginners. However it is only safe to use for high acid foods (like tomatoes and pickles) or jams and jellies.
Water bath canning involves bringing water to a certain temperature (boiling point) and maintaining that temperature for a period of time in order to process and seal the food in the jars. Since boiling point is different at different elevations, you will adjust your cooking time accordingly for your elevation (cooking longer at higher elevations).
Click here to read more about how to safely use a water bath canner.
Pressure Canning:
Pressure canning involves a canner that builds up pressure to increase the temperature. This method can heat to a much higher temperature than water bath canning. Therefore, it can safely be used for both high and low acid foods when an approved recipe is followed. Pressure canners rely heavily on the accuracy of the pressure gauge and the seal, which should be checked and tested at least once a year.
Click here to read more about how to safely use a pressure canner.
The Deal with Acidity
Acidity is an important component of all canning methods. Higher acidic environments reduce the opportunities for botulism spores to form. Because of this, high acid foods (pH below 4.6) are safe to can using the water bath canning method.
Tomatoes are a naturally acidic food, which lowers the risk of botulism forming. However, tomatoes are borderline acidic and their acidity levels vary based on the tomato variety. This is why we add bottled lemon juice to tomato-based foods in order to safely increase the acidity before processing them. Many low acid foods, like carrots and green beans, can be safely water-bath canned when they are pickled because of the addition of vinegar to increase the acidity.
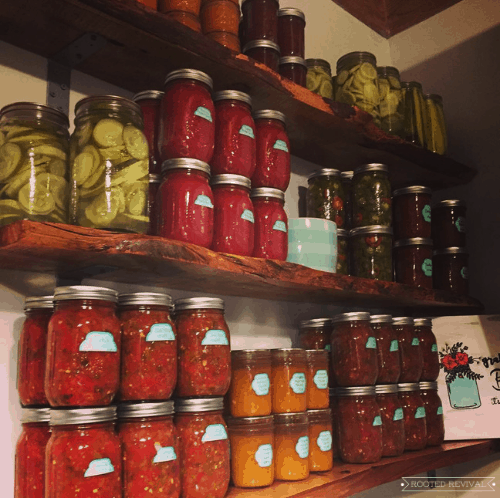
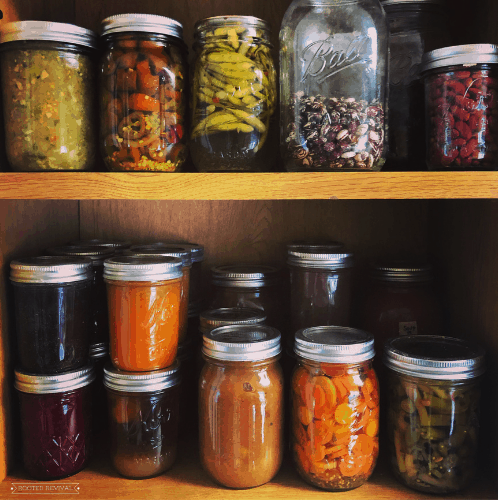
All About Jars, Lids & Bands
Jars:
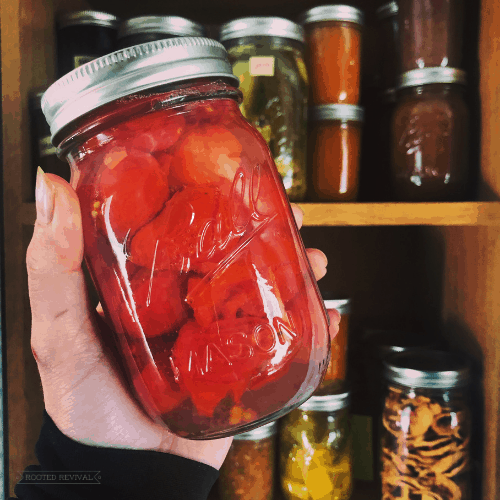
- Mason/Ball/Kerr Jars: The best jars for home canning are those that are manufactured for that purpose. Mason jars (manufactured by Ball/Kerr) are the most commonly used home canning jars in the US. They are are tempered to sustain high temperatures. While you can certainly use other glass jars (like pasta sauce or mayonnaise style jars), they generally have a higher level of breakage.
- Mason jars come in multiple sizes: half gallon, quart, pint and half pint. There are also two “mouth” sizes: regular and wide mouth, which will correspond to the lid.
- You can reuse Mason jars year after year as long as they are in good condition. Always check for your jars for cracks and other issues before canning.
- Wreck Jars: Wreck jars are another type of canning jar. They are most popular in Europe but are gaining traction in the US. They don’t use a disposable lid like Mason jars do. Instead, they use a glass lid with a thick rubber ring that creates the seal. These jars and lids are reusable, but the rubber rings do need to be replaced with each successive canning. Read more about how to use Wreck jars here!
Lids:
- Single Use Lids: The most common lids used in the US are manufactured by Mason/Ball/Kerr. They have a gummy layer around the perimeter of the lid and are intended to be used in conjunction with bands/rings to form a seal on the jar.
- It should be noted that older lids produced by Ball had BPA in them. As of 2015, the BPA component was removed and the lids are now BPA-free.
- These lids are intended for single use and should not be reused. If you absolutely must reuse your lids (I have done it during the 2020 pandemic due to the shortage of canning supplies), take extra care checking the seals. There is a much higher likelihood that the seal will fail if you reuse lids.
- Reusable Lids: There are also canning lids that are manufactured to be reused. The most common brand of reusable canning lid is Tattler. Tattler lids work well when used correctly, but it can take some practice to get used to applying these lids correctly. These offer a good solution to having to buy lids each year. After the pandemic canning supply shortage, I started purchasing some Tattler lids and I’m looking forward to trying them this year.

Bands/Rings:
- Canning bands/rings are intended to be used in conjunction with single use canning lids (Ball/Kerr). The bands hold pressure against the lid to keep it in place during the canning process.
- These bands can be reused if they are in good condition (no dents or rust). You can purchase replacement lids with or without bands.
- Hint: Once you have a supply of rusted or dented bands, you can give them new life by making a wreath with them! Here’s how!
- Bands can be removed 24 hours after the canning process and are not necessary for storage.
Storing & Using Home Canned Foods
Light & Heat:
Proper storage will help keep your food fresh for longer. It will also keep it safer! Heat and light are the main things to avoid since they accelerate the degradation of food quality and color. The best storage place for your canned goods is a cool, dark place that doesn’t receive direct sunlight.
Ideal storage temperatures are between 50-70oF. Warmer temperatures will cause food to loose its quality more quickly. And, if the food gets too cold (primarily if it freezes) the glass jars can crack or break.
Stacking:
Stacking jars may be necessary for storage. But, there is a lot of debate around how to properly stack your jars in order to not disturb the seals. In the past, it was often said that you should not to exceed two layers high and place a layer of thick cardboard between them. However, canning jar manufacturers have more recently stated that stacking has no effect on the seal and there isn’t a limit to layers. You can read more about the debate here.
Either way, if you need to stack your jars, make sure that they are safe and won’t fall! We’ve definitely lost a few jars to poor stacking in the past! Eek!
“Expiration” Date:
It is widely recommended that home canned food be used within 1 year. Now, I’m sure most of us have used home canned foods after a year – I have! But, while these foods may still look safe, it’s hard to gauge whether they truly are or aren’t safe! The quality and freshness of the food will also degrade with time.
For these reasons, it really is best to follow the one year rule of thumb when it comes to using your home canned foods. Either way, it’s important to label and date all jars of canned food. Rotate them in order to use the oldest first and throw out any that may be questionable, cloudy or have loose seals.
Where can I learn more about home canning & get safe recipes?
Extension Offices:
Every US county has an extension office that works to increase cooperation between the general public and governmental and educational agriculture agencies. Your local extension office is one the best resources for all things home food preservation! Most extension offices offer online and in-person classes on how to safely preserve your food in a variety of ways, including canning. In addition to classes, they offer lots of info, resources and recipes to help you get started. Many will even check your pressure canners to make sure the gauge is working correctly. You can even take a series of classes to become a Master Preserver – a.k.a. an expert in home food preservation!
National Center for Home Food Preservation:
The National Center for Home Food Preservation is the division of USDA that specifically deals with food preservation. They work with local and federal government agencies to further education and science-based safety protocols for safe home food preservation. Their website is full of resources to help the home canner, including this huge reference document all about home canning!
Ball Blue Book Guide to Preserving
We would be lost without our Ball Blue Book Guide to Preserving! We’ve had it for years and the pages are stained and puckered showing how loved it is! It’s packed full of recipes to help you safely can (pressure canning and water bath canning), freeze and dry your food. It also includes all the basics you need to know to get started.
Trusted Websites
There are some great websites that prioritize safe canning methods. When using online recipes, always make sure to refer back to basic canning safety guidelines to evaluate the recipes. If in doubt, use a similar recipe that you know has been tested to be safe or at least increase the acidity to a safe level.
Some of my favorites websites for safe canning recipes are:
-
- Fresh Preserving – this is the Ball/Kerr website and it has lots of advice and recipes!
- Food in Jars
- Simply Canning
- Well Preserved
- Putting Up with Erin
Pin this post!

