DIY garden shade ideas—those four words became our lifeline during one unforgettable summer. You know the kind of heat that seems to soak into everything, making you wonder if your garden will make it through another day. Gosh, I remember walking out one afternoon and finding our tomatoes looking half-baked right on the vine. Seeing them wilt under the relentless sun made my heart sink—we’d worked so hard, and now it felt like we were losing the battle…
We had so many questions:
- How can we protect our plants from the harsh sun?
- What are the most effective DIY garden shade ideas?
- Can we create shade without breaking the bank?
This article is here to answer those questions and more, offering practical, creative ideas that anyone can try, regardless of gardening experience!
Our little garden had been our pride and joy, a testament to what two determined people could achieve with a bit of dirt and a lot of love. We’d learned everything as we went, through trial and error, and while it was incredibly rewarding, it also meant we faced some pretty steep learning curves. But nothing—and I mean nothing—prepared us for how unforgiving that summer sun could be… We needed shade, and we needed it fast!
So, we rolled up our sleeves and got to work, determined to save our plants. We didn’t have the luxury of time or a big budget, but what we did have was a whole lot of creativity and a refusal to give up. We decided to come up with some practical DIY garden shade ideas that anyone could try, even if they were just starting out like we had been. Our sun-scorched tomatoes began to bounce back. It was a relief 😮💨 But more than that, it was proof that with a bit of ingenuity, we could make our garden thrive, even under the harshest conditions.
Creating shade means providing your plants with the right environment to flourish. Research from the University of California shows that too much direct sunlight can lead to sunscald and reduce yields. That’s why we started experimenting with different shading techniques—simple, effective methods that even complete novices could tackle.
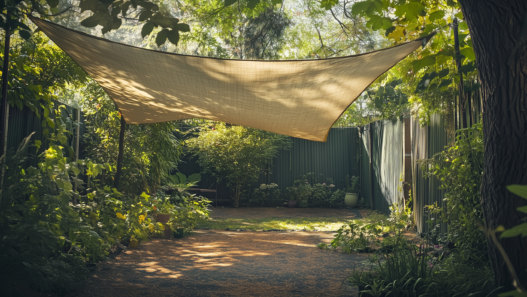
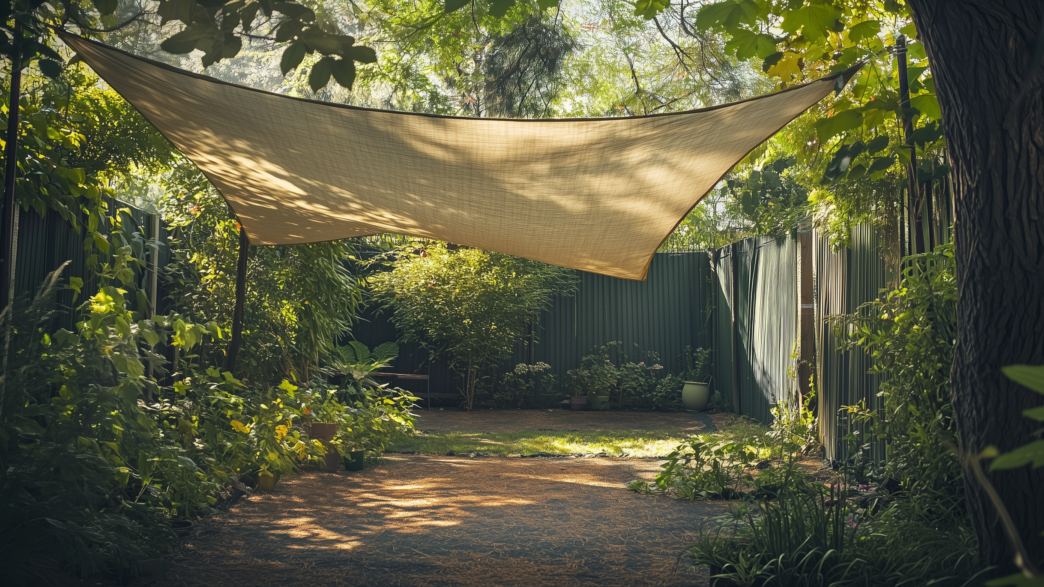
Shade cloth tents: a simple and affordable solution
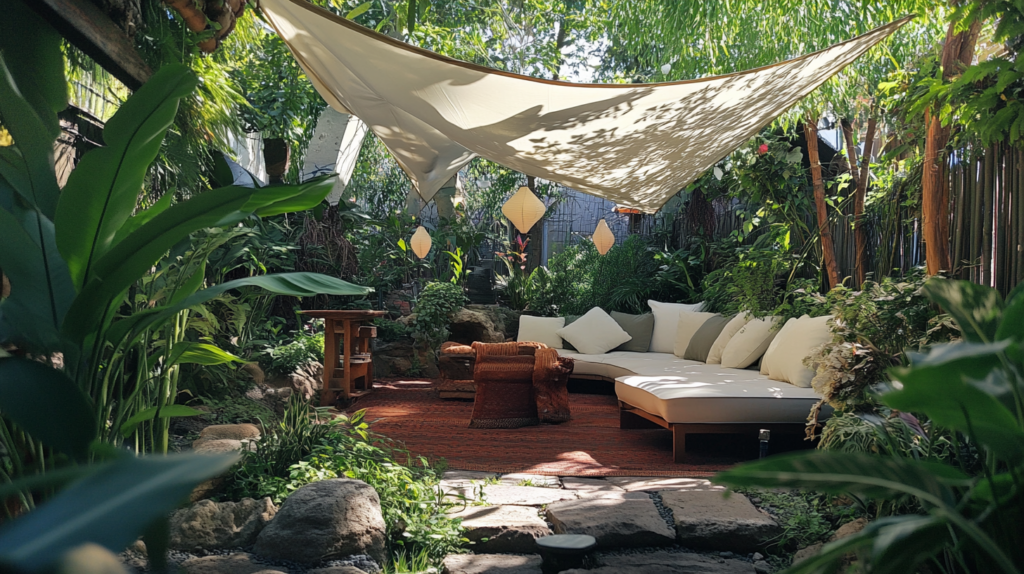
One of our first experiments was setting up shade cloth tents. Don’t be fooled by the term—it’s much easier than it sounds. Here’s how we managed it:
- materials needed: some shade cloth (we went with 40-60% density), a few PVC pipes (are also good for making garden arcs_, and zip ties.
- step-by-step: we cut the shade cloth to size, then used the PVC pipes to create a basic frame—think of it as a mini tent for your plants. The cloth was secured with zip ties, ensuring it was taut enough to withstand the wind.
- our experience: after setting it up on one particularly scorching day, the difference was immediate. The soil retained moisture better, and the plants seemed to relax in the newfound shade. And, maybe, just maybe, we found ourselves taking a bit of refuge under there too.
Pallet structures: repurposing what you’ve got
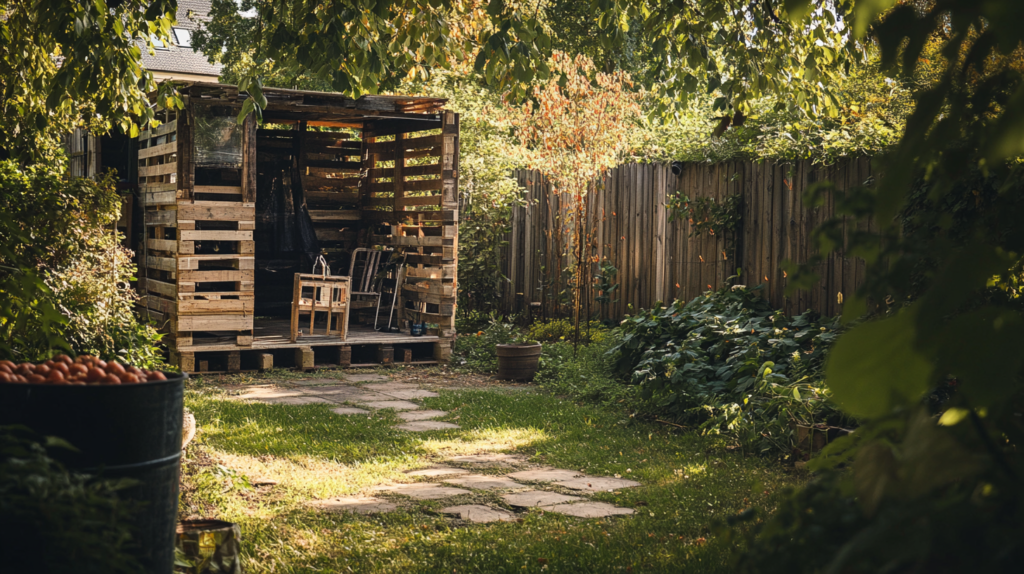
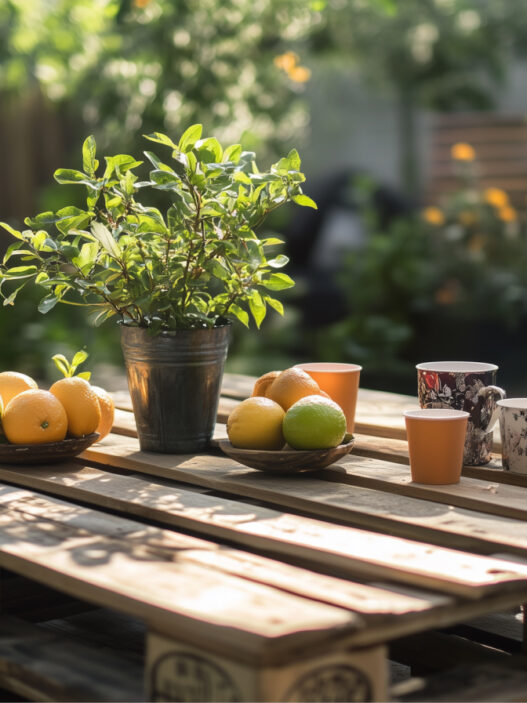
Next, we turned to old pallets we had lying around. They’re sturdy, easy to find, and perfect for creating quick shade structures without spending a dime. Here’s how we did it:
- materials needed: old pallets, screws, and some outdoor fabric if you want to add extra coverage.
- step-by-step: we arranged the pallets vertically to form a barrier. If you want to get fancy, you can add some wheels for mobility or drape fabric over the top for additional shade.
- our experience: we loved the rustic, resourceful look it gave our garden, and it provided just the right amount of shade. Plus, there’s something incredibly satisfying about reusing materials that would otherwise go to waste. It quickly became our go-to spot to escape the sun while we worked.
Living shade: let nature do the work
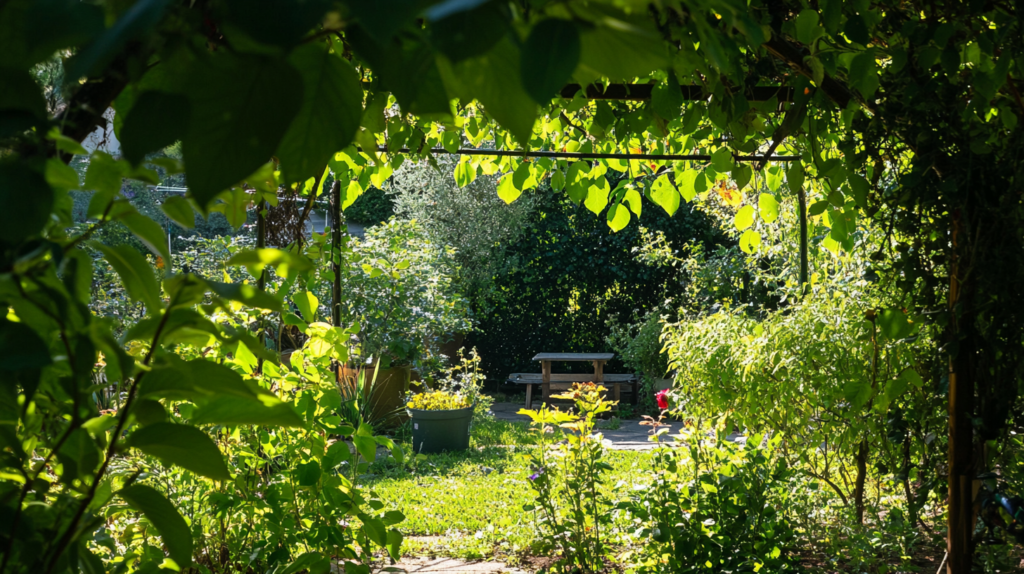
Finally, we decided to let the plants themselves help with shading. By planting fast-growing climbers like beans or cucumbers, we created a natural, living shade canopy. This method was not only effective but also gave us double the harvest. Here’s how to create your own:
- materials needed: a trellis or any support structure, and your choice of climbing plants.
- step-by-step: plant your seeds or seedlings at the base of the trellis, then guide the vines as they grow. Before long, they’ll create a leafy canopy that offers both shade and a bountiful harvest.
- our experience: watching the plants grow and provide shade felt like nature was giving us a helping hand. We didn’t just get shade—we also ended up with more veggies than we knew what to do with. And maybe, just maybe, we found ourselves marveling at how something so simple could be so effective.
How to choose the right shade solution for your garden
Of course, not every shade solution will work for every garden. It’s important to consider what you’re growing, where you’re located, and how much sunlight your garden gets throughout the day. When we first started, we had to figure out what worked best for each part of our garden. For instance, our leafy greens needed more shade, while our tomatoes were happy with just a bit of midday cover. By tailoring our shade solutions, we managed to create the perfect environment for each type of plant.
Research from Oregon State University highlights the importance of understanding your garden’s microclimates—small areas that might have slightly different conditions than the rest of your garden. By paying attention to these microclimates, we could decide which areas needed more shade and which could handle a bit more sun. If you want to dive deeper into this concept, check out our article on how to start your garden.
