There are so many seed starting containers to choose from! Here’s the run-down on picking the best option for your seeds and a quick look at how to properly fill the containers with soil before planting.
When it comes to starting seeds, one of the first decisions you need to make is deciding which containers to use. Picking out seed starting containers might not be as fun or glamorous as picking out seed packets, but it is super important!
There are endless varieties of containers, pots, blocks, cups and trays that you can use to start your seeds! Honestly, the choice is yours!
In this post, we will chat a bit about all the options available! Then, we will dive into the best ways to fill your containers and prep them for use!
More of a visual learner?
Here’s a video I made last year (originally posted to my Instagram IGTV) with a quick overview of some different container options as well as instructions for the easiest ways to fill those containers with soil.
[mv_video doNotOptimizePlacement=”false” doNotAutoplayNorOptimizePlacement=”false” jsonLd=”true” key=”fibfzxkbdwrzvptlhw8k” ratio=”16:9″ thumbnail=”https://mediavine-res.cloudinary.com/v1617049752/qrh0szhnj3wnxzoeenon.jpg” title=”Seed Starting: Containers” volume=”70″]
** I may receive a commission at no additional cost to you from purchases made through links in this article. Full Disclosure Link**
Considerations When Choosing Seed Starting Containers:
When choosing containers for your seeds, feel free to try out different styles and sizes of containers to find the best options to fit your needs. When choosing your containers, some factors to consider include:
Durability:
Buying new containers each year is not only expensive but also a hassle. Investing is quality containers that can be used over and over is always a smart move.
Sustainability:
Gardening is (or at least should be) a sustainable practice. Your sustainable garden starts with your seeds! Choose durable, eco-friendly materials whenever possible.
Expense:
Investing in quality containers is a great idea. But, you definitely don’t need to spend a fortune on your containers! Start small, buy durable pieces that will last and add to your collection over time.
Number of plants you want to grow:
Depending on how many seeds you are starting, certain containers will be more ideal. For instance, peat pots would be good for starting 20+ seeds, but they might not be the best option if you are starting 200+ seeds! Cellular trays or soil blocks would be better choice for larger amounts of seeds.
Amount of growing space available:
Consider how much growing space you have available before choosing your containers. For instance, if you only have a small table, you will want to start with smaller containers that you can pot up from once the seeds sprout. Using smaller containers for germination will save you space and allow you to start more seeds in a smaller area. As they grow, you can pot them up and move them into a different space, like a greenhouse.
Ease of use:
Not all containers are created equal! For instance, some containers, including smaller flats of cellular trays can be a bit difficult when it comes time to remove your seedlings. And soil blockers require a bit of a learning curve. While they are both great options, it’s important to ensure that your containers match your skill level. Starting with individual containers, or even peat pots that can be planted directly in the ground, could be a good option for your first garden to keep things easy.
Types of Seed Starting Containers:
With endless options for seed starting containers, it can be hard to know where to start! Here is a quick look at some of the more popular options available, along with the pros and cons of each:
Biodegradable Pots
Biodegradable pots are small pots made from biodegradable material, such as peat, coir or even manure. They are usually available in a variety of sizes and shapes. These pots are designed to be planted directly into the soil with your seedlings. Because of this, you will have to purchase more for each new set of seeds.
I have used biodegradable pots just a few times when I first started gardening. In my opinion, they either didn’t break down well enough in the soil (tearing back the sides of the pots will help this) or they broke down way too fast, before I was ready to plant out! They can also have the tendency to get mildewy if they are kept too damp. I wouldn’t use these regularly because it just isn’t sustainable for the amount of seeds that I start on a yearly basis. But, they do work fine if you are looking for an easy way to start a smaller amount of seeds.
Buy biodegradable pots:
Jiffy Pellets or Soil Pods
Jiffy pellets or pods are small compressed soil pellets (or pods). They expand when you moisten them and you can plant directly in the resulting soil pod. Many even come with a plastic container designed to hold the pods. Similar to biodegradable pots, Jiffy pellets or pods are designed to be planted directly into the soil with your seedlings, so you will need to purchase new ones each time you plant.
This is another good option for beginner gardeners, designed to make the process super easy. All you have to do is add water and seeds! You won’t even need to buy soil! One drawback is that you will need to purchase new pellets/pods each time you start seeds.
Buy Jiffy Pellets and soil pods:
Plug Trays (aka seedling flats or cellular trays)
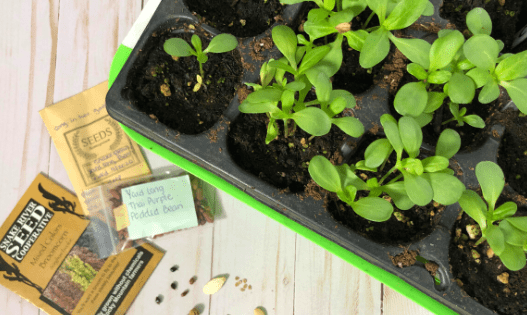
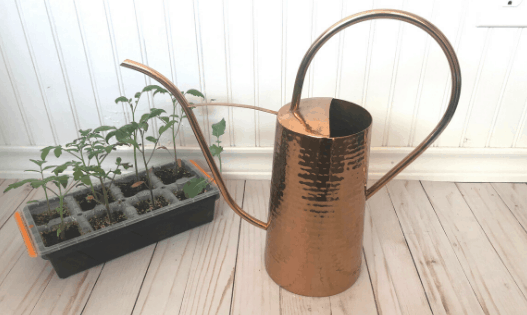
Plug trays offer a bunch of small individual cells that are all connected to each other. Most of the flats or trays are plastic and come with some sort of water catchment tray to go underneath the cell trays. These allow the roots to soak up the extra moisture that leaks out after watering. They are generally very affordable and can be washed and reused for several years.
These are my go-to for starting seeds. They allow me to start a large amount of seeds in a small space, maximizing the room in my seed starting cabinet. Once my seedlings are big enough, I pot them up into repurposed pots or Solo cups and move them out to the greenhouse. I sanitize the trays at the end of each season using a 1:10 bleach-water solution and reuse them. One disadvantage is that with larger cell trays, it can be hard to access individual cells to remove certain plants, especially the middle cells.
Buy plug trays:
Repurposed Starter Pots
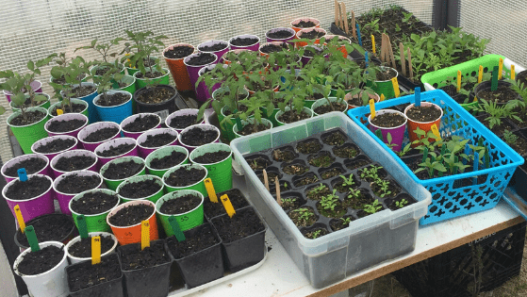
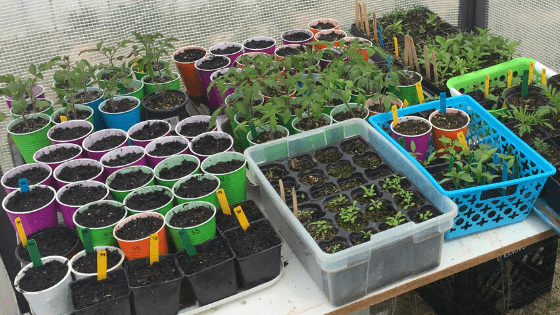
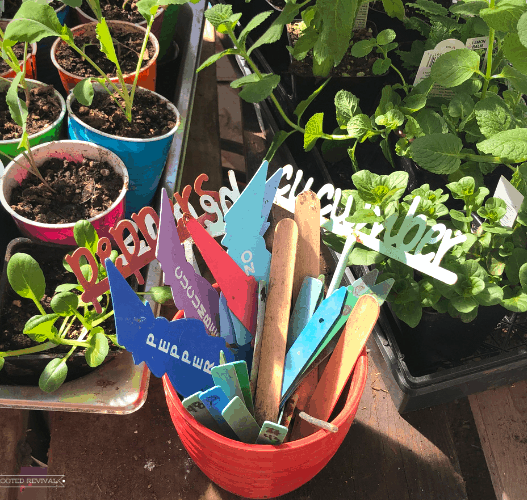
Every time that you buy plants from the store or nursery, be sure to save the pots! You can never have too many after all! These pots can be purchased new as well. But, it should be easy enough to source repurposed ones. I often see them on Craigslist for free and many nurseries will also give away their extras. The pots can easily be sanitized in a 1:10 bleach-water solution and reused year after year.
I use these pots every single year and I love that my collection continues to grow! Once my seedlings outgrow their plug trays, I pot them up into these pots. Since I have a large variety of sizes on hand, it’s easy to find the perfect size to house the young plant until it’s ready to be planted in the garden.
Repurposed Food Containers (yogurt, pudding, Solo cups)
Another great way to gather your own seed starting containers for free is to use repurposed food containers. From dairy tubs to Solo cups, there are endless options! It’s also a great way to keep plastic out of the garbage and to save yourself some money. Just be sure to poke some drainage holes in the bottom of the containers before you plant in them.
I try to avoid bringing single-use plastic containers into our lives, but it definitely happens. So I always try to give them a “second life” by reusing them. I have a set of Solo cups that I have reused for about 3 years now for my tomato seedlings! And every large plastic platter or serving tray gets cleaned and saved to use as water-catchment trays under my seedling containers. Repurposing food containers for your garden seeds is a great way to use your resources wisely!
Soil Blockers
Soil blockers are pretty crazy and awesome contraptions. Basically, they are used to compress soil into formed blocks. Think of it as an ice cube tray but for soil! These blocks of soil offer completely plastic-free solutions to starting your seeds – no pot of any kind is needed! Plus, your plant roots will benefit from “air pruning” which means the they won’t risk becoming root bound before potting them up or transplanting them.
Soil blockers are a bit pricy, but a high-quality one will last a lifetime. You may also need to amend or create your own soil mix so that it holds together well. It can take a bit of practice to turn out good soil blocks that hold together! You will also need to water them carefully (from below) so that you don’t wash away the soil block walls. While these may not be the easiest solution for beginner gardeners, they are pretty awesome for the more serious gardener. They come in multiple sizes, depending on how large of soil blocks you want. I suggest starting with the Ladbrooke Mini size which makes four 2-inch blocks (linked below).
Buy soil blockers:
The Best Method to Fill your Containers with Soil:
Now that we’ve looked at several types of seed starting containers, it’s time to start planting!
An often overlooked part of the seed starting process is filling the containers with your soil. Seems simple right? It is! But, there are some tricks to make sure that your soil is ideal for your seeds!
Get the right soil!
The first and most important thing to consider is your soil. Seeds should be planted in light, airy soil that will allow them to germinate easily. In fact, most seed starting mixes are actually soilless for this reason! These special mixes also contain proper nutrient levels for germinating seeds and young seedlings.
I highly suggest either purchasing a high quality mix or you can make your own. Making your own seed soil mix at home is an easy and affordable way to get the perfect mix for your seeds! Here is more info and the recipe that I use to make my own seed starting soil mix!
Properly filling your seed starting containers with soil:
Now that you’ve got the best soil possible, let’s chat about how to fill your containers! You can also check out my video (posted above) for a visual look at how to fill your containers.
- Start with clean, sanitized seed starting containers. If your containers have been used previously, you can soak them in a 1:10 bleach-water solution to sanitize them. Be sure to rinse them well and let them dry before planting in them.
- Begin by dumping your soil into a large container. It could be tupperware container or, my personal favorite, a cement mixing trough.
- Dampen your soil, mixing it as you go. Your soil should be evenly moist. When you grasp it in your hand, it should form a ball that is easily broken when you touch it. It should be damp but not dripping.
- Next, place your seed containers or flats directly into the bin with your soil. Use a trowel to begin piling soil onto your trays or into your containers and spread it over the flat with your hands.
- Gently drop (or “plop”) the container against the bottom of the container a few times. This will help level the soil into the container without compacting it (which can happen if you are pushing the soil into the container with your hands/fingers).
- Continue filling and “plopping” as needed until the container/tray is properly filled. Fill the soil to just below the rim of the tray or container.
- Place a water catch tray underneath the containers or seed trays and you are now ready to plant!


My husband and I are going to try starting seeds for our garden this year. I was just thinking I needed to figure out what to start them in, so your post had great timing!
Oh wonderful! There is definitely a learning curve with seeds, but you won’t regret spending the time to master it! 🙂