Growing seeds is both a science and an art. Over the years, I’ve learned (sometimes the hard way) that small changes can have a big impact on seed germination conditions, plant health, and the overall well-being of different crops. Whether you grow seeds outdoors or prefer a greenhouse, these 25 tips for seed starting will, I’m convinced, set you up for big things.
Seed Starting Outdoors. Best Practices for a Successful Start
1. Choosing the right seeds for planting outdoors
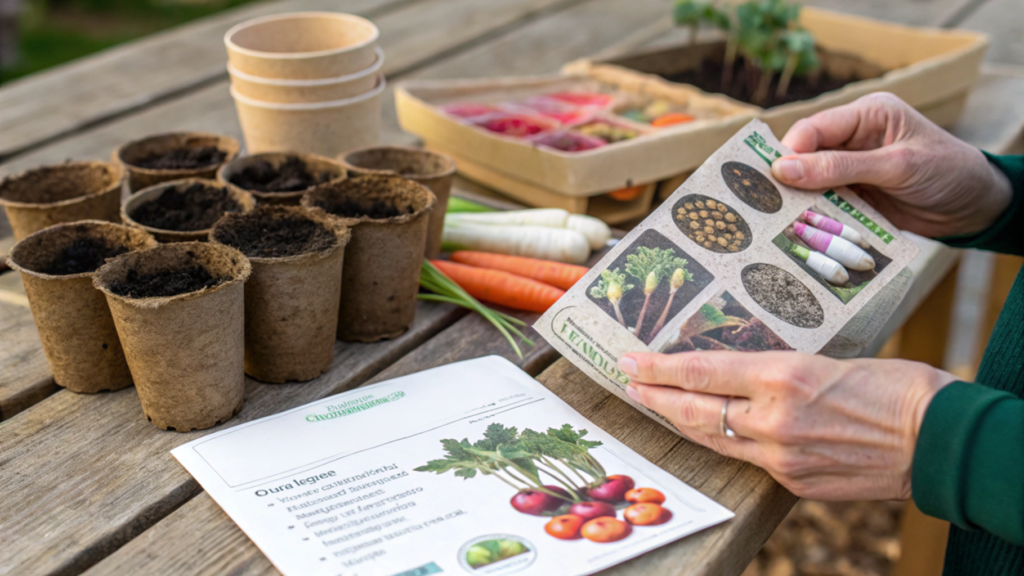
As you know, not all plants like transplanting. Some seeds are better planted straight into the soil, bypassing the seedling stage. This applies to root crops (carrots, beets, radishes, parsnips), legumes (beans, peas), as well as some flowers (poppies, nasturtiums).
This point is very important to take into account, because these plants have a sensitive root system, and transplanting can slow down their growth or even destroy the seedlings. To avoid a mistake and make sure whether you can plant seeds directly into the ground, carefully read the packaging. Manufacturers, as a rule, usually usually indicate this point.
What should I do if I need to transplant?
If you need to transplant the plant, but we you know that it does not tolerate transplanting well, use peat pots or paper cups. You can plant seedlings in them and then just plant them in the ground with the container without disturbing the roots.
2. Warming the soil before planting – the secret to fast germination
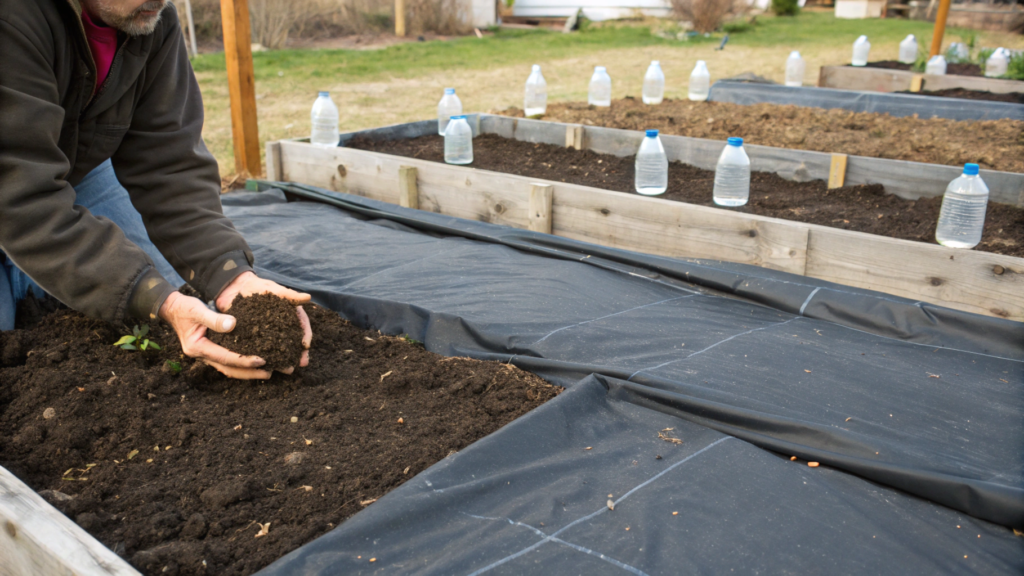
In spring, the soil is often too cold and the seeds will simply not want to germinate. This is especially true for heat-loving crops (pumpkin, corn, beans). What to do in this case? It is necessary to warm the soil before planting.
Here are a few ways:
- Black agrotextile or film. A week before planting, drape it over the bed and the sun’s rays will warm the soil.
- Hot water bottles. Bury a few plastic hot water bottles under the foil. This works especially well on cool nights.
- Raising the beds. Warm air rises upward, so soil warms up faster in raised beds.
Take a handful of soil in your hand and you’ll know if it’s ready to plant. If the soil feels cool to the touch, it is better to wait. The optimum soil temperature for planting most crops is around 10°C.
3. Improving soil texture for better germination
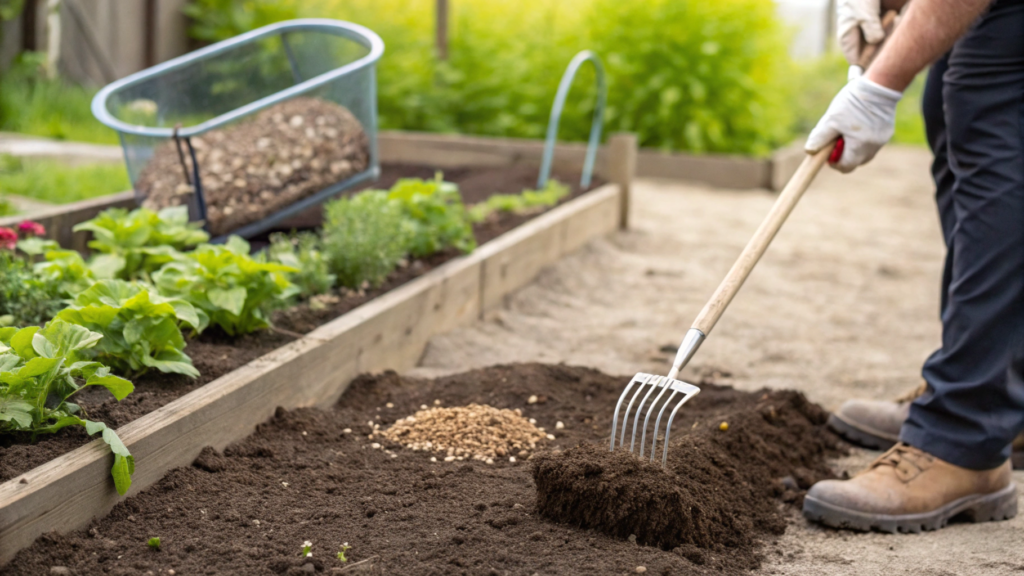
I would like to point out that many people don’t pay attention to this, but soil texture is a key factor in successful seed germination. If the soil is rough, dense, with lumps, then small roots simply will not be able to develop normally.
What to do in this case?
- Before planting, loosen the soil with a rake. It should be soft and airy.
- Add compost or humus. This will improve the structure and nutrition of the soil.
- Use sand. If the soil is too dense, mix it with sand to improve drainage.
To check the texture, just squeeze a handful of soil in your hand. If it crumbles easily, it’s fine. If it clumps, it’s time to loosen it!
4. Water before planting, not afterwards
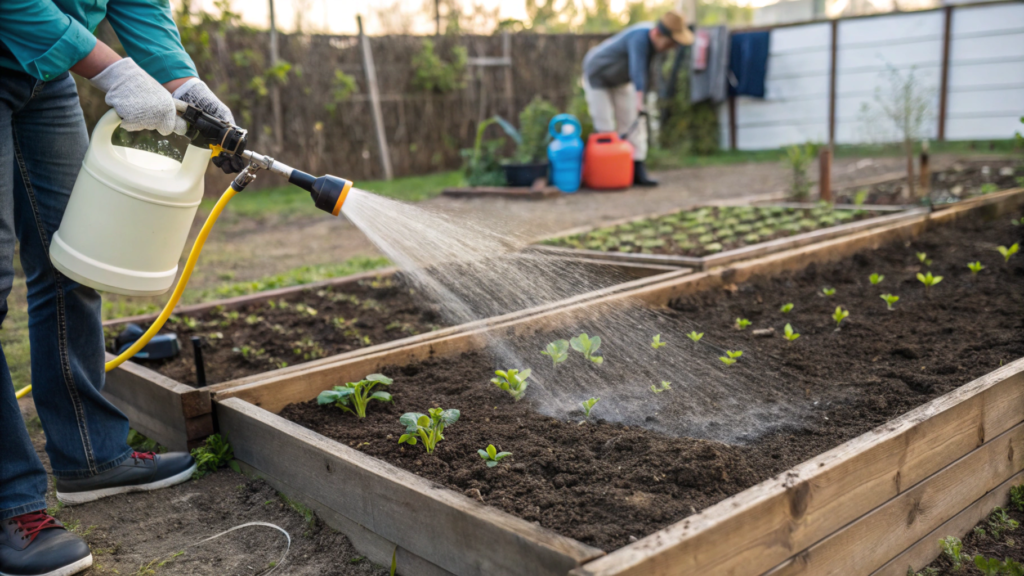
As a rule, most people plant seeds and then water them. But this is a grave mistake! A strong jet of water can wash the seeds deep down and they will germinate unevenly.
It is better to proceed as follows:
- Water the soil a couple hours before planting. It should be moist, but not a muddy mess.
- After planting, use a sprayer. The soft mist of water will not wash away the soil.
- Soak the seeds. If allowed, leave them in water for a few hours before planting. Peas and beans, for example, germinate much faster this way.
5. Creating a microclimate for germination
Seeds germinate better if they are warm and moist. If the temperature drops sharply at night or the wind dries the soil, it is in our power to create a microclimate for protection.
How can we do this?
- Use plastic bottles. Cut them in half and cover your plantings. This will create a mini greenhouse effect.
- Caps from glass jars. Especially useful for delicate crops. Agrotextile. Stretch it over the arcs to create a greenhouse effect.
When to remove the shelter? As soon as the first true leaves appear, plants can be left open during the day, but at night it is still better to leave protection.
How to Set Up a Small Greenhouse for Seed Starting Outdoors
6. Choosing the right place for a small greenhouse
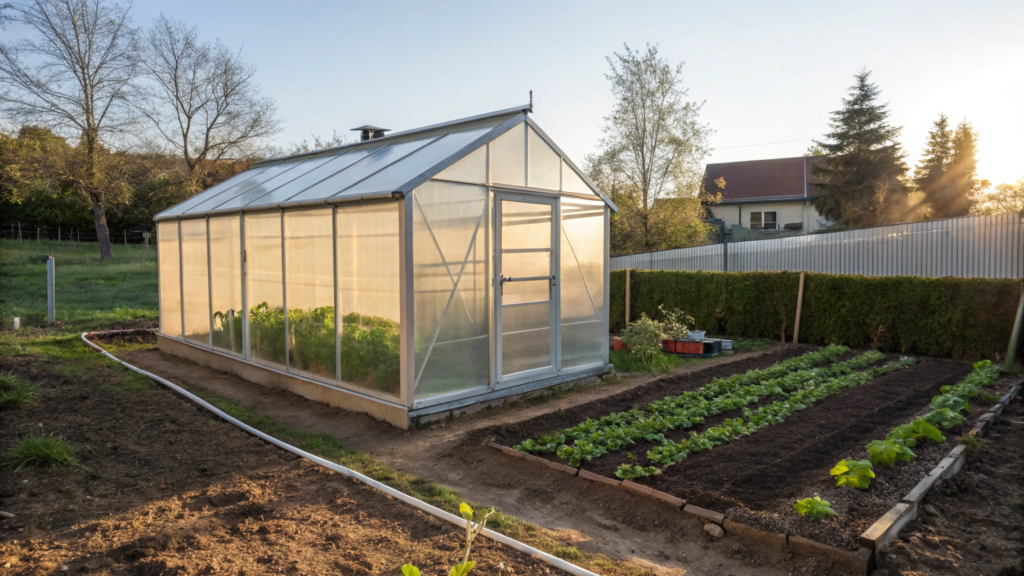
If the greenhouse is in the wrong place, you can be sure that good seedlings will be lost. 70% of success depends on the right location.
How to choose the best place?
A lot of sun. There should be at least 6-8 hours of light per day. If you have the opportunity, orient the greenhouse from east to west. In this case, it will receive the maximum amount of sun.
Protection from wind. It is clear that strong winds cool the greenhouse, reducing its efficiency. If the place is open, plant a hedge nearby or put up wind shields.
Drainage. If water stagnates, mold and disease will appear. Raise the soil level or build small grooves around the greenhouse to allow water to drain away.
7. How to maintain the temperature in a small greenhouse
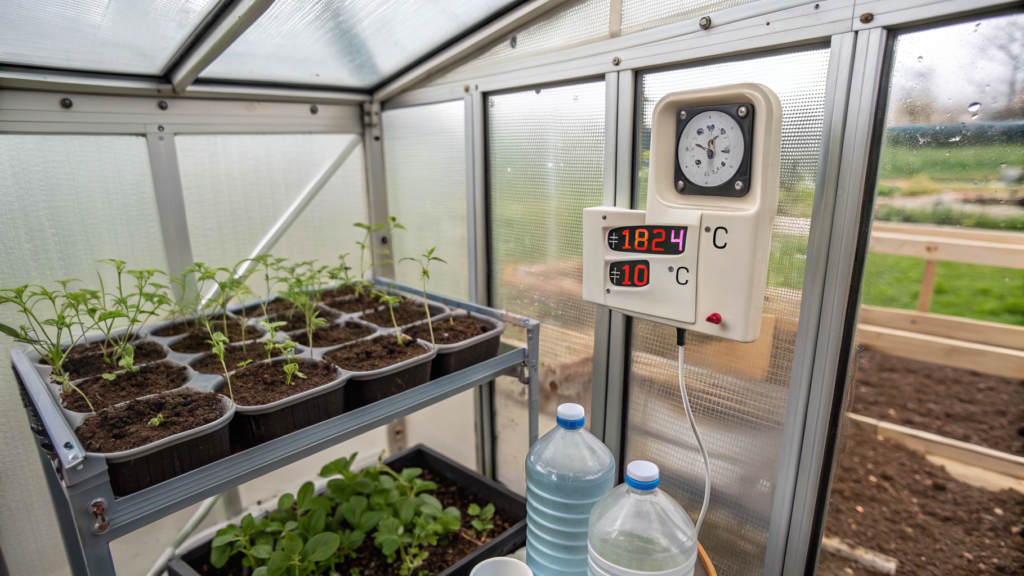
Temperature plays an important role in the rapid germination of seeds. If it is cold at night, seedlings can stunt or even die.
How to keep warm in the greenhouse?
- Water bottle warmers. During the day, water bottles are heated, and at night they give up heat. It’s very simple – the more bottles, the warmer.
- Compost inside the greenhouse. If you put a box of compost in the greenhouse, it will release heat as it decomposes.
- Ventilation. If the temperature is above +30°C during the day, seedlings can burn. If there are no automatic shutters, open windows and doors for ventilation.
Install a thermometer to monitor the temperature. Ideal: +18-24°C during the day and at least +10°C at night.
8. Using heat mats to speed up sprouting
Some seeds (tomatoes, peppers, eggplants) like heat and germinate very slowly if they are cold. In this case, heat mats can help.
How to use them?
- Put the mat under the trays with seedlings and turn it on.
- Maintain +22-26°C for heat-loving plants.
- As soon as sprouts appear – unplug the mat, otherwise the seedlings will stretch out too much.
Tip. If you don’t have a special mat, try putting the trays on the refrigerator. The heat coming from above helps the seedlings to germinate.
9. Additional lighting – when is it needed?

There may not be enough light in the greenhouse, especially on cloudy days. If you see seedlings starting to stretch and become thin, it’s time to add artificial light.
- Use LED phytolamps. They give the right spectrum and save energy.
- Place the lamps at a height of 10-15 cm from the seedlings and adjust as they grow.
- Turn them on for 12-16 hours a day.
Do not use ordinary incandescent bulbs. They warm the air but do not give the right spectrum of light.
10. Humidity in the greenhouse – how to keep it in balance
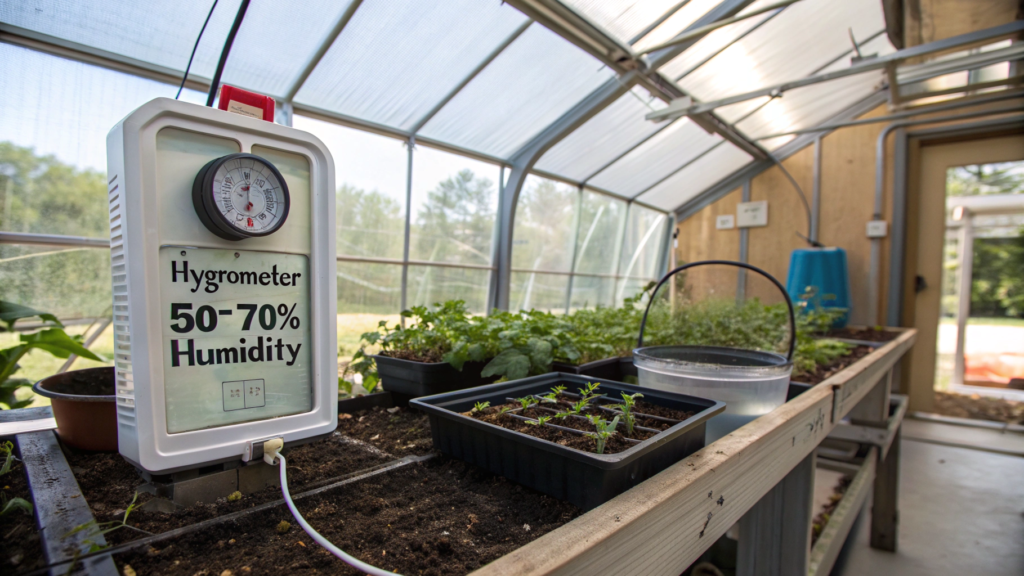
Too dry air slows growth and too humid air causes fungal diseases. The important question is how to keep the right balance?
How do you control the humidity?
- Use humidifiers or simply place a container of water. Evaporation will keep the humidity optimal.
- Ventilate. Open the greenhouse on sunny days to avoid condensation.
- Do not flood the seedlings. If you see mold on the soil, it’s time to reduce watering.
The optimum humidity for seedlings is 50-70%. Check if condensation is dripping from the roof of the greenhouse – it is too humid! It is very useful to have a hygrometer to control the humidity in the greenhouse (here are some good options)
DIY Seed Starting Outdoor Hacks for Zone 5 Gardeners
Greenhouses, cold greenhouses and early sowing of seedlings indoors are important in this zone. If you prepare properly, I’m sure you can successfully grow even heat-loving crops like tomatoes and peppers.
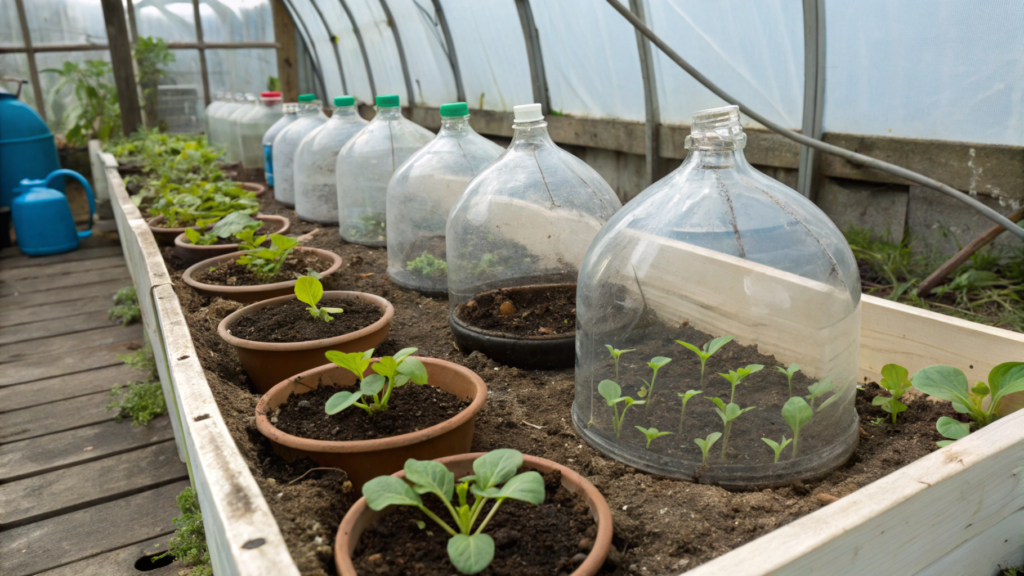
11. Using plastic bottles for mini-greenhouses
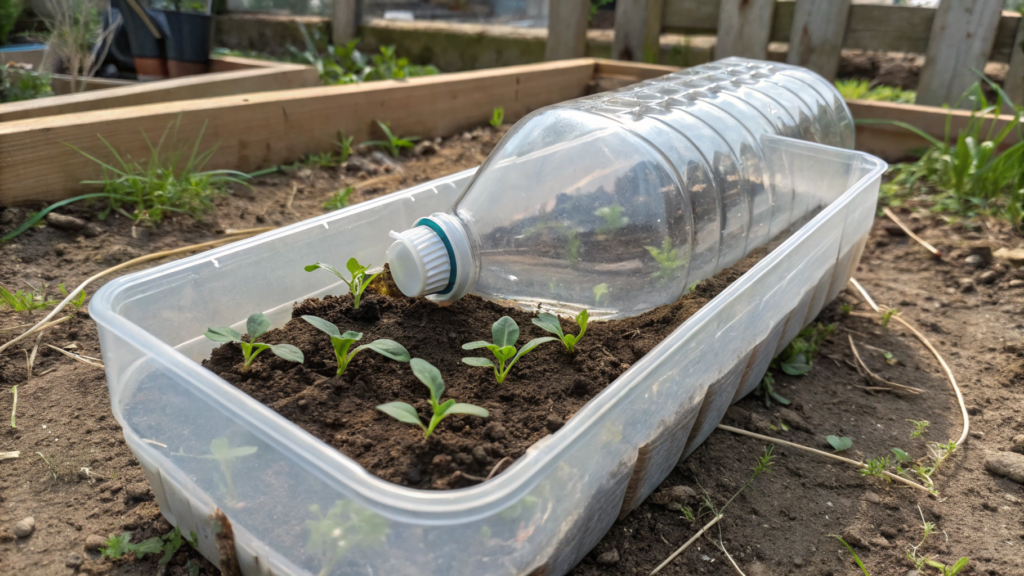
This is one of the easiest and cheapest ways to protect seedlings from the cold.
How to make a mini greenhouse from a bottle?
- Take a 5-liter plastic bottle.
- Cut off the bottom and cover the seedlings.
- Open the lid during the day for ventilation.
Tip. Try digging the bottles deeper into the ground to create a greenhouse effect.
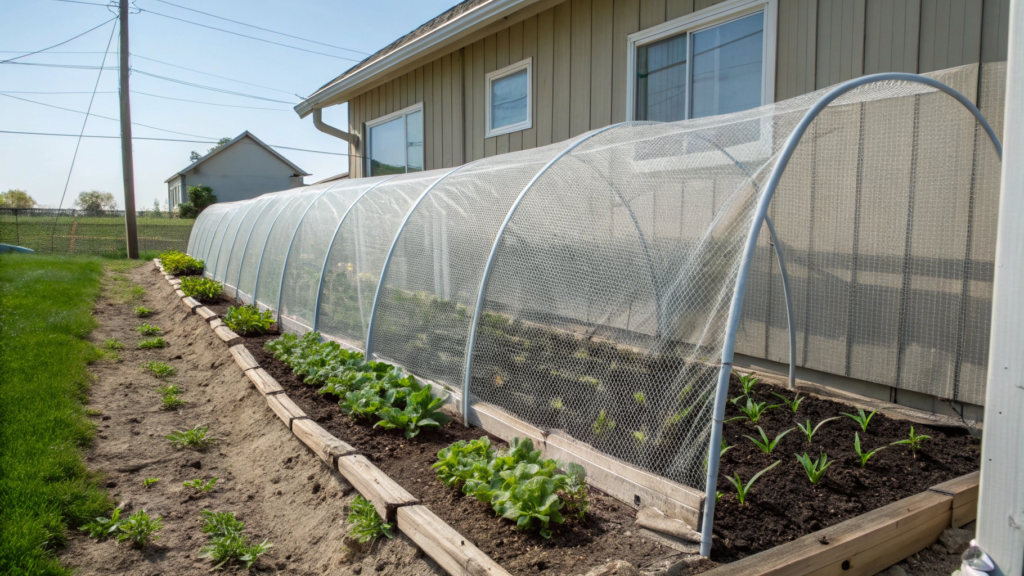
12. The simplest cold greenhouse made from an old window
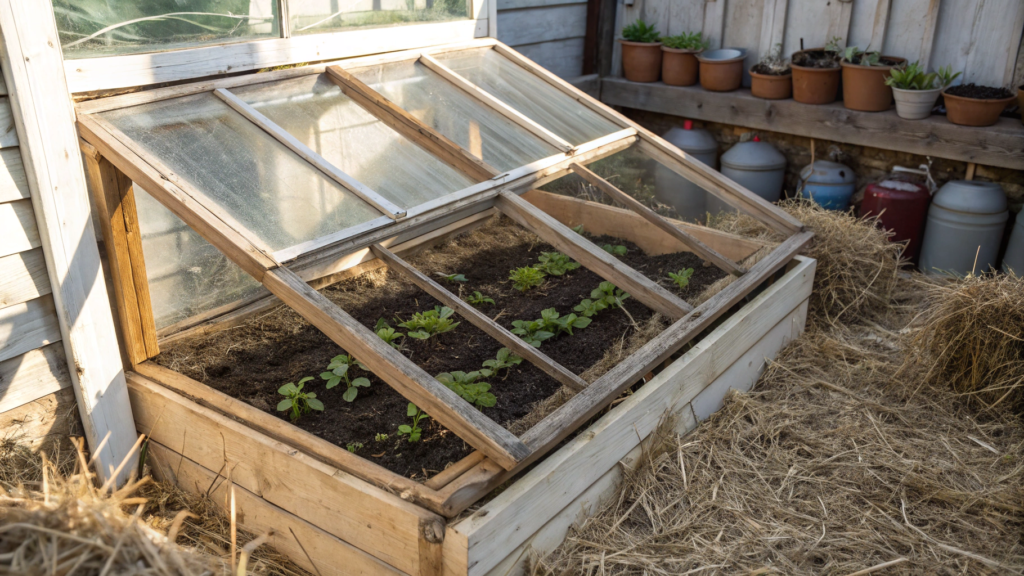
This method is great for gardeners in zone 5, where spring frosts can linger until May. Such a greenhouse helps warm the soil faster and protect seedlings from the cold. For this purpose, you can use an old unnecessary window.
How to make?
- Choose a place – sunny, with good drainage.
- Make a box from boards, bricks or concrete blocks. The height of the front wall is 20-30 cm, the back wall is 30-40 cm, so that the window lies at an incline.
- Fill the box with soil and plant seedlings or seeds.
- Put the window on top, it will create a greenhouse effect.
- During the day, open the window ajar to avoid overheating the plants, and close it at night to retain heat.
Tip. You can additionally insulate the greenhouse with hay around the edges or put water bottles inside. They will be heated during the day and give the heat at night.
Such a simple greenhouse helps to accelerate growth in 2 times and protect seedlings in the unstable spring climate.
13. Using straw or leaves to insulate beds
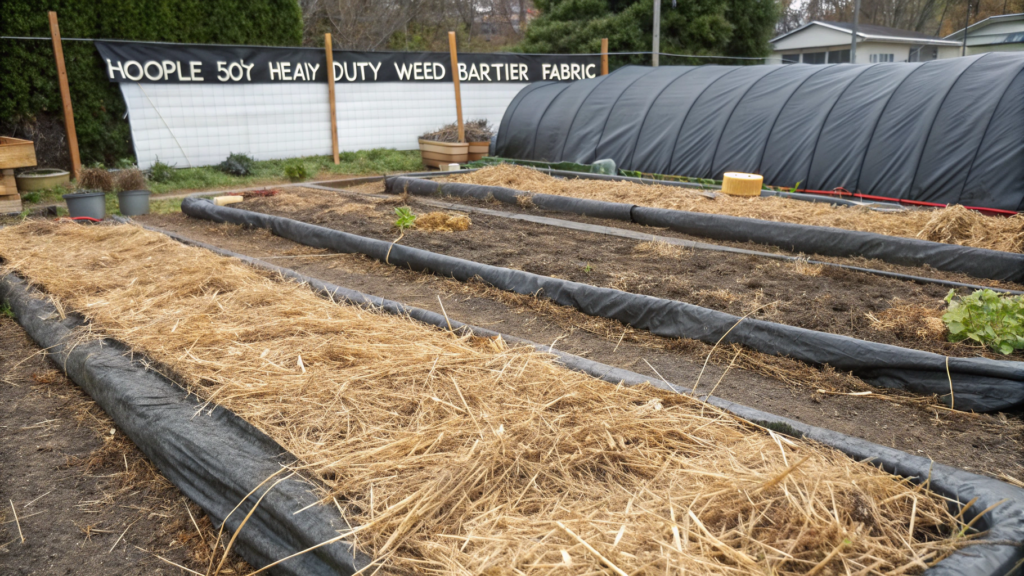
The soil warms up slowly in spring, but there is a flyhack: mulch!
- Cover the beds with straw or dry leaves – they will keep the heat in.
- Do not remove the mulch completely after planting, it will help retain moisture.
- You can use black agro-fabric such as HOOPLE 5oz Heavy Duty Weed Barrier Fabric, which is also great for retaining heat.
Important. Do not cover too tightly or the soil will sour.
14. Beds made of old tires – the heat is retained longer
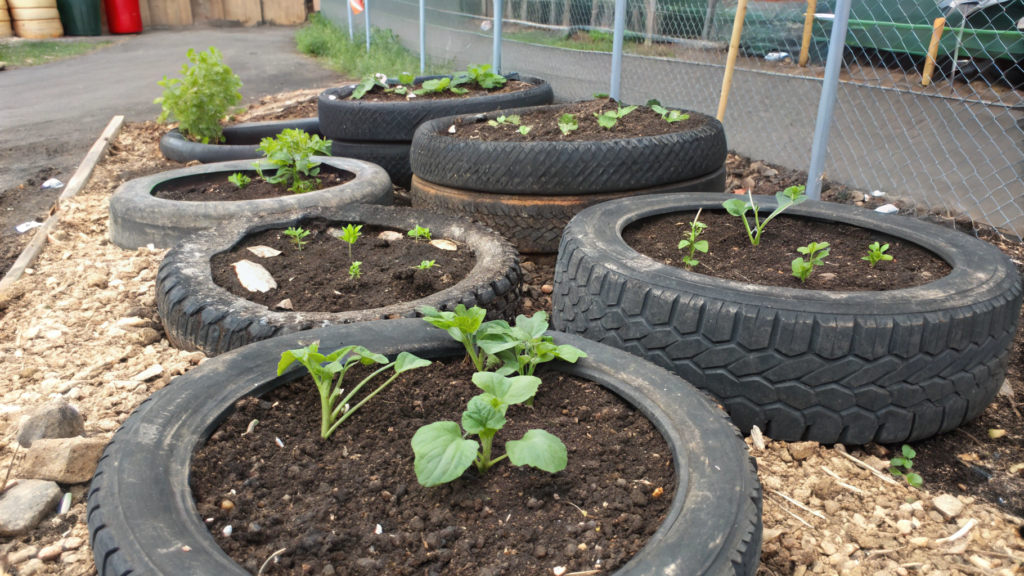
In spring, the ground warms up slowly, but old car tires can speed up the process. They retain heat, creating the perfect microclimate for seedlings.
How to use.
- Find wide tires. Wide tires from trucks or tractors work best, as they give more room for roots. Wash them and remove any possible oil or chemical residue.
- Fill them with a mixture of compost and soil.
- Plant seeds or seedlings inside the tire. Pumpkins, zucchini, potatoes, and tomatoes are great.
Tip. Tires can be painted black to make them more heated in the sun and warm the soil faster. You can also cover them with stones or mulch to retain even more heat.
15. Glass jars – a cheap and effective mini greenhouse
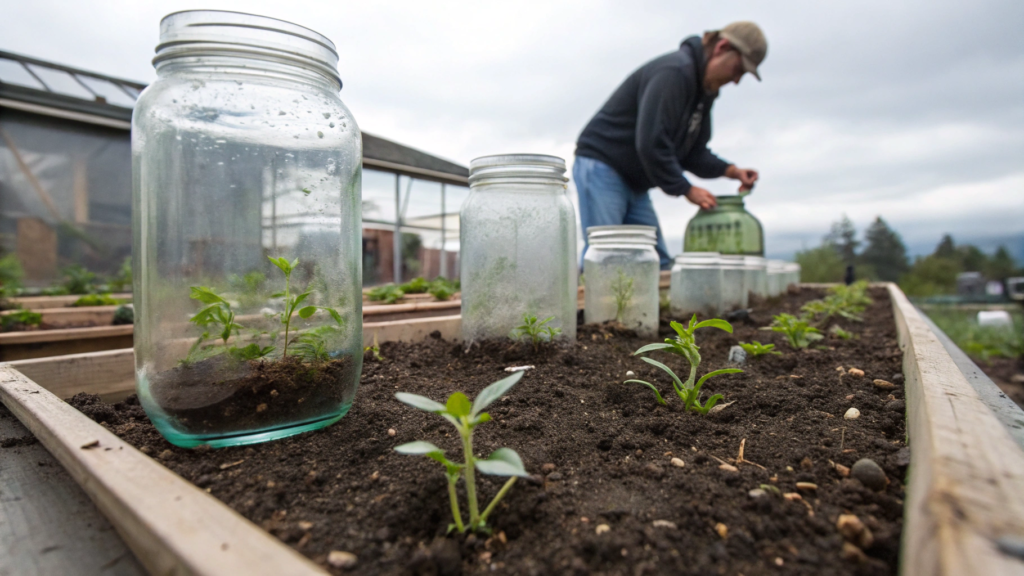
If you have unnecessary glass jars (liter or even three-liter), do not throw them away. They can replace a greenhouse and protect seedlings from frost and cold winds.
How to use?
- Plant the seeds in the ground.
- Cover them with jars, pressing them a little into the soil.
- During the day, if the air temperature becomes higher than +12°C, remove the jars, and at night put them back in place.
Important to remember. If it is very hot during the day, condensation can accumulate inside the jars. In this case, raise them slightly to allow air ventilation.
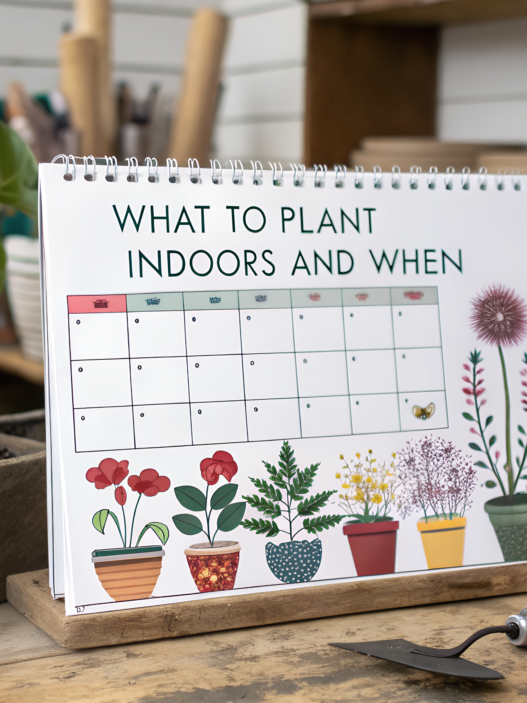
Using a Planting Schedule Chart for Seed Starting Outdoors
16. How to use a planting calendar – plan the season in advance

If you plant everything in a chaotic order, you can waste time and not get your harvest on time. That’s why experienced gardeners always use a planting calendar.
How to make a competent plan?
Determine the date of the last spring frost. In zone 5, this is roughly late April to early May (approximately April 25 to May 5).
Divide crops into groups:
- Plant cold tolerant (carrots, onions, cabbage) starting in early April.
- Heat-loving (tomatoes, peppers) planted after May 10-15, when the soil warms up enough.
Leave room for repeated planting – for example, radishes can be planted every 2 weeks, starting in mid-April, to harvest until summer.
Tip. Use online planting calculators to find out the best planting time in your area
17. Keep a garden journal
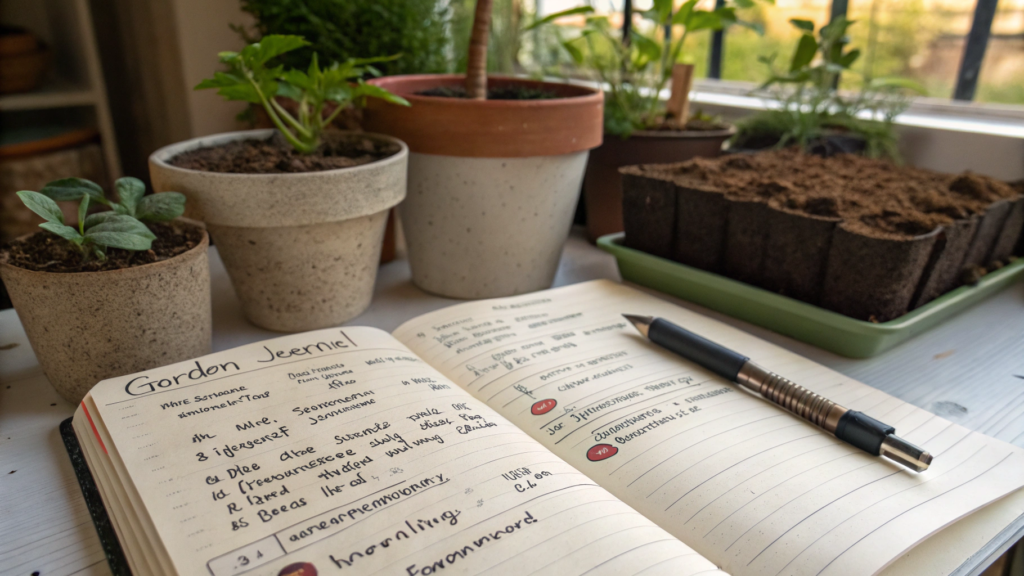
Do you think you’ll remember forever when you planted your carrots or how the seeds of your new strawberries behaved? I assure you, it will be forgotten in a couple months.
Why start a garden journal?
- Write down the dates of planting and sprouting.
- Record which varieties have shown the best results.
- Note the weather and soil conditions. All this will help you plan your crops better in the future.
Tip. If you don’t like paper records, try Garden Planner Apps – handy apps for gardeners.
18. Seed rotation – do not plant everything at once
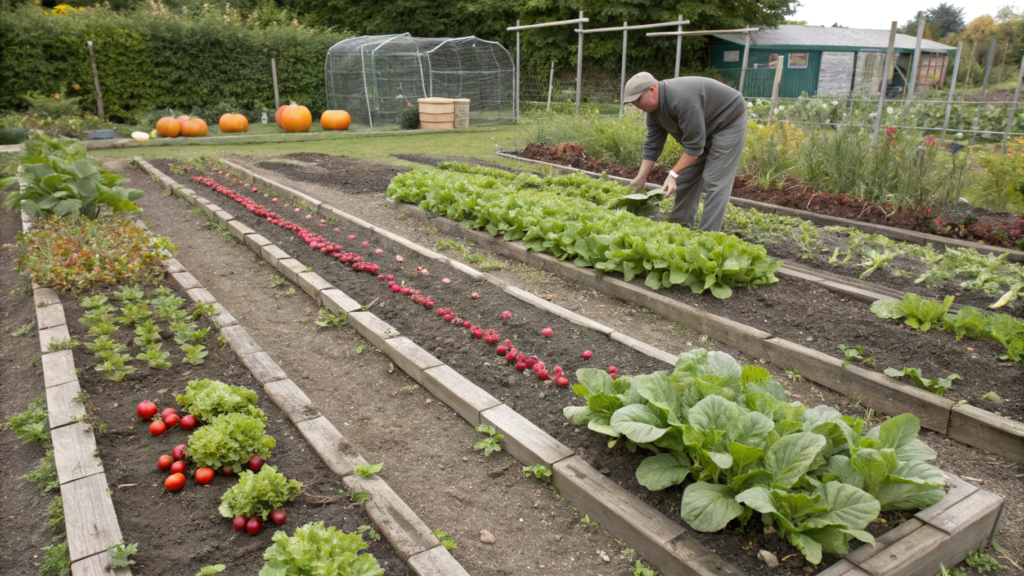
If you plant, for example, all the carrots or all the lettuce on the same day, they will ripen at the same time. This is inconvenient!
What is the right way to distribute the planting?
- Plant radishes, lettuce and carrots 10-14 days apart.
- Plant pumpkins, zucchini, beans – in 2-3 installments a month apart.
- Plan planting according to the lunar calendar, if you believe in it!
Tip. This method is called “successive sowing”, it allows you not to overload the harvest and collect it gradually. It is much more convenient.
Tips for Transitioning Seedlings from Indoors to Outdoors
19. Start hardening off 10-14 days before planting out
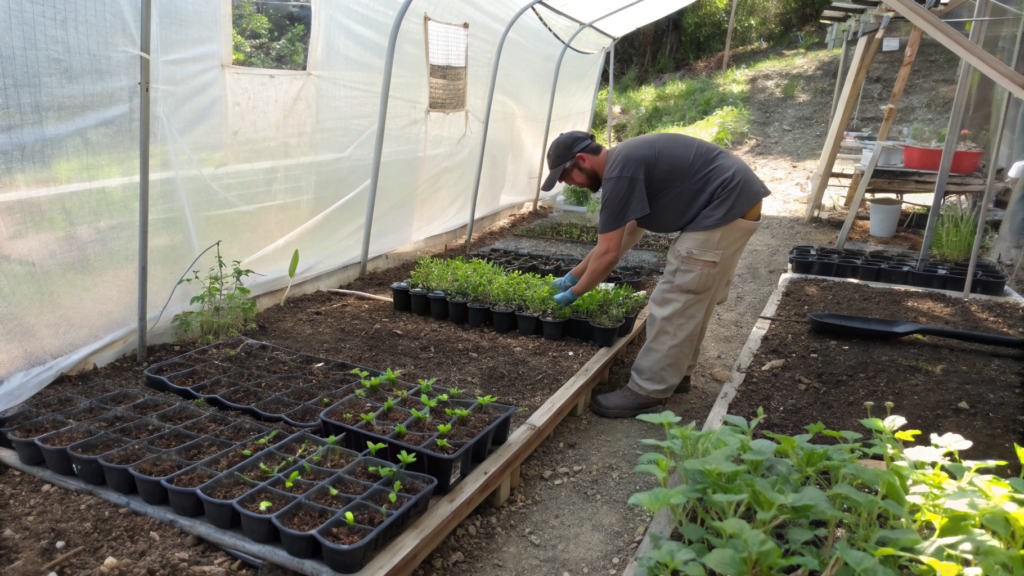
Of course, if you take your seedlings out of the house and into the vegetable garden right away, they will get stressed and stop growing.
What is the right way to harden them?
- In the first week, take the plants out for 1-2 hours a day in a shady place.
- From the second week, gradually increase the time in the sun.
- In the last 3 days, leave the seedlings outside overnight if the temperature is above +8°C
Tip. If the leaves start to turn red or yellow, this is a sign of sunburn. Move the plants into semi-shade and try putting them out in the sun again after a couple of days.
20. Protection against wind during hardening off
Unfortunately, even a light wind can break the delicate stems of seedlings. Consider how to deal with this problem.
How to protect the plants?
- Use wind barriers. This can be boxes, netting or a low fence.
- Leave seedlings in a greenhouse or near a wall of the house for the first few days.
- In strong winds, do not take the seedlings outside. Even hardened plants can be damaged.
Important. Keep seedlings away from drafts, especially on balconies, as they can dry out and weaken plants.
21. Watering before transplanting – avoid dehydration

A simple formula: dry soil + transplanting = stress for plants. It follows that you should always pay close attention to watering.
What is the right way to water?
- Water the seedlings well the day before transplanting.
- On the day of transplanting, the soil should be moist but not soggy.
- After transplanting, water again, but do not water on the leaves – only under the root.
Tip. Use root stimulants (e.g. humates) to help reduce stress after transplanting.
22. Using the right soil is the key to good seedlings
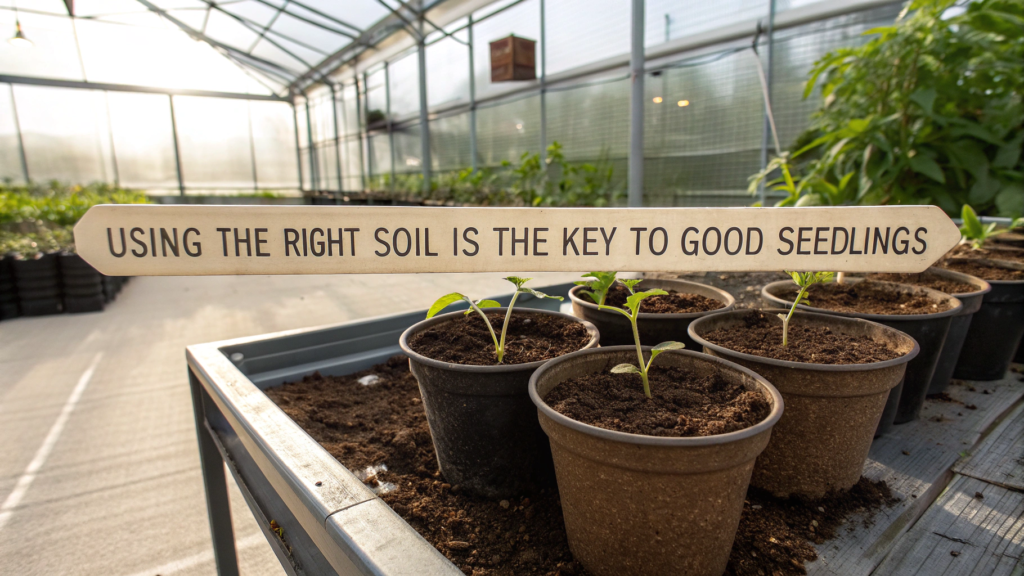
The soil for the greenhouse should be light, loose and nutritious. By the way, many people make the mistake of using ordinary garden soil, and this leads to stunted growth and the development of diseases.
So, what kind of soil to choose?
- Purchased soil for seedlings. It is already balanced and sterile.
- Homemade mixture. 50% coconut substrate + 30% compost + 20% perlite.
- Add vermiculite. It retains moisture and nutrients, preventing the soil from drying out.
Tip. Before sowing, water the soil with warm water and phytosporin. This will significantly reduce the risk of fungal infections.
23. How to increase humidity in the greenhouse – without dampness and mildew
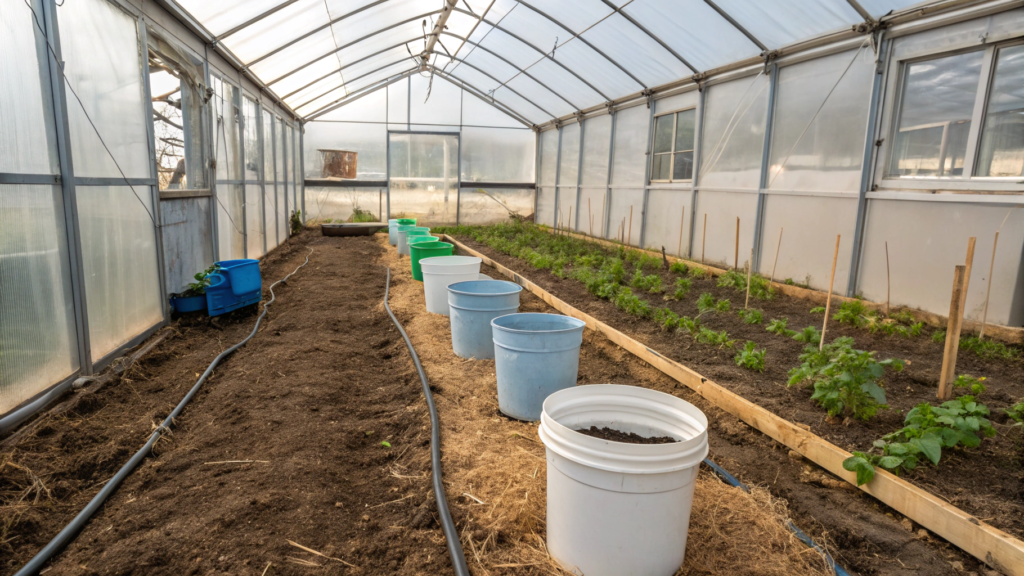
Greenhouses dry out quickly, especially in the spring. If the soil and air are too dry, seeds will germinate more slowly or will not germinate at all.
How to retain moisture?
- Water containers. Place buckets or bottles of water in the corners of the greenhouse. The water evaporates during the day, increasing the humidity.
- Mulching. Cover the soil with a thin layer of peat or dry grass immediately after planting.
- Airing in the morning. To avoid excess moisture and mold, open the windows before noon while the air is still cool.
Important. Note if water drips on the walls of the greenhouse, the humidity is too high. In this case, increase ventilation.
24. Stimulating germination – how to speed up germination

Some seeds take a long time to sprout – peppers, for example, can sit in the ground for up to two weeks.
How can you speed up germination?
- Soaking before planting. Soak the seeds in water with aloe or hydrogen peroxide for 6-8 hours. This will activate the germination processes.
- Warming the soil. Before planting, water the soil with warm water and cover with a film.
- Use stimulants. “Epin”, ‘Zircon’ or humates accelerate germination and increase germination.
Tip. If the seeds are small (carrots, parsley, celery), mix them with sand before sowing – this way they will be distributed more evenly.
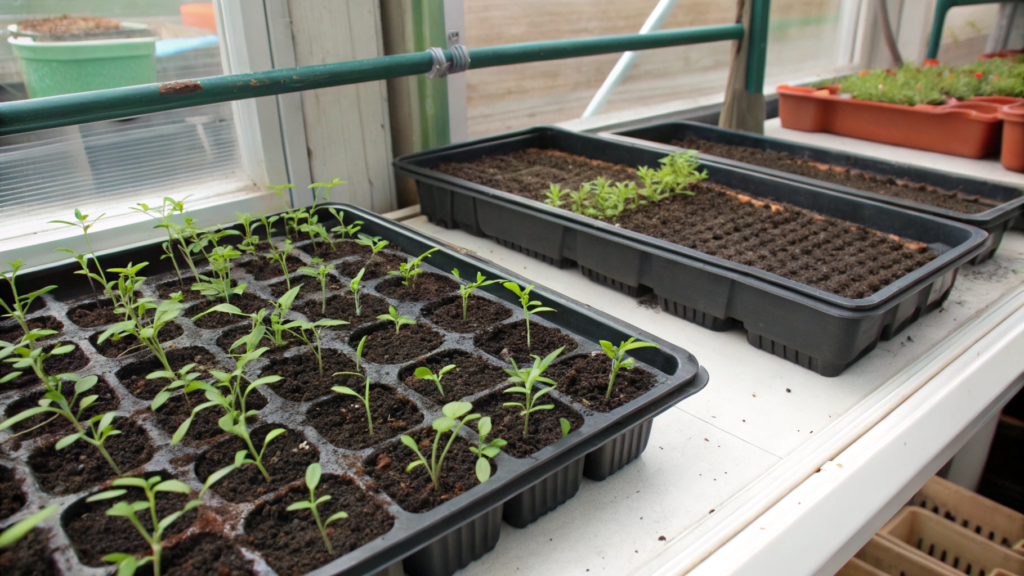
25. Do not plant too thickly – give the seedlings room to grow
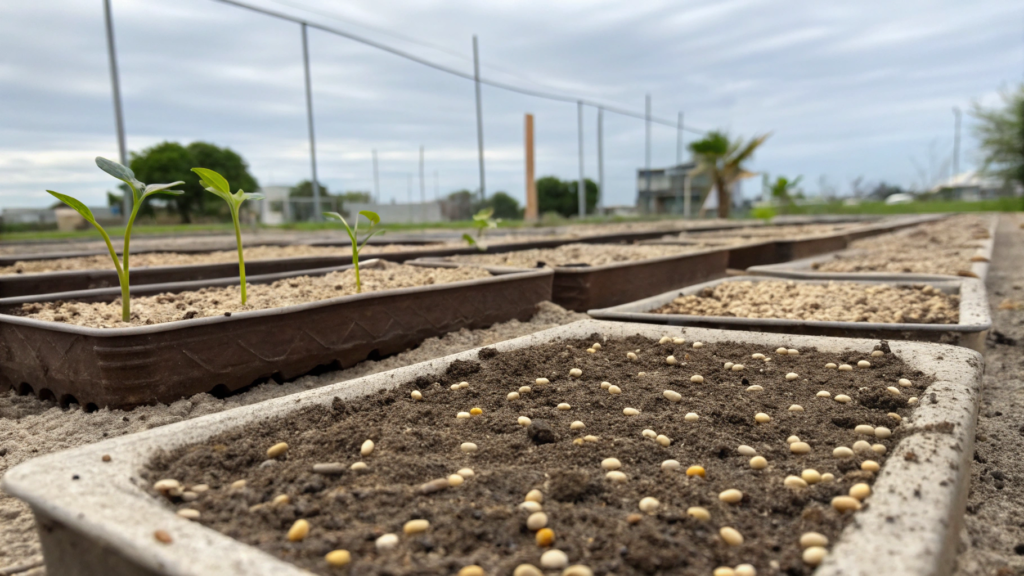
Unfortunately, this is also a common mistake – too dense planting. It seems that the more seeds you plant, the better, but in the end you get elongated, weak seedlings.
What is the right way to plant?
- Use a planting scheme. Spacing is usually indicated on the seed packet.
- If the seeds are small, sow with sand, spreading evenly.
- Thinning. If the seedlings have sprouted densely, remove weak seedlings before the first true leaves appear.
Important. If you leave the seedlings too dense, they will stretch upwards and compete with each other for light. This will result in long and weak plants.
It’s time to sow!
Now you have 25 proven tips to help you grow healthy, strong seedlings and face the season with minimal losses.
Have you used any of these methods?
Share your own tips and tricks in the comments.