Do you love eating deer meat but want to cook it in one go and preserve it for later? Join the club! Canning it in an oven is what I prefer!
Although quite a few people say that canning deer meat in an oven is not safe, the reality is otherwise. I’ve been doing this for many years, and things worked out for me pretty well.
To can deer meat in an oven:
- Firstly, collect all the ingredients (salt, pepper, sauce, herbs, spices) and supplies.
- Then, prepare the meat, pack it in the sterilized jars, and seal them afterward.
- Now, preheat your oven and stack up the jars in a deep dish.
- Finally, fill the dish with water, cook it in the oven for about 4 to 5 hours, and you’re done!
Below, I’ll show you super simple steps (I use) for canning deer meat in an oven. So, let’s get right to it!
Is it possible to can deer meat in the oven?
A few souls may disagree, but canning deer meat in an oven is possible (and safe). If you do it in the right way (I’ll show below), there’s nothing to worry about!
Step 1: Collect Ingredients & Supplies
In the first step, you need to collect all the necessary ingredients and supplies for cooking and canning deer meat:
Ingredients:
- Deer meat
- Water
- Salt
- Pepper
- Worcestershire or soy sauce (optional)
- Herbs and spices (garlic powder, onion powder, thyme, rosemary)
Supplies:
- Canning jars (with lids and bands)
- Deep dish
- Knife (comes in handy before cooking deer meat)
- Large pot
- Bowl
- Cloth or paper towel
Step 2: Sterilize the Jars
Now that you have all the supplies, the next step is to wash the canning jars, lids, and bands with hot, soapy water. It will remove any residue if you have used these jars earlier.
What’s next in this step? Take a large pot, fill it with water, and bring it to a boil. Then, put all your jars, bands, and lids in it and let them stay there for, um, about 10 minutes. This will kill all the germs and sterilize the jars to perfection!
Step 3: Prepare Deer Meat
The third step is all about prepping the deer meat. First, clean it nicely under cold running water to get rid of sticking dirt or hair.
Then, use a knife to cut off any part of the deer meat you don’t like eating (excess fat or so).
Next up is to cut the meat into pieces (Just make them small, but not tiny). This way, they’ll cook evenly and fit nicely into your canning jars.
Step 4: Season Deer Meat
If you want to make your deer meat all juicy and tender, put your prepped deer meat in a big bowl and add salt and pepper to it (according to your preference).
I also add some herbs and spices and usually go with:
- Garlic powder
- Onion powder
- Thyme
- Rosemary
Got Worcestershire sauce or soy sauce? A small splash of it on the meat always adds a unique kick to the overall flavor (it’s optional, of course).
Anyway, it’s time to use your hands and mix everything nicely! Now, wait for around 30 minutes to let the meat absorb all the goodness (this will set the stage for the next step).
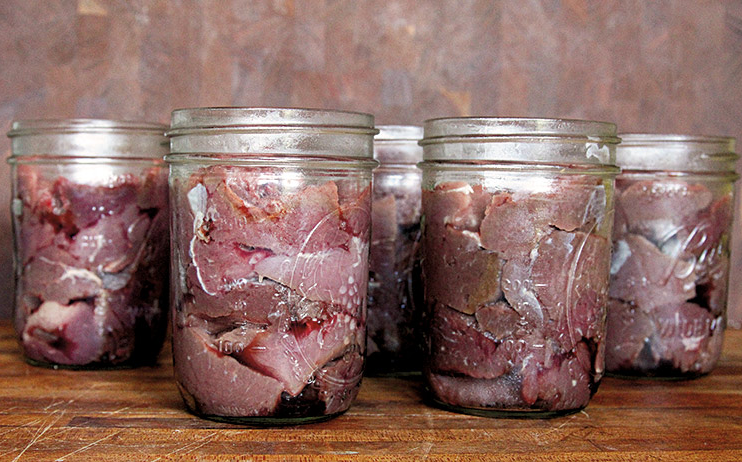
Step 5: Pack The Deer Meat In Jars
Still with me? Next up, you’re going to pack the seasoned deer meat in jars. You may need to press the meat a little (using your hands or some other utensils).
Ah yes! Don’t forget to leave about an inch of space at the top of the jar. It’s a way to give your deer meat some room to breathe in there.
But why this headspace is needed?
When things heat up (during canning), the deer meat inside the jar may expand. If there’s no space at the top, it might cause the jar seals to break. And believe me, this is the last thing you would want. Right?
Step 6: Pour Boiling Water In Jars
Okay now! Boil some water and pour it into the jars over the deer meat. But make sure it doesn’t overflow because, well, you don’t have to make a mess!
Why do you need to do this? Pouring in this boiling water helps to cook the meat perfectly during the canning process. And there’s more! It creates a hot environment inside the jar (best for sealing and preserving).
Step 7: Seal The Deal
Alright, so here comes the best part, where you’ll seal the deal (jars). But before doing that, take a clean cloth or paper towel and wipe the rims and the top edge of the jars with it.
This will remove any leftover present there for a better seal.
Now, grab those lids and place them on top of each jar. But make sure to press them down a little for a snug fit.
Step 8: Prepare The Oven & Cook To Perfection
The time has come to get your oven ready for canning deer meat. For this, preheat it to 250°F (120°C).
Then, take a deep dish and arrange all the jars in it. Pour water into the dish until it reaches about halfway up the jars. Once your oven is all warmed up, carefully slide it inside.
I make sure to cover over the deep dish!
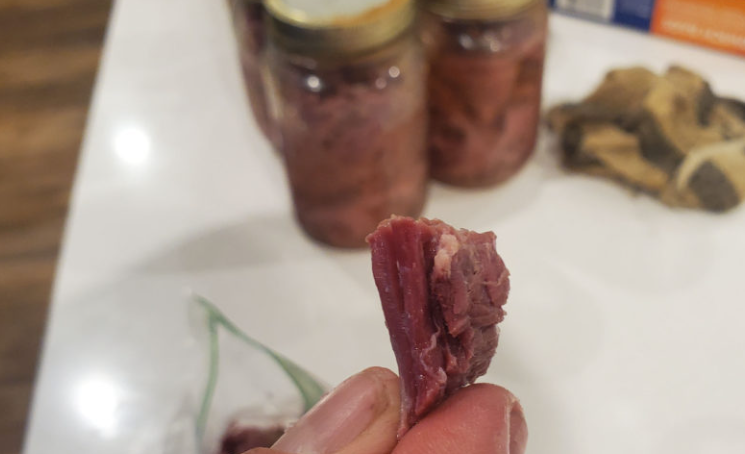
Let it cook in there for about 4 to 5 hours. This canning method makes the deer meat super tender and preserves it nicely for the coming months.
Step 9: Store The Jars
Hey, everything is almost done! Take the jars out of the oven and let them cool themselves naturally (be patient).
Here comes the end! The last step is to store the canning jars in a cool, dark place (like a cupboard or pantry).
Final Thoughts!
After going through my steps, canning deer meat in an oven is easy peasy, right? Anyone can do it and do it with safety.
So what are you waiting for? Go ahead, try this magic in your kitchen, and preserve the goodness of deer meat for a long, long time.