When you have little space, you always want to create the atmosphere of a large landscape in a miniature format, that is, in fact, to create a miniature garden. And it’s not just about plants, but more about creativity, relaxation, imagination and striving to make your space truly unique. Personally, I have experimented with many different mini gardens and I can say that each one is special in its own way. Let’s try to transform your little corner of the house into something extraordinary.
Transform a Small Balcony into a Zen Mini Garden in an Hour

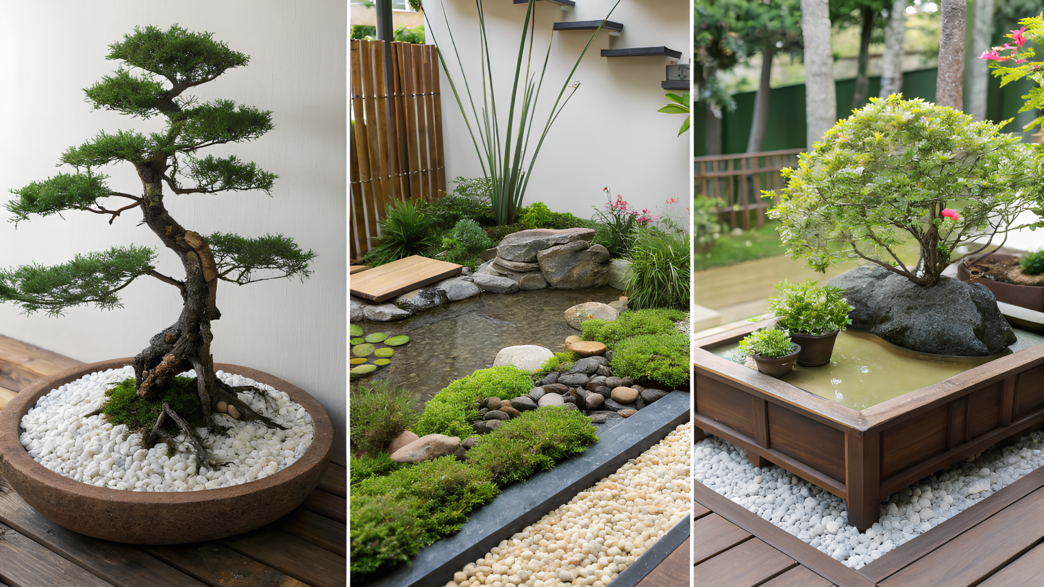
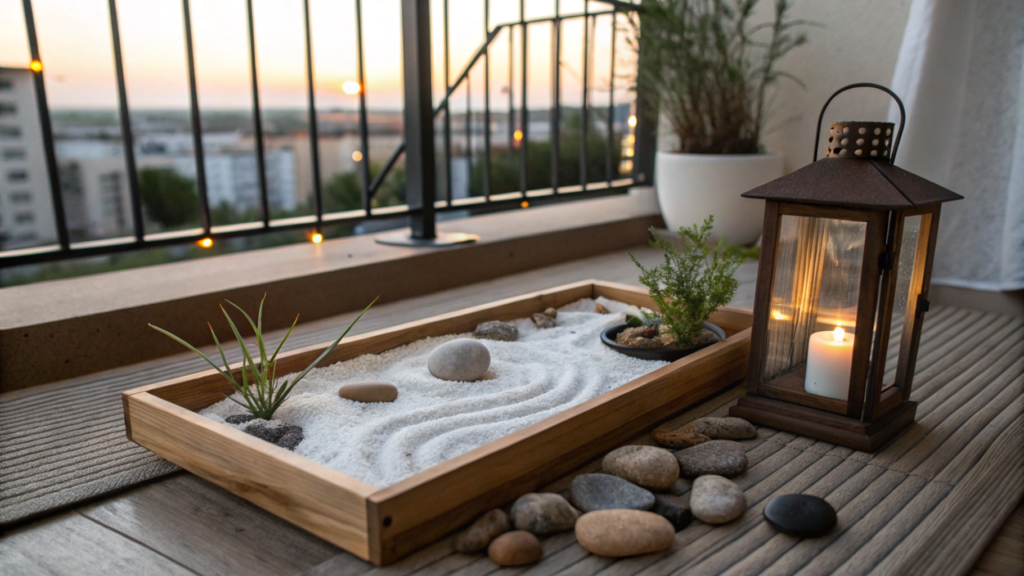
Let’s fantasize a little and imagine ourselves on a tiny balcony after a busy day, sipping tea surrounded by a soothing Zen mini garden. Dreams, dreams… But it’s easier than it seems to make it a reality. A Zen garden is all about harmony and peace, and planning and creating it is akin to meditation in itself.
Think about what peace is for you personally. For me, for example, it is a place where I can breathe fully, forget about business, worries, troubles and just be. Zen gardens are minimalist, so “less is more”, but as you realize, that “less” has to be quite meaningful.
What you’ll need:
- A shallow container (you can use an old wooden tray or ceramic dish).
- Sand (regular white sand from the sandbox will work fine).
- A small rake (by the way, you can make your own, I, for example, once used an old comb tied to a stick!).
- Rocks, plants and one main element of your choice, such as a rock, lantern, candle or a picturesque piece of driftwood.
How to create a zen garden:
- Layer sand. Pour sand into a container and level it out. This is the base of your garden.
- Place a central element. Choose one item that will become an accent of the design – a smooth stone, a small plant or a candle.
- Arrange the stones. Use stones to create a sense of flow. An odd number looks more natural – try three or five stones. You can arrange them in any order, asymmetrically, because order comes from the mind, and we do not think, we meditate.
- Create patterns with a rake. To bring thoughts as a gift, “comb” the white sand with a mini-rake, creating wavy lines on the surface. Sand symbolizes the sea and water, and the marks from the rake are ripples on the water. When you determine the direction of the rake, you are already meditating. Do not try to do it perfectly, trust your hands.
My Zen moment
I remember very well the first time I made a Zen mini garden on my balcony. It was after a chaotic move, I had no furniture, but this small tray with sand and stones gave me the peace I needed. Every time I drew lines in the sand, I felt my anxiety go away and I relaxed.
Tip. Place your Zen mini garden where it won’t get in the way, but at the same time you can have it at hand at all times. If possible, place a small fountain with a calming sound of water nearby. Oh, it will be very atmospheric!
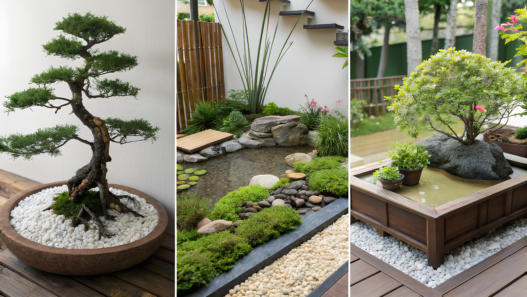
Fast and Easy Mini Bonsai Garden with Recycled Materials

Let’s be honest from the start, it takes years to grow a traditional bonsai tree. So I decided to simplify the process and create mini bonsai gardens using recycled materials. It’s quick, creative and gives the same sense of satisfaction.
Basics to Get Started
The beauty and convenience of a mini bonsai garden is that you can create one anywhere. You’ll laugh, but I once made one in an old shoebox lid because I didn’t have any pots!
Here’s what you’ll need:
- A small container.
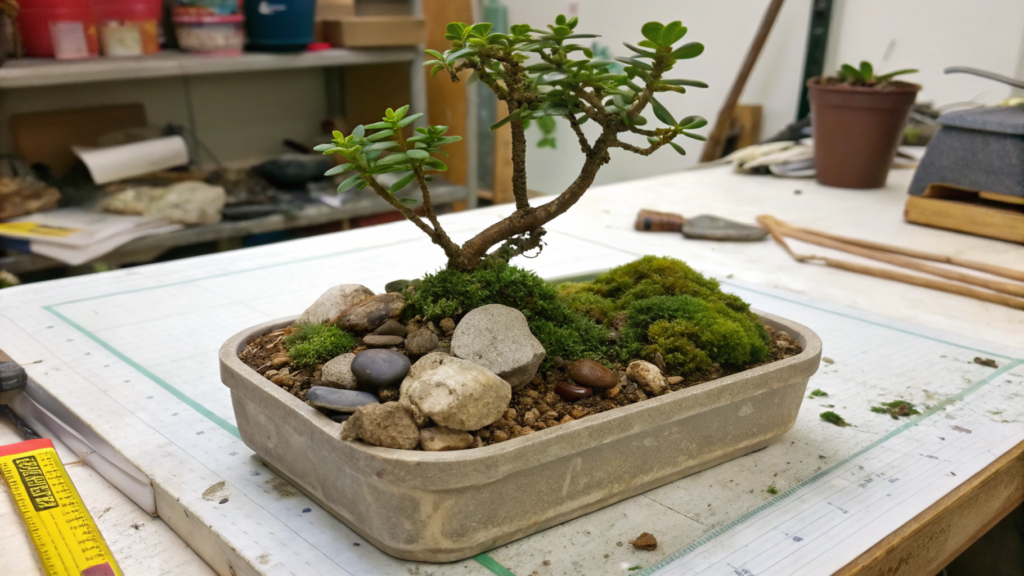
- A sapling or sturdy plant that resembles a tree. Crassula ovata, also known as the “money tree”, Ficus benjamina, and Coffee tree (Coffea arabica) are all ideal. They all lend themselves well to shaping and look like miniature trees.
- Soil, rocks, and decorative elements such as moss or small figurines.
The Creative Process
- Choose a container. Dig around your kitchen or pantry. I’ve used everything from chipped cups to tin cans. Poke holes for drainage if needed.
- Plant the seedling. It’s a good idea to place it slightly off-center for a more natural look. Firm the soil around the roots.
- Shaping the tree. This is the most fun part. Trim the branches carefully to achieve a harmonious look. Use wire to bend the branches like a sculptor and shape the plant.
- Add details. Place moss at the base or add small figurines. I once made a tiny swing out of sticks and rope and you know what, it was adorable.
My Story
I made my first mini bonsai garden for my wife Lindy. She loves tea, so I planted the tree in her favorite broken teapot that she couldn’t throw away. Now it stands on her desk, and every time she looks at it, she smiles. And I am very pleased. That is the power of a mini-garden!
Design a Fairy-Themed Mini Garden with Supplies You Already Have
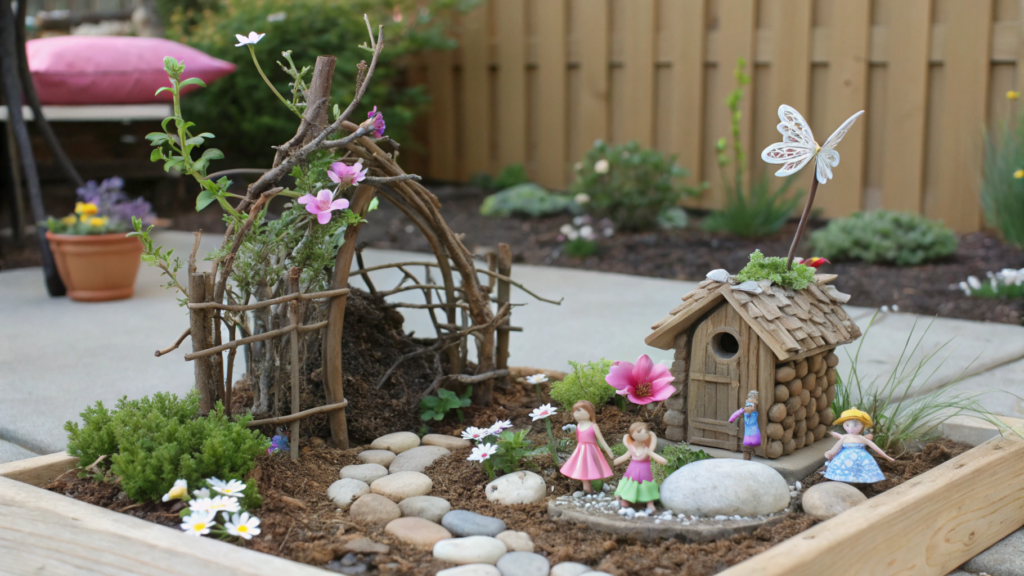
Childhood is gone, but we still expect magic and wonder in our lives. That’s why fairy-themed mini garden are not only for children, they are also for those who like to fantasize a little. Imagine that you have a small magical world with tiny houses, stone paths and maybe even a pond at your disposal. It’s like a daily reminder that we can make our life magical and fun with our own hands. In addition, when creating such a garden, we use materials that are lying around at home.
Choose the perfect location
We need to think about where we will create our fairy-themed mini garden. You can place it in the corner of the patio, on a sunny windowsill or even under a tree in the yard. I placed my first fairy garden on a side table in the living room and, by the way, it became the center of attention for guests.
What you will need:
- A sturdy container (an old wooden box, a wide pot or even a box from a broken dresser).
- Soil and small plants such as moss, miniature ferns or succulents.
- Natural materials: twigs, pine cones and shells.
- Optional: fairy figurines, miniature furniture or any other decorative elements.
Use your imagination
- Create a landscape. Start by placing soil in a container and placing plants to imitate a forest or meadow. Use moss to create “grassy” areas.
- Build fairy houses. Use twigs, bark or small stones for construction. Pine cones are great for roofs, and pieces of felt or leaves can become doors and windows.
- Add interesting elements. Pebble paths, small bridges made of popsicle sticks or a “pond” made of blue glass balls will add personality. And if you don’t skimp on LED garlands, the magical glow will create a grand effect in the evening.
- Personalize the scene. Add tiny chairs, a swing, or even a tiny picnic table. I made a “clothes line” with fabric scraps. Imagine, it won everyone over.

History comes alive
Every fairy-themed mini garden has its own story and plot. In my garden, a family of fairies moved into a mossy meadow and built a small bakery out of an acorn. My niece even made signs for their “shop”. Such gardens become living stories that can be shared with loved ones, who participate in them as much as possible.
Tip. Sprinkle a little glitter around the garden for a magical touch. Just don’t overdo it, fairies have good taste, they prefer discreet glitter!
How to Build a Mini Water Garden with Just 5 Items

I think mini water gardens are a little underrated. They bring a sense of calm and life to any space, whether indoors or outdoors. Of course, not everyone has room for a large pond, which is why a mini water garden is a great solution. It’s small, portable, but no less attractive.
Choose a location
It’s up to you, a water mini garden can be placed anywhere: on a porch, balcony, or even on your desk. I once took a chance and placed one on our dining room table, and it became the center of attention at every meal.
What you’ll need:
- A wide, waterproof container (ceramic bowls, vintage basins, or even an old salad bowl will work).
- Aquatic plants (water hyacinth, water lilies, or duckweed).
- Smooth stones or marble.
- Optional: aquatic snails or guppies.
- Decorative elements, such as floating candles or small figurines.
How to create a water mini garden:
- Prepare the container. Start with a clean bowl or basin. If the container is deep, place a layer of rocks in the bottom to raise the plants.
- Add water. Use distilled or rainwater. Tap water often contains chemicals that are harmful to plants or fish.
- Arrange the plants. Carefully arrange the floating plants on the surface of the water. If you are using potted aquatic plants, place them on the rocks.
- Decorate. Add small figurines, shells, or even a floating candle for ambiance. I once used a small ceramic frog and it looked really cute.
- Optionally, add some life. If you wish, you can get aquatic snails or small fish They are easy to care for and add movement.

Additional ideas
- Aromatic herbs. Add sprigs of mint or rosemary to make the garden smell as good as it looks.
- Seasonal themes. For the holidays, you can use floating decorations or flowers that match the season.
Tip. Keep your mini water garden in partial shade to avoid algae growth. Too much sun can turn your cozy garden into a green mess, so keep it out of trouble.
Now you have a detailed plan for each mini garden. Determined to create something beautiful? Choose your option and get started.
Share your ideas in the comments or send us a photo, we’d love to see your creations!
