Haven’t got time to plant your potatoes right this second (even though they’re sprouting)?
Is it possible to store them for planting until you have the time to work in your backyard?
For years, I’ve been storing my sprouted potatoes for planting with these seven methods:
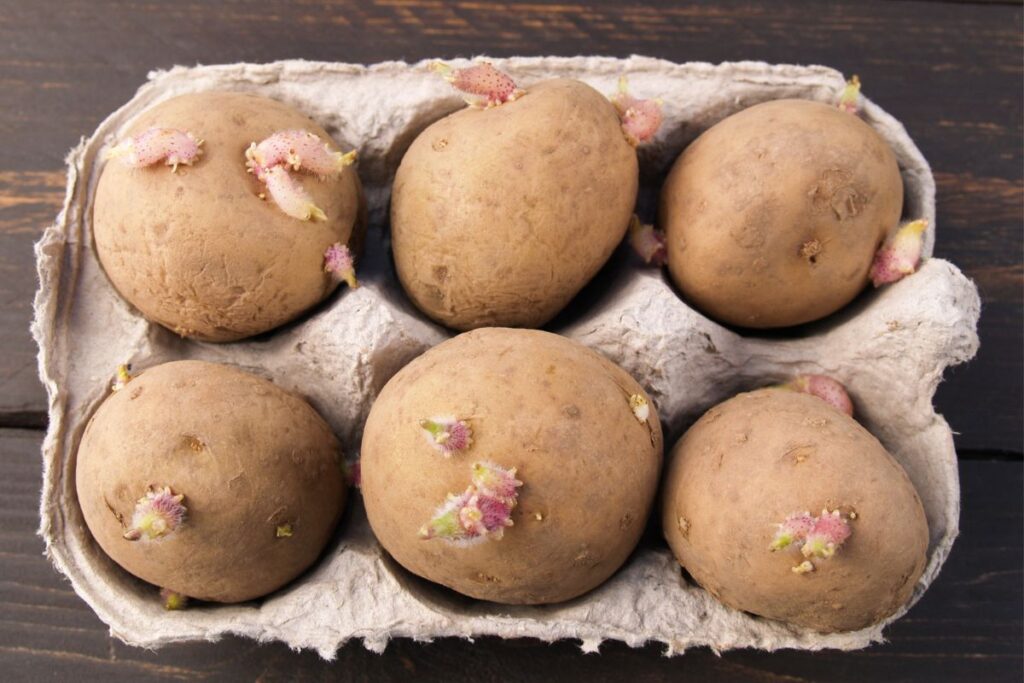
- Using an egg carton
- Storing in a refrigerator or a cold basement
- Plant in a container indoors
- Burying in damp sand
- Soak in a water cup
- Hang in a mesh bag
- Keeping the potatoes upright in a box or bowl
Yes, you can store sprouted potatoes to plant later on!
And in this guide, I’ll take you through each of these 7 methods to store them.
So, grab your gardening gloves, and let’s get ready to embark on a spud-tacular potato-saving adventure together.
How Do You Store Sprouted Potatoes For Planting?
Want to keep your sprouted potatoes fresh till you get ready to plant them but need help figuring out where to start?
Ahoy, fellow potato aficionados! Before I tell you my secret of storing spuds potatoes for planting, let me assure you that it’s not as complicated as it may seem.
With a little TLC and attention, you can store and save your sprouted buddies from rotting, drying out, or losing their vigor. So let’s get started!
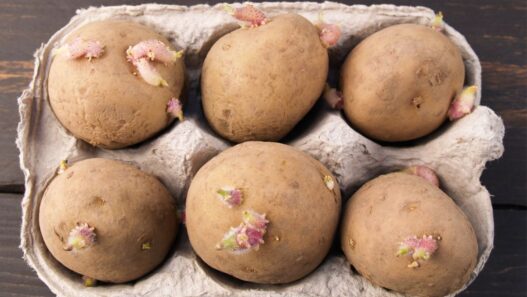
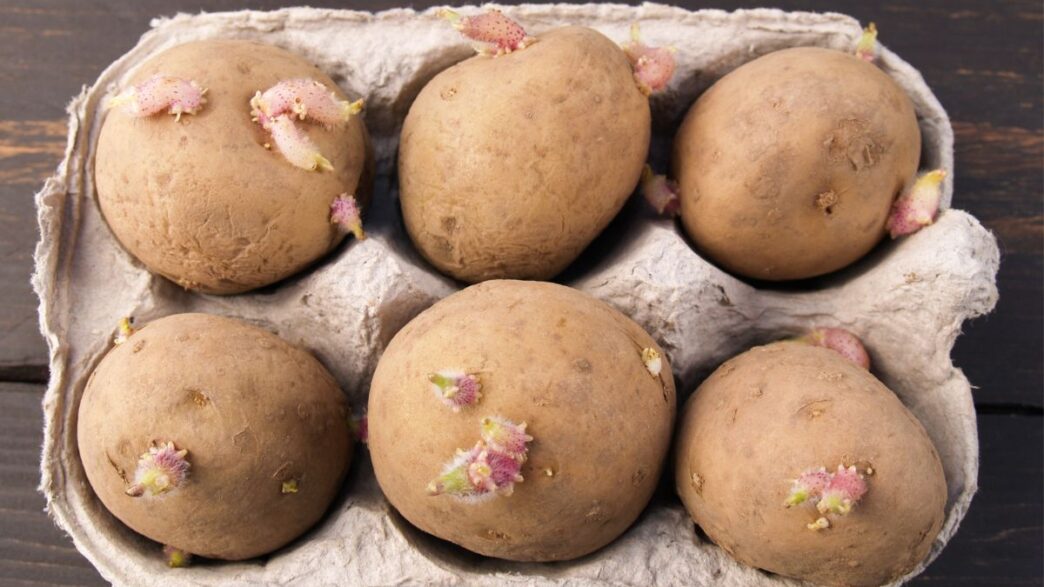
Method 1: The Classic Egg Carton Approach
I sometimes follow a nifty little trick and put those empty egg cartoons to good use. How?
Well, it’s simple, just grab an empty carton and put one sprouted potato in each cup. Make sure to keep the tubers facing upward to keep them upright while growing.
Next, find a cool, dry, and well-ventilated place to store your sprouted potato egg carton to protect them from moisture buildup.
One thing you need to watch out is that the egg cartons might only hold up well if the potatoes are an ideal fit for them.
A good solution here is to use plastic egg trays instead of cardboard cartons. These trays are stronger and more durable and fit bigger potatoes without getting squished.
Method 2: Store In Refrigerator or Cold Basement
Another way to store sprouted potatoes for planting is to find a cozy spot for them.
Since you’ve to look for a dry and dark place with 35-40˚ ambient temperature, your two options for ideal storage are a refrigerator or a chilly basement.
When the right time comes, and you want to wake up your sprouty buddies from their slumber, transfer them to a warmer spot. Don’t worry if they appear dry and wrinkled, as it’s all part of the natural process.
Just ensure the potatoes are not squishy or rotted away with a foul smell. To help them sprout again, expose them to gentle sunlight and water before planting.
Method 3: Plant In Containers
This one time, I was eager to plant my sprouted potatoes, but the weather outside wasn’t cooperating at all. So, I planted them in a container and waited till the temperature got warm enough to move and replant them outdoors.
For this trick, cut those sprouted spuds into sections, each piece having one or a few sprouts. Now, grab containers at least 15 inches deep and wide and fill them with 10 inches of sandy soil that’s nice and moist.
Remember to choose a good sandy mixture to prevent the sprouts from rotting or drying away.
Here comes the fun part, the planting process! Take sprouted potatoes and plant 3-4 in each container you prepared earlier. You need to give them some space to grow, so plant each of your spuds at least 6 inches deep and cover them with 3-4 inches of sandy soil.
Oh, and don’t forget to position the tubers so that the sprouts will point upwards. Also, keep them about four inches (10 cm) apart to give each plant enough room to spread its roots.
Now, let’s talk about watering. Give those containers a good soak after a week, or add enough water when you feel the top 2-inche of the soil is dry. Don’t overdo it; otherwise, the sprouted potatoes can start swimming in their own watery world.
In about 3-4 weeks, the sprouted spuds will start poking their heads out of the ground. When the outdoor temperature becomes appropriate (45 °F), dig a spacious spot in your backyard or garden and plant the seedlings carefully.
Method 4: Bury In Damp Sand
If you think cutting all those sprouted potatoes before planting them in a container is tedious, I’ve another trick up my sleeves for you!
What you can do to store your sprouted potatoes is to take a container, fill it with some damp sand and bury them in there. You do not need to worry about cutting them up or anything like that.
Find a cool room with around 45 to 50 °F temperature to keep your spud buddies from frost. When the time is right, dig out your sprouted potatoes from the sand and plant them in your backyard.
This method keeps your mind off those potatoes, knowing they’re snugly tucked away in the sand.
Method 5: Soak In a Cup
Got only a few weeks before planting season kicks in, and you still need to prepare your potatoes for the rooting process?
So, here is a deal. Instead of just waiting around, store your sprouted potatoes before planting and give them a head start by soaking them in water cups.
For this, insert two wooden skewers in each potato to form an X shape and hang them in the cup with enough water touching the bottom of the tuber. This will prevent your potatoes from rotating and ensure the sprouts stay hydrated.
Place your little setup near an east-facing window for enough sunlight. We all know patience is the key to gardening, so within 1-2 weeks, the potato sprouts will be about an inch long, and you can plant them in your garden.
Method 6: The Mesh Bag Hack
Got some extra space in the kitchen? Well, guess what? I’ve got another hack for storing sprouted potatoes for planting!
Simply take some mesh bags, put one potato in each, and hang them near the window to store for the upcoming planting season. This method is the perfect way to protect them from hungry critters.
But there’s a catch. Sometimes, the sprouts might not grow well or snap off because the mesh bag squeezes the potatoes too tight.
Bummer, right? But don’t worry; below, there is an alternative way to end your misery.
Method 7: Keep Potatoes Upright in a Box or Bowl
If you are not ready to plant your potatoes but want to store them to give the spuds some time to grow in the right direction, how about putting them in a little box or a clear bowl?
Well, place your spud buddies in a box slightly apart so they don’t crowd each other. Why? Because just like you, potatoes need their personal space too!
To guide those spuds to grow in the right direction, simply keep them standing up so the sprouts grow vertically upward. Also, find a cozy space near an east-facing window to let the sun’s warm rays bask the potatoes all day.
You can also use artificial light for at least 8-10 hours a day if you cannot find a place for the potatoes that provide adequate sunlight to bloom them.
One more thing, since you wouldn’t want any uninvited guests ruining our sprouted spuds party, take a white nylon mesh big enough to cover your setup.
Then, drape it over the potatoes to make a barrier, like a fortress. Well, not sturdy like in the Game of Thrones, but it will do the job of protecting your holy cultivating field.
But ensure the mesh is big enough to accommodate the new growth, as you won’t want to restrict those buds from blossoming into beautiful, tasty potatoes.
How Do You Prepare Sprouted Potatoes For Planting?
When you are ready to plant your stored sprouted potatoes, grab a trusty serrated kitchen knife and carefully cut off each or a bunch of sprouts with a little bit of potato still stuck to them.
Once you’ve done the snipping, give 2-3 days for the skin to dry out a little to create a barrier against any diseases. However, don’t let the sprouted part dry up completely.
The next thing to do is to put the potato in the soil with the cut side down and the sprout side up to plant them.
