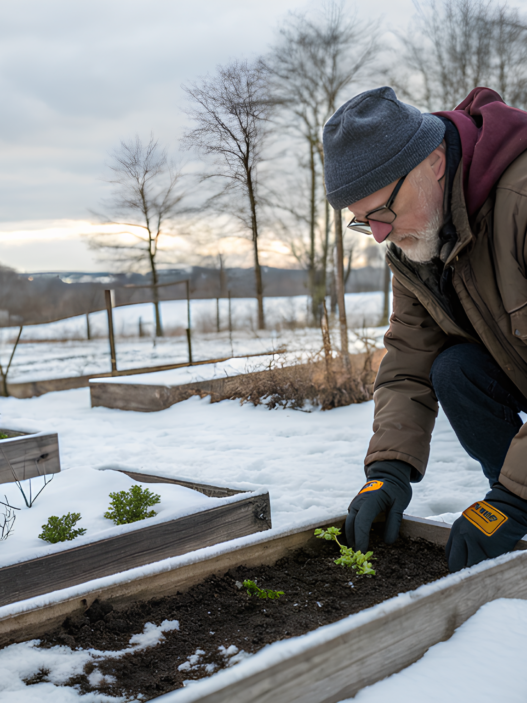
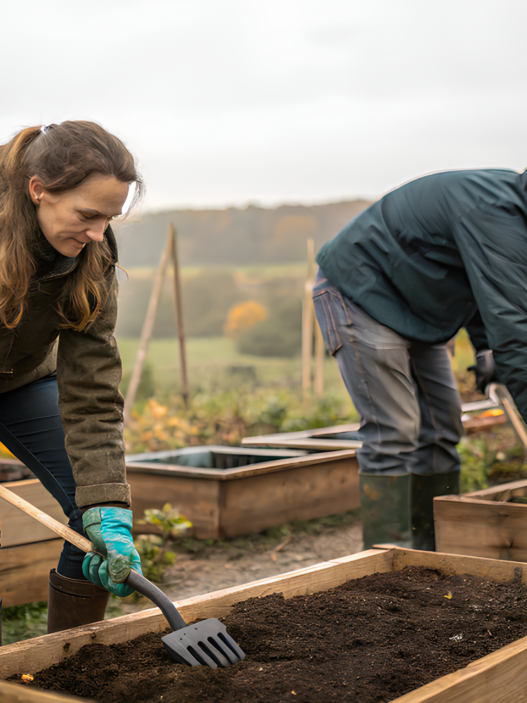
Preparing the soil in the cold winter months is like preparing a canvas for a future painting. Our main goal is to ensure that everything we plant in the spring grows quickly and without losses. And for this, of course, the nutrient base for the soil is important. In this article, we will analyze how to prepare soil in winter for spring planting. We will try to cover various topics – from adding nutrients to planting cover crops and improving the soil structure. You will also learn and master methods that will allow you to carry out all the work as productively as possible in the new season. Let’s approach this issue with care and attention.
Why is it important to prepare the soil in winter
It would seem that winter is not the best time to work with the soil, but believe me, this time of year is the best for a successful start. While the soil “rests” in winter, we have a good chance to enrich it, improve aeration and focus on the health of the soil without the haste that usually accompanies spring planting. Any gardener knows that healthy soil is the foundation of a good garden, and winter preparation gives it the opportunity to be saturated with all the additives. You could say it’s like a winter spa treatment for your soil. Believe me, having mastered how to prepare soil in winter for spring planting, you will make your life much easier at the beginning of the planting season.
Step 1. Organics and compost
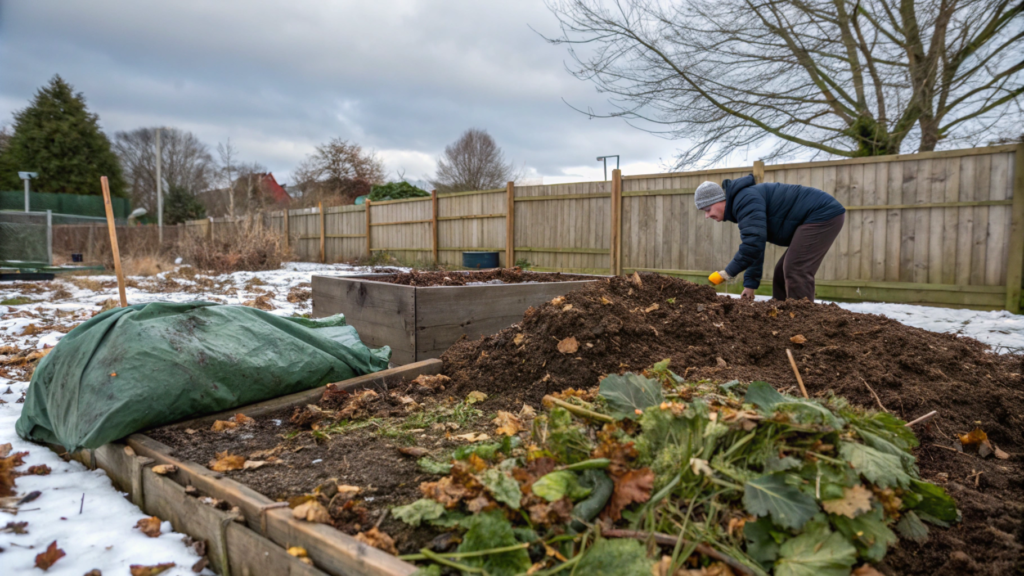
Organic matter is a big help for garden soil. In the winter, you can add a layer of compost, over-ripened manure or even fallen leaves. You’ll notice right away that this will noticeably improve the condition of the soil.
Why is this important? Organic matter decomposes over time, while gradually releasing nutrients. And since the soil has the opportunity to fully absorb them during the winter, by spring it will undoubtedly be saturated with all the necessary substances for strong plant growth.
- Compost. For a balanced compost, use a mixture of green (such as food scraps) and brown materials (such as leaves).
- Manure. When using manure, make sure it is well-digested; otherwise, it can “burn” plants.
- Leaves. And fallen leaves are great for mulching, adding nutrients, and protecting against erosion.
Tip. Cover a layer of compost with straw or mulch. This will help keep it from being washed away by winter rains or snow.
Step 2. Cover crops
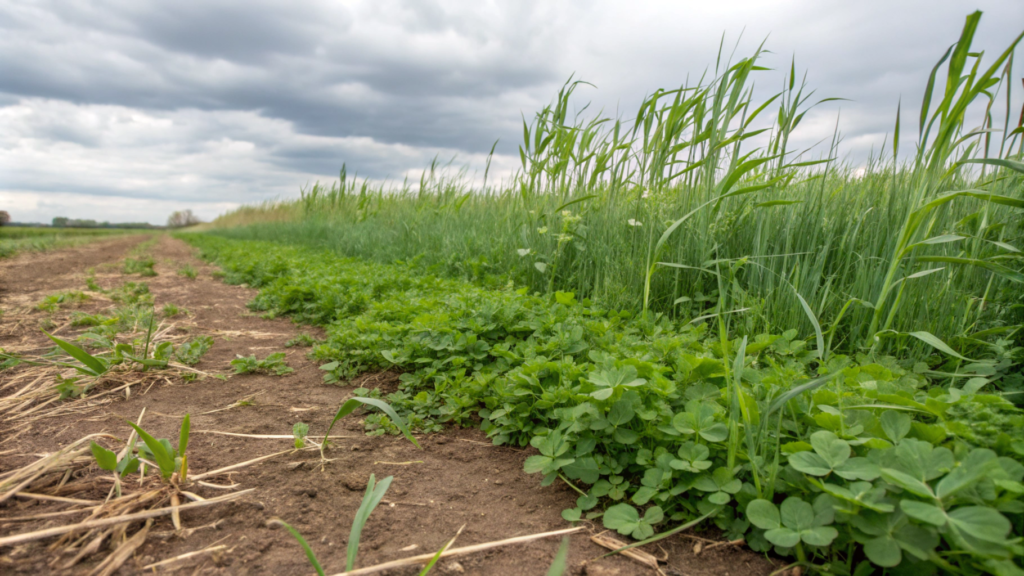
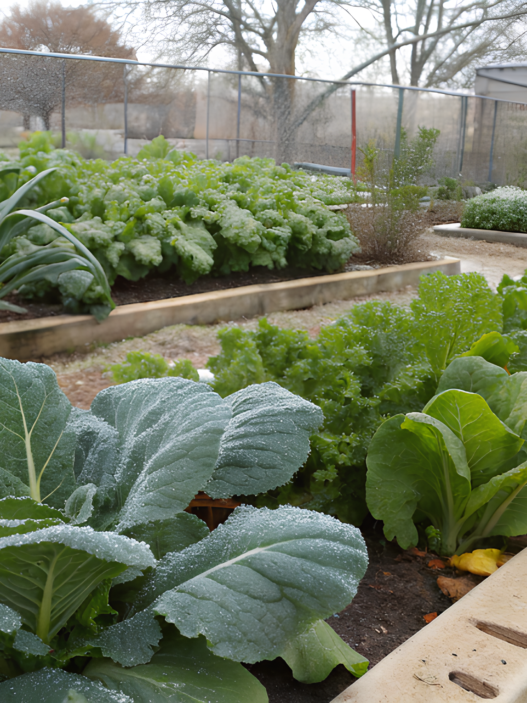
One productive method of enriching the soil is to use cover crops in the off-season. These plants, such as rye, clover, and vetch, add nutrients to the soil and help keep it “active” even during the colder months. They prevent soil erosion and, most importantly, fix nitrogen, creating a naturally rich environment for spring planting.
How it works. Cover crops grow over the winter and decompose in the spring, while releasing nitrogen and organics where your plants need it most.
Recommended product. Cover crop seeds, rye is a great choice for winter, hardy and adapts easily to different climates.
Step 3. Winter aeration and mulching of the soil
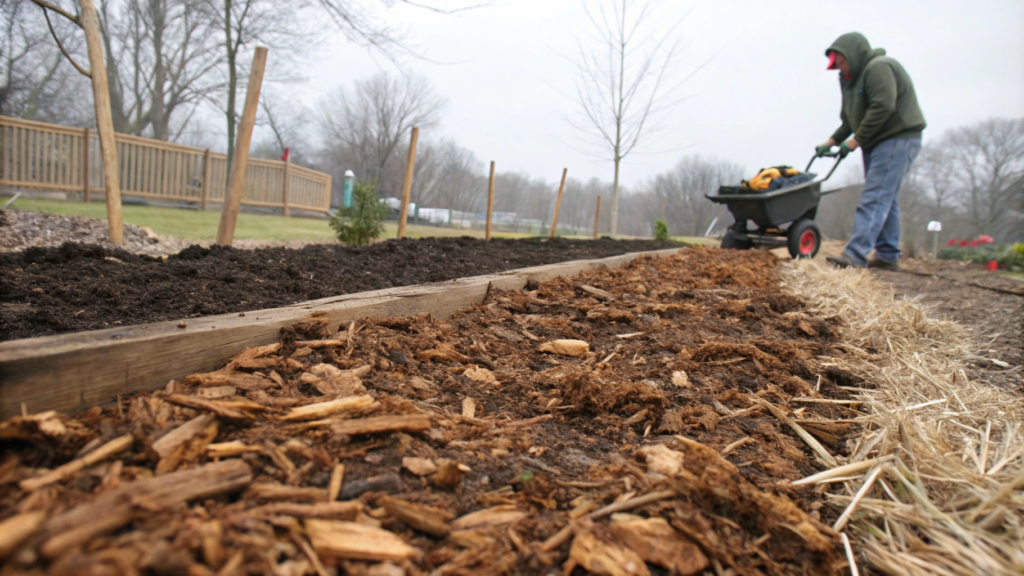
As we know, compacted soil makes it difficult for roots to grow and does not allow moisture to drain properly. Aeration, even in winter, helps your soil “breathe”, which allows roots to grow more freely. Although traditional aeration is a little difficult in frozen soil, mulching and natural freeze-thaw cycles can also help.
Winter mulch is especially important in preparing garden soil for spring planting. A thick layer of it insulates the soil, thereby maintaining a stable temperature, and also protects the soil from erosion and nutrient loss.
Wood chips have proven themselves to be good winter mulch, preventing soil compaction. Straw is an excellent insulator, it is light and decomposes quickly. Pine needles are ideal for plants that like acidity.
Step 4. Soil test
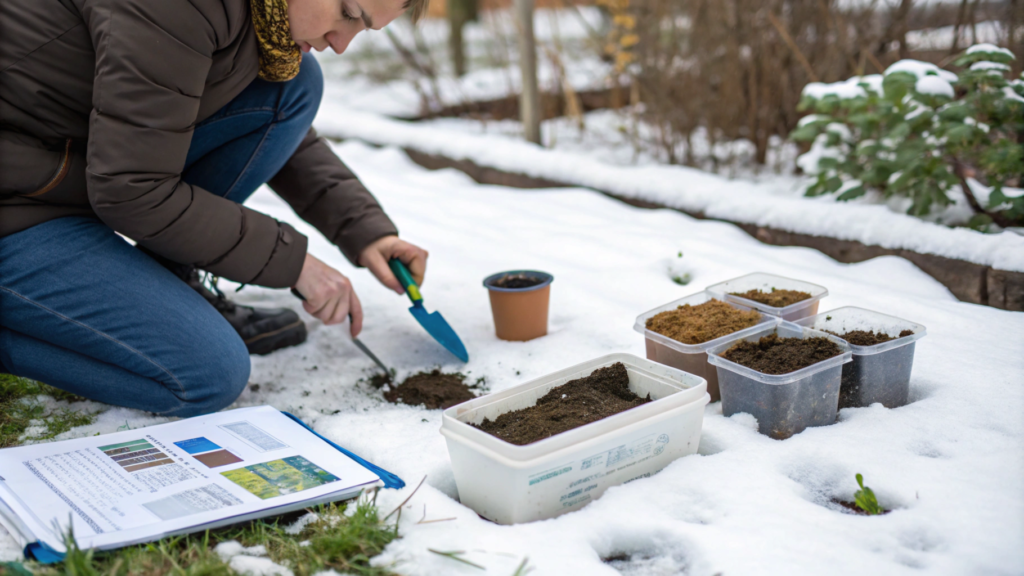
A winter soil test is to conduct a nutrient test as well as a pH test. This will help determine what amendments to make and what you need to add to your soil before spring. The test can show if your soil needs more nitrogen, phosphorus or potassium. We know these are key elements for plant health.
- Take a small sample of soil from different parts of the garden.
- Follow the instructions of the soil test.
- Based on the results, plan for the necessary additions – whether it’s lime to correct pH or some other specific nutrients.
Step 5. Improve Soil Structure
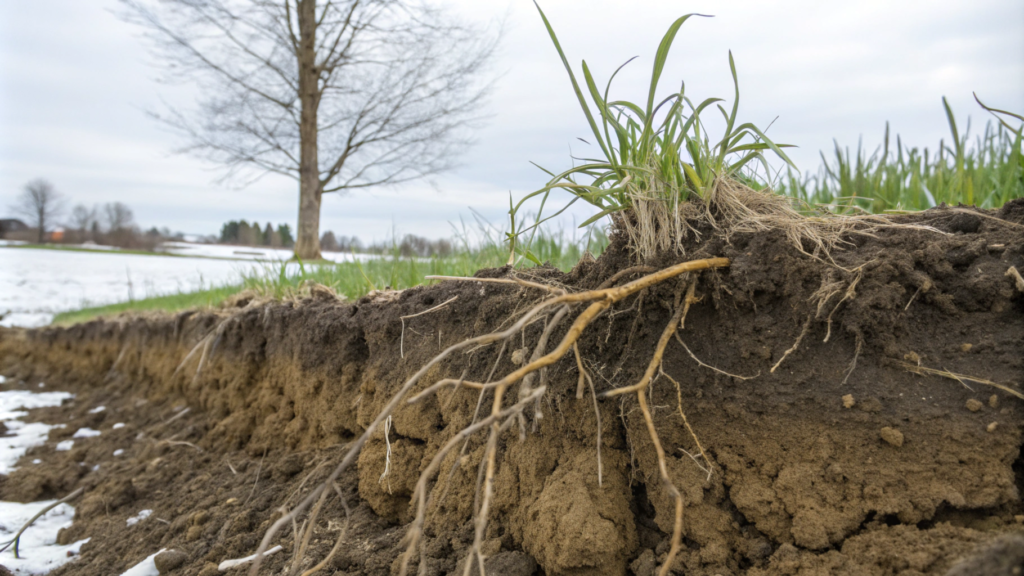
A healthy soil structure should be loose enough for roots to grow, but stable enough to hold moisture. Here are some simple methods for improving soil health in winter.
Consider adding additives like gypsum or sand if you have clay soil
If your soil is clay, you know how difficult it is to dig. Adding gypsum or sand in winter allows these materials to fully integrate, improving drainage and soil texture without compromising future spring plantings. Mastering how to prepare soil for planting vegetables will prevent all the problems with clay soil.
Recommended product. Organic Gypsum Soil Conditioner. It will help loosen heavy clay without changing the pH too much.
Incidentally, tilling the soil can destroy its structure, especially when it is wet and cold. Therefore, it is best to avoid plowing in winter. We need to let natural processes like freezing and thawing do the work of “working” the soil. In permaculture, we often allow earthworms and microbes to gently break down clumps of soil. This creates that soft, fertile soil we love to dig into.
My Winter Soil Preparation Experience: Lessons I Learned
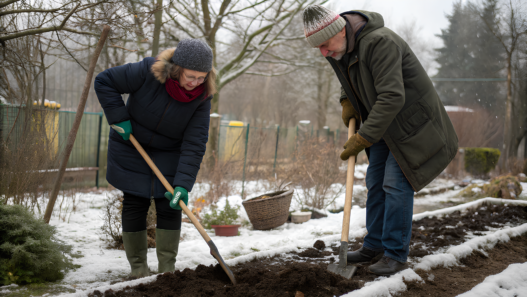
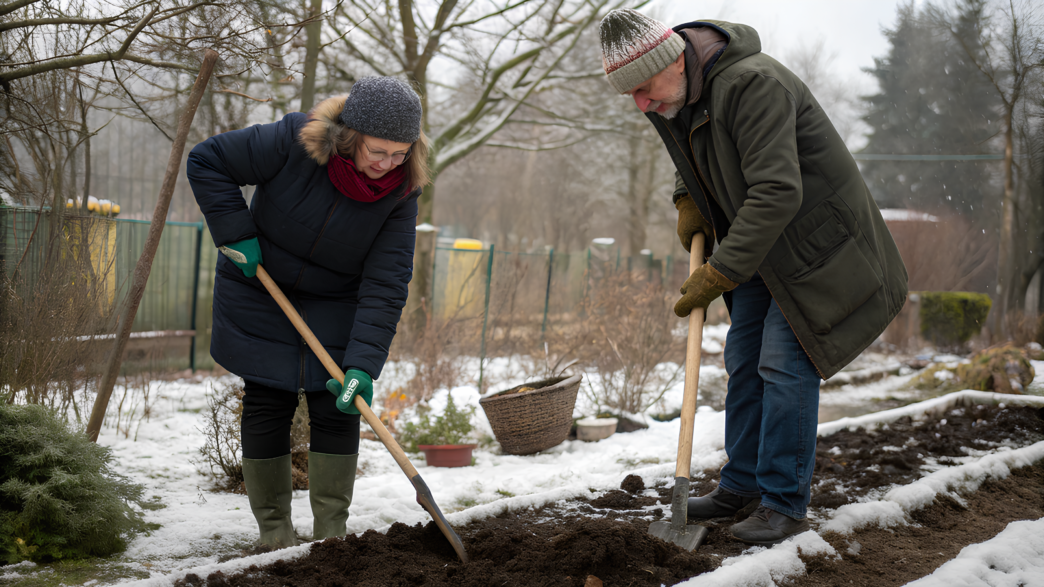
I often think back to the first winter we learned how to prepare soil in winter for spring planting. I wasn’t sure it would work, but by spring our seedlings looked amazing. The soil was completely different – crumbly, rich, and literally bubbling with life. We had our biggest harvest ever that season.
Want to get started? Go ahead!
Winter soil preparation may not look pretty, but it will definitely help you transform your spring garden into a thriving space. So go ahead, add compost, plant cover crops, and give your soil the love and care it deserves. You won’t regret it when spring comes!
