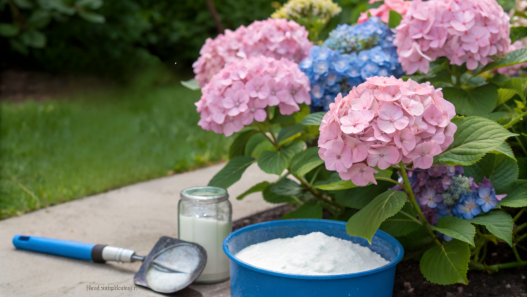

“Just sprinkle a little baking soda — and you’ll get pink blooms.” That’s what almost every garden video says. And I used to believe it — once. Until I burned half a bush and realized: baking soda isn’t a hack, it’s a tool. And like any tool, it only works in experienced hands. Over the past few years, I’ve applied baking soda hydrangea in probably every possible way: into clay, into sand, into containers, into compost tea, into compost itself, during stress, joy, and full-on desperation.
Sometimes it worked — the blooms turned vivid, the plant perked up.
And sometimes… I had to flush the soil, water like crazy, apologize to the plant, and start from scratch.
Now I want to share what actually works — real techniques, nuances, and the mistakes we lived through.
1. Rarely Known Soil Combinations
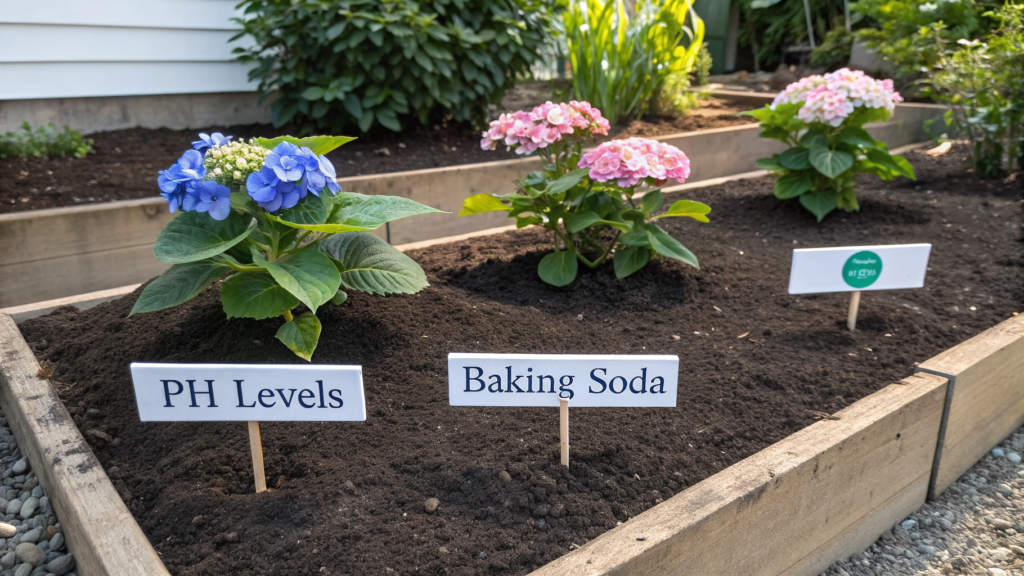
Lindy and I quickly realized: if you want baking soda to actually shift the pH and change your hydrangea’s color — baking soda alone isn’t enough.
It all comes down to what kind of soil it’s working in.
Some soils completely mute the reaction. Others create an overly sharp alkaline spike. And some — are just right. Baking soda acts like a skilled gardener there: gentle, steady, and at the right depth.
Here are four combinations we’ve tested ourselves — some by accident, some after reading a mountain of research.
1. Sandy soil and peat moss
Sand on its own is poor, dry, and too loose. But once you mix in 2 parts of peat moss, everything changes.
- The pH drops (becomes more acidic).
- The mix retains moisture.
- Baking soda works slowly and predictably, instead of washing out with the first watering.
We used this combo for our Endless Summer hydrangea in a container — and within two weeks, it was pinker than the whole previous season.
2. Clay soil and composted pine mulch
Clay is tough. Literally. It clumps, holds too much water, and can shift pH too quickly.
But when you mix in 1 part pine mulch or aged needles, you get:
- Looser texture
- Balanced moisture levels
- And most importantly — a stable reaction with baking soda
Studies show that adding organics to clay soil reduces pH fluctuations by up to 35%, especially when applying alkaline solutions.
3. Garden loam and compost (1:1)
One of the most universal mixes out there. And yes — it’s often the natural soil many of us already have underfoot: slightly dense, with sand and clay content.
Add aged compost and you get:
- Improved structure
- Breathable roots
- Baking soda that acts gently without pushing too far
We love using this combo in raised beds — it’s our go-to, especially when there’s no time for experiments.
4. LECA (expanded clay) and peat moss
If you want something more controllable, this is the ideal mix for pots and containers.
LECA are porous clay pellets that:
- Improve drainage
- Prevent roots from suffocating
- Hold moisture and release it gradually
Mix 1 part LECA with 2 parts peat, add a solution of baking soda (1 tbsp per 1 gallon of water) — and you’ve got a reaction you can actually manage.
If you’ve read about combinations like loess and black soil, or volcanic substrate and peat — yep, they work. And they work great!
But that’s more like expert territory, because:
- Loess is hard to find, unless it’s already naturally in your soil.
- Volcanic soil is sold, but usually as amendments like pumice or basalt dust — and in pricey 2-gallon bags.
- And honestly, working with them requires more chemistry than gardening.
If you’re curious to experiment, you can try adding a little pumice to your substrate (about 2 gallons), especially in containers. But if you’re just getting started — stick with the four combos I shared above. They’re simple, clear, and actually deliver results.
Baking soda doesn’t work in a vacuum. Its effect depends on the soil combo — just like how spices affect the flavor of a soup.
If you’re not seeing the bloom color you want, don’t blame the soda.
Take a look at what’s under your feet — maybe it’s time to tweak your soil mix.
2. Using Baking Soda with Compost Tea
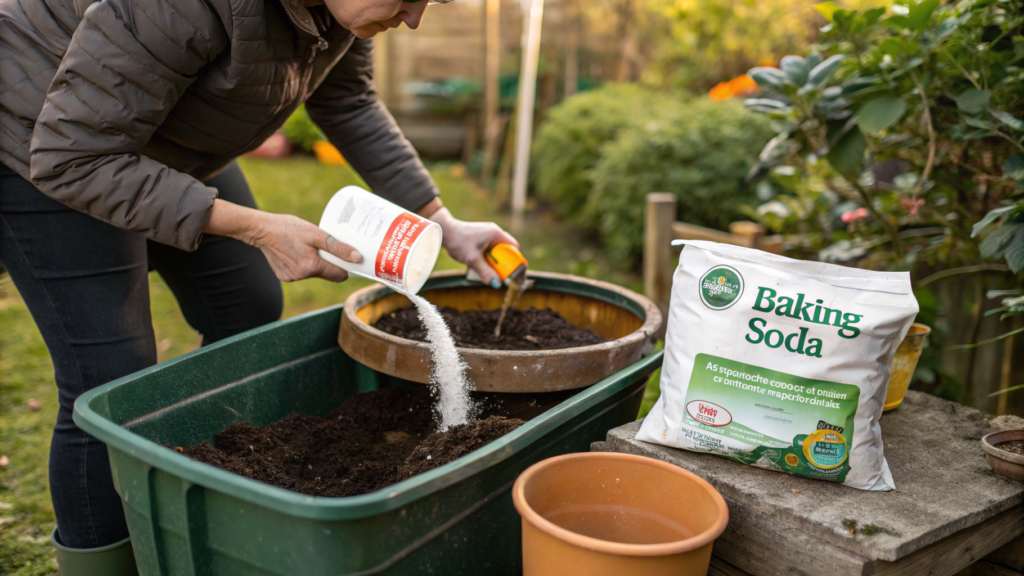
When we first started, the idea of adding baking soda to compost tea sounded… well, strange.
Seriously? Microorganisms and an alkaline substance — aren’t they supposed to be enemies?
But after a couple of experiments and a few evenings with agronomy articles, we realized: it’s not about “yes or no” — it’s about how much, when, and why.
And you know what? Sometimes, baking soda in compost tea is like a secret spice in a sauce: no one notices it, but without it, something’s off.
What is compost tea again?
It’s not some magical elixir — it’s simply a microbe-rich infusion made from mature compost.
We use a mesh bag, kind of like a tea bag but larger, fill it with compost and steep it in 5 gallons (18.9 liters) of water, plus a couple of tablespoons of molasses or fish emulsion to “feed” the microbes.
We use TeaLAB Brew Bag (400 Micron Mesh) — they’re strong and hold up even after dozens of uses.
Why even add baking soda?
Here’s the key: baking soda changes the pH of the water where you’re brewing the compost.
That means the tea becomes less acidic, can help suppress pathogens, and — according to some sources — may improve the availability of macronutrients when applied.
This is especially helpful if you’re growing hydrangeas in heavy, overly acidic soil, and want to push the pH slightly upward.
What dose should you use?
From our experience, we add ½ teaspoon of baking soda per 1 gallon of water (3.8 L).
No more! Otherwise, you risk overwhelming the beneficial bacteria, especially if the tea is aerated.
- For a simple extract (no air pump), you can use a bit more — up to ¾ teaspoon.
- For aerated tea with a pump — stick to the lower dose.
We use this little guy for brewing — Hydrofarm Active Aqua Air Pump (2 Outlet). Small but mighty.
When to apply this tea with baking soda hydrangea?
Evening or cloudy days work best — when the roots are active but not stressed from sun exposure.
We apply it once every 10–14 days, starting in late spring as soon as the plants begin their growth.
And don’t pour it straight at the base. Dilute 1:2 with water and spray it around the base area.
That helps avoid yellowing leaves, especially on sensitive varieties.
A 2022 study from Shihezi University found that compost tea can lower soil pH and increase phosphorus availability, especially in alkaline soils.
That opens the door for more precise control of soil acidity — including through small amounts of alkaline substances like baking soda hydrangea.
Mistakes to avoid
- Don’t add baking soda right after adding molasses — give the tea at least 6–8 hours to brew first.
- Don’t store compost tea with baking soda for more than 24 hours — it loses its biological activity.
- Don’t mix it with acidic fertilizers (like vinegar) — you’ll get a chemical clash.
We recommend starting with just one hydrangea. Measure your soil pH before and 3–4 days after watering. We saw a shift from 5.6 to 6.3, and we could actually see it — leaves thickened, and the blooms looked brighter.
3. How Temperature Affects Soda Reaction

Picture this: you did everything right. Chose the right soil. Measured your baking soda hydrangea. Watered carefully. And in return… nothing.
No pH change, no color shift, no sign that the soda had any effect on the hydrangea at all.
We’ve been there too. And what’s more — the same dose gave completely different results depending on the season. That’s because soil temperature directly affects how baking soda reacts — or doesn’t.
The warmer the soil, the stronger the reaction
In warm, moist soil (starting from 60 °F / 15 °C), reactions happen faster.
Microorganisms are active, water evaporates quicker, and salts (like baking soda hydrangea) enter chemical reactions more readily.
- This means baking soda affects pH faster,
- but also increases the risk of burning the roots, especially if applied to dry soil.
We had a situation like that: in June, during a heatwave, I watered a bush with a soda solution (1 tsp per gallon). The next day — the leaves looked wilted, like they’d been scorched.
Only then did I realize: the soil was dry and hot like a frying pan.
In cold soil, baking soda hydrangea “sleeps”
When soil temps drop below 50 °F / 10 °C, everything slows down:
- Microbial activity
- Baking soda dissolution
- Water movement through the soil
So if you apply soda in April while the ground’s still cold, the reaction may not even start for a week or two — not until the soil warms up.
And the tricky part? You think the dose was too low, you add more…
Then May hits, the weather warms up — and suddenly everything kicks in at once.
What we do now:
- We always pre-water the soil before applying baking soda hydrangea — even with just warm water the day before.
- We never apply it during extreme heat (above 85 °F / 29 °C) unless the plant is shaded.
- We use a soil thermometer — something like the REOTEMP Garden & Compost Thermometer (20” Stem). You just stick it in and forget it until the reading tells you it’s “go time.”
Studies show that pH changes in soil are directly influenced by temperature.
The warmer the soil, the faster microbial and chemical processes activate — including alkaline reactions from baking soda.
Baking soda is like yeast: it only reacts when the conditions are just right.
And soil? It’s not just dirt under your feet — it’s a full-on biochemical environment shaped by heat, moisture, and timing.
4. Small-Space Hydrangea Hacks
Back when we had just an acre and a head full of plans, hydrangeas felt… impractical.
Big. Thirsty. Fussy.
Then we planted one in a 15-gallon container — and we loved it! Because it bloomed better than any bush in the ground.
Since then, growing hydrangeas in tight spaces has become kind of our thing.
Here are five tricks that really work — even if all you have is a patio, a flowerbed, or a little gravel patch behind the garage.
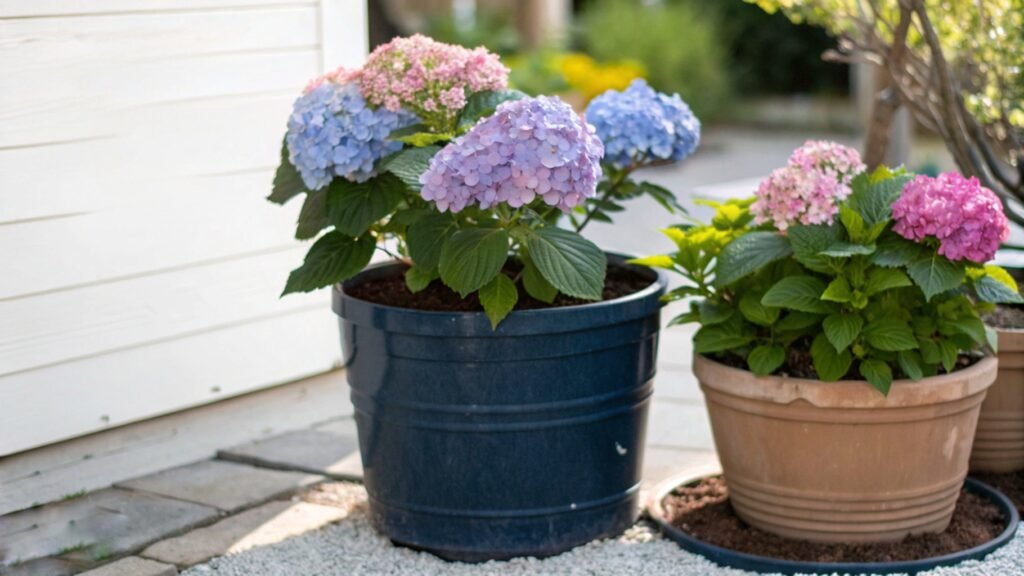
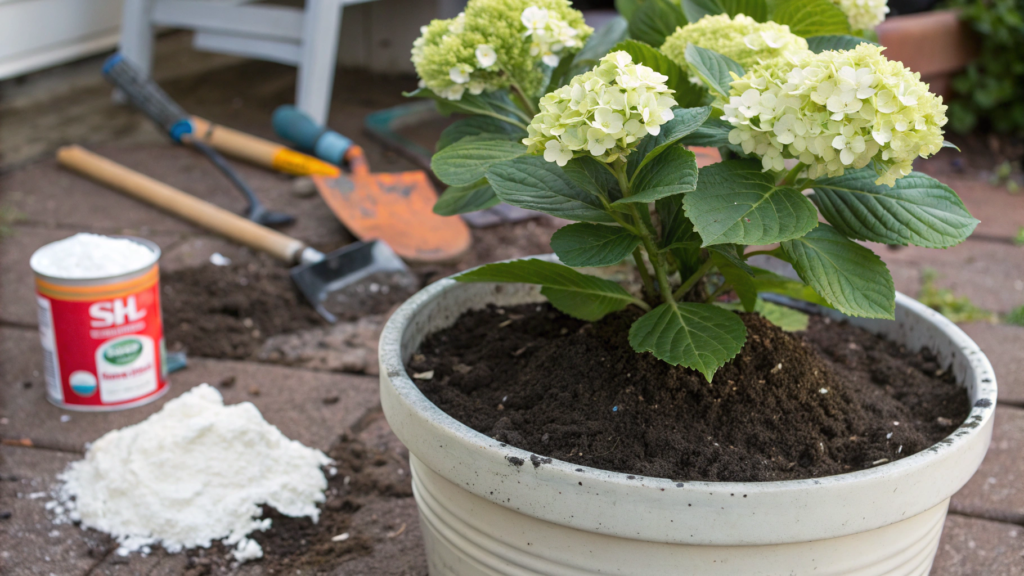
1. Plant in containers — but do it smart
A container isn’t just a “pot.” It’s a controlled ecosystem.
The sweet spot is 15–20 gallons (57–76 liters). Any less, and you won’t get hydrangeas — just “moody bonsai.”
We use the The HC Companies Heavy Duty 20 Inch Planter — lightweight, sturdy, and it doesn’t overheat in the sun.
Lindy’s tip. Always place a piece of mesh at the bottom and toss in a couple handfuls of LECA or gravel to keep water from pooling — especially important in hot climates.
2. Shape the plant to fit your space
A hydrangea in a container doesn’t need to be a giant ball spilling into the walkway.
We prune the side shoots, leaving three or four strong stems. The plant grows upward, not outward — more like a lantern than a globe.
Perfect for narrow spaces, along paths, or near entryways.
Yes, the first year or two it may look a little bare at the bottom.
But once it fills in? A full crown with no scratched-up legs from overhanging leaves.
3. Light, not harsh sun
The beauty of containers? You can move them.
Find a spot with gentle morning sun and afternoon shade.
This is especially important for varieties like Endless Summer or Blushing Bride, which can get scorched by full sun.
We keep ours along the east side of the house, tucked just under the roofline. Honestly, it’s one of the smartest design moves we made per square foot.
4. Micro-drip system or narrow-spout watering can
Containers dry out fast. Top-down watering often isn’t enough.
The ideal setup is a drip irrigation system. You can hook it to a hose, set a timer — and it waters itself with no puddles.
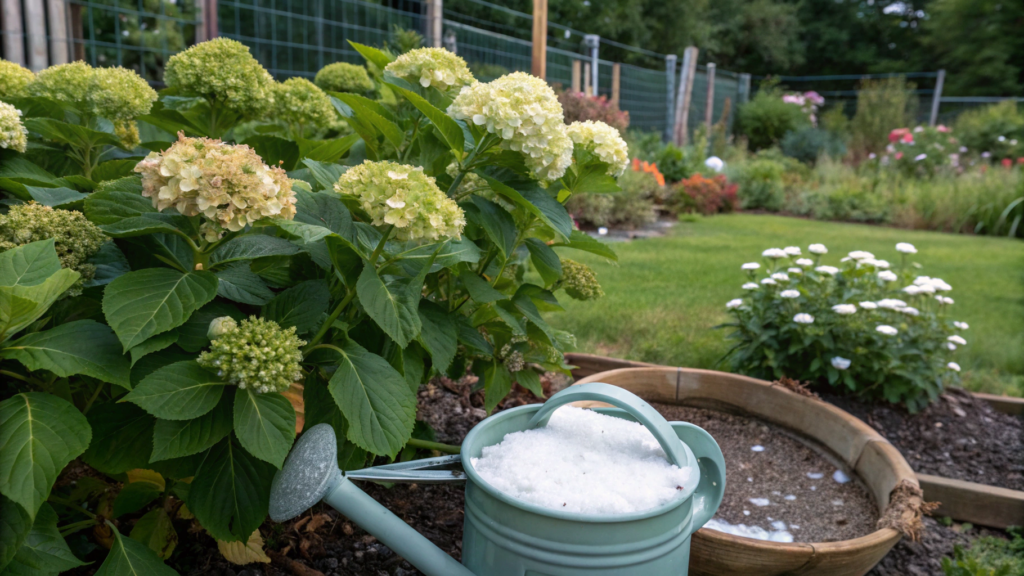
If you’re not into systems, just use a watering can with a narrow spout.
Water around the center, avoiding the stems — this really helps prevent fungal issues.
5. Add baking soda — but not “by the book”
Containers respond to baking soda faster and more intensely than open soil.
After testing, we settled on a safe dose: ¼ teaspoon per 1 gallon of water (3.8 L) — and only on moist soil, never dry.
One time I added a bit more (without checking), and the bush drooped in two days.
We had to flush it and mulch like crazy to save it.
Bonus tip: mix and match
In one of our containers, we grow hydrangea and lavender together.
Why?
- Lavender keeps aphids away,
- Hydrangea provides shade,
- And visually? It’s like a tiny Mediterranean garden.
Even in a single barrel, you can create a small-scale scene — if you choose the right plant partners.
5. Baking Soda and Epsom Salt: Is It Worth It?
If you’ve spent any time on Pinterest or YouTube, you’ve definitely seen this one:
“Mix baking soda and Epsom salt — and your hydrangeas will bloom so hard your neighbors will bring cameras!”
Sounds tempting. We tried it. And… the results? Let’s just say we weren’t blown away.
So what does Epsom salt actually do? Epsom salt is just magnesium sulfate (MgSO₄).
It helps with:
- nitrogen and phosphorus uptake
- photosynthesis
- deep green foliage
But it’s not a fertilizer — more of a micronutrient supplement. It only works if your plants are magnesium-deficient.
One season, our Blushing Bride hydrangeas had pale, yellowing edges on the leaves. We mixed 1 tbsp of Epsom salt per gallon of water and watered once every 3 weeks.
After a month, the leaves darkened — but flower production dropped. Weird tradeoff.
And what’s baking soda doing in that mix? As you probably know, baking soda raises soil pH, making it more alkaline — which pink hydrangea varieties love.
But! Mix it with magnesium sulfate and you create an alkaline environment where magnesium stops being bioavailable.
So instead of a magical mix, you end up with… a chemical stalemate.
According to WSU Extension, Epsom salt only helps when magnesium is lacking. And in alkaline soil (thanks to baking soda hydrangea), magnesium gets locked up.
Clemson University backs this up: don’t apply Epsom salt without a soil test — it could do more harm than good.
Bottom line? This “perfect combo” can cancel itself out.
When you should not do it:
- Your soil is already alkaline (pH 7.0+)
- Your hydrangeas are actively blooming
- You’re using baking soda to change bloom color and don’t want anything interfering
When it might be worth trying:
- You see signs of magnesium deficiency:
- yellowing between leaf veins
- weak or pale foliage
- yellowing between leaf veins
- Your soil is acidic (pH below 6.0)
- You apply Epsom salt separately, not mixed with baking soda
We use Epsoak Epsom Salt (5 lb Bag) — pure, unscented, and garden-safe.
Baking soda and Epsom salt are like two strong ingredients — but not for the same recipe.
Each one can help on its own, but together? They cancel each other out.
Use them separately. Trust us — we tested it in our own containers.
6. Microdosing Baking Soda: What the Research Shows
We all know the temptation: “Bush looking pale? Add more baking soda — it’ll bloom like crazy!”
But baking soda isn’t sugar or mulch. A generous hand can burn the roots, block nutrients, and crash the pH so hard no hydrangea can handle it.
After one of those “generous seasons” (I tossed in a couple tablespoons into a pot), I had to spend three weeks fixing the soil — the bush barely made it.
When the soil pH jumps — and soda does that fast — the plant stops absorbing key micronutrients, even if they’re right there in the soil.Iron is the first to disappear, then manganese, zinc, and others.
That’s exactly what Texas A&M warns about: alkaline soil may look okay, but it “shuts the plant’s mouth” — as if it’s starving while sitting in a soup of fertilizer.
How we microdose now — step by step
After a few rough failures (like nearly “killing” the potted bush), we created a clear system:
- Make a weak solution — ¼ tsp of baking soda per 1 gallon of water (3.8 L). Room temperature — not hot, not cold — to protect the roots.
- Check the soil first — if it’s dry, water with plain water. Then, after 2–3 hours, apply the soda mix. This prevents “burns” and lets it work slowly.
- Frequency — only once every 10–14 days. No more. Only during growth season (late spring to late August). Stop completely in fall.
- Track how it reacts — we test pH after 3–4 days using strips or drops. If it’s over 7, we pause for a month. Sometimes we skip soda and go for mulch or vinegar instead (if we want blue blooms).
That approach gave us the most stable and safe hydrangea behavior ever. Blooms come without drama, no leaf “burning,” no root shock.
In pots, the effect shows in 5–7 days. In ground soil — it’s slower, but steadier.
Microdosing isn’t trendy. It’s survival. This isn’t about being trendy. It’s just the only way to use baking soda and not wreck your hydrangea.
And it’s all about control. A real gardener doesn’t just throw stuff in — they add drop by drop and pay attention.
7. Unexpected Side Effects & What to Watch
Baking soda can be tricky. At first, everything seems fine: shiny leaves, lush blooms, pH in check. And then… boom — the bush acts like it’s offended. eaves turn pale. Growth stalls. Water doesn’t seem to “reach” the roots.
And you’re left wondering: what went wrong?
Turns out, soda’s effects don’t always show up right away — and rarely how you expect.
What to watch for:
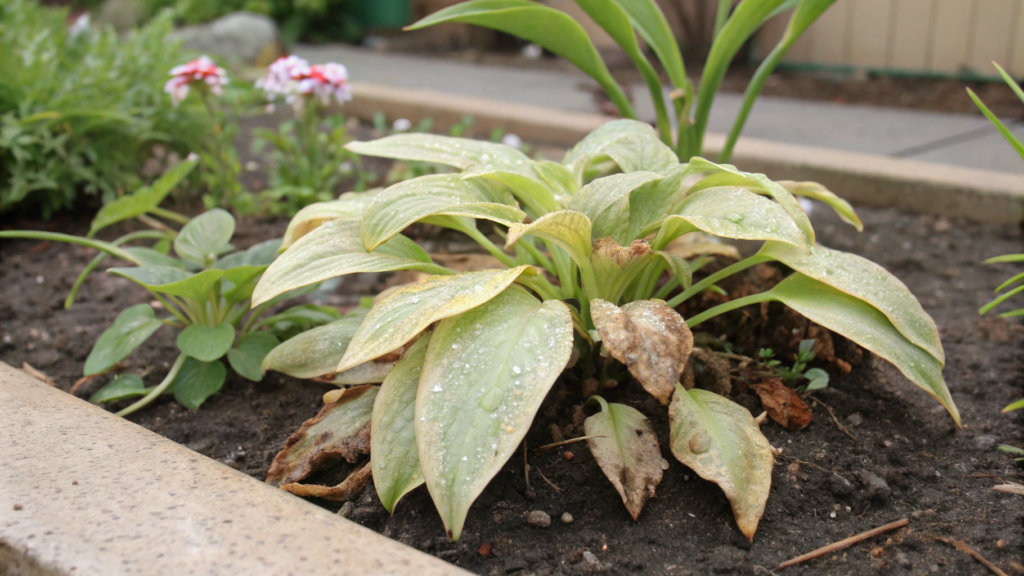
- Crispy leaf edges. First sign of an overdose. Especially if you applied it to dry soil.
Solution: flush with plain water, add mulch. Hold off on all treatments for 2–3 weeks. - Yellowing between veins (iron chlorosis). The soda pushed pH over 7 — and now the plant can’t absorb iron.
Solution: add an iron chelate fertilizer and stop using soda for a while. - Soil looks dusty, like ash. That means salt buildup — especially in containers.
Solution: give a deep watering until water flows freely from the drainage holes. - Bush seems to stop growing. Happens with regular microdosing and no breaks. Even tiny doses.
Solution: let the soil rest. Sometimes for a whole season. Use compost, mulch, or aged manure instead of soda.
What we do now to stay out of trouble:
- Every spring, we test soil pH before the season starts — even if everything “seems fine.”
- We log every soda treatment in a notebook: date, dose, and which hydrangea variety.
- Every 4 weeks, we pause and check how the plant’s doing.
- We skip soda completely if the bush is already blooming and healthy. Why treat what’s not sick?
Soda is your helper
So yeah… baking soda is like an old friend — helpful, but dangerous if you don’t respect the limits.
It’s not a miracle solution. It’s a way to fine-tune the soil — gently, precisely, depending on the variety, the season, and your patience.
If after reading this you think: “Hmm, I should probably test the soil first before using soda,” — then this post did its job.
And if you want to share your own experiments in the comments — I’d love that.
Those of us who love hydrangeas and aren’t afraid to dig deeper always have something to talk about.
And may every season bring joy — even if not everything goes to plan.


