We all have been there! You are left with an abundant harvest from your garden and want to preserve it for the next season but don’t know the steps to canning tomatoes with citric acid.
I’ve been preserving different vegetables for almost a decade and use these 7 steps to canning tomatoes with citric acid:
- First, gather all the required ingredients and supplies
- Then prepare the tomatoes using Raw Pack or Hot Pack methods
- Now sterilize the canning jars in boiling water
- Pack the tomatoes in them
- Next, add citric acid on top of the tomatoes in the canning jars
- Remove the air bubbles from the filled canning jars and seal the lid
- Process the filled jars in a water bath canner and store them in a cool place
Below, I’ll walk you through the 7 steps I follow to canning tomatoes with citric acid, which will help you preserve those juicy fruits and extend their shelf life for months.

How do you use citric acid for canning tomatoes?
Citric acid is a safe and effective alternative to lemon juice to canning tomatoes without losing their flavor.
If you are a novice and don’t know the process, let’s explore these 7 steps to extend the shelf life of your jars of tomatoes.
1. Gather Ingredients and Supplies
Trust me when I say the steps for canning tomatoes with citric acid are like a cool breeze in hot weather.
To start things off, gather all the required ingredients and supplies to create those perfectly preserved jars.
Here’s what you’ll need:
Ingredients:
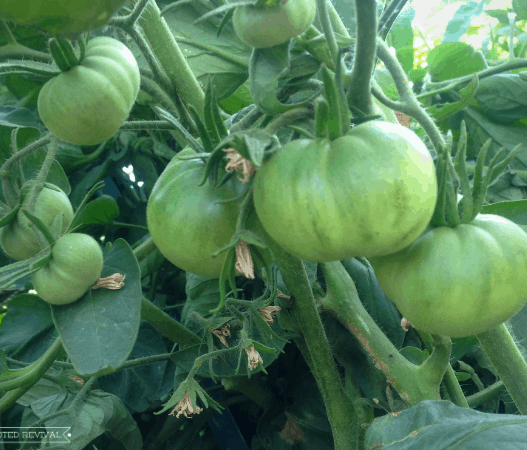
- Tomatoes – I use fully ripe, undamaged, and washed tomatoes
- Citric Acid – ¼ teaspoon per pint or ½ teaspoon per quart
- Boiling water
- Hot water
Supplies:
- Canning jars and lids – a pint or quart size
- Water bath canner for processing the filled cans
- Debubbler for removing the bubbles
- Canning funnel and jar lifter
- Oven mitts – I love using the OveGloves.
After gathering everything, you are all set to move to the next step!
2. Prepare Tomatoes
The second step is to prepare the tomatoes for canning. I use the Raw Pack and Hot Pack methods to preserve the essence of this summer fruit.
Let’s take a look at both, and you can choose any of these two approaches that suit you best!
The Raw Pack method helps me keep things simple and preserve the natural texture and taste of the tomatoes.
Here’s how it goes! Take your tomatoes, remove their skin, and poke holes in them to remove some of the trapped air inside. Now, let these fruits dry on a towel in an open area.
Whenever I have extra time and want better results, I go for the Hot Pack method to can my tomatoes.
For this, boil your tomatoes in water for 3-5 minutes and then transfer them immediately to another bowl to let them cool down. Next, either use whole tomatoes or turn them into a sauce using a tomato strainer.
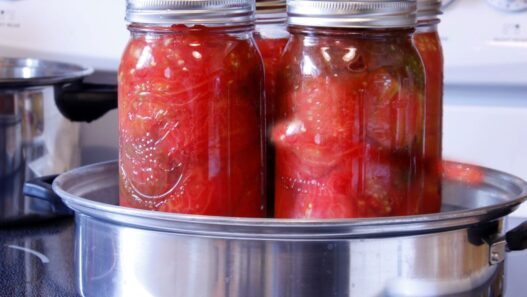
3. Prepare Canning Jars
Alright, my fellow tomato canners! This step is all about preparing the canning jars so they can keep your tomatoes safe and delicious.
For this, put the canner tray at the bottom of the water bath canner and load your jars without the lids above it. Now, fill the canner with enough water to cover the canning jars by 1 to 2 inches, and put the lid on the pot.
Next up, place the canner on the stovetop, put a kitchen thermometer inside, and start boiling the water until it reaches 140 F to 212 F. Continue simmering the jars at this temperature for at least 10 minutes or an extra 1 minute for every 1000 feet above sea level.
Oh well, you also need to sterilize the lids now! Simply add some boiling water to a bowl, put the lids inside, and wait for 10 minutes.

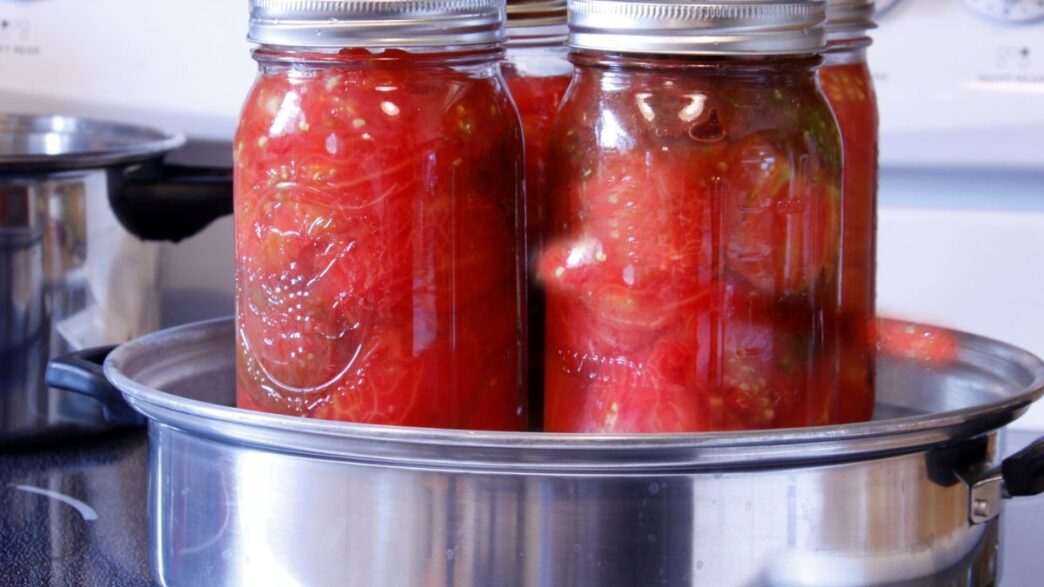
4. Pack Tomatoes In Jars
We’ve reached the step where the real magic begins – filling the jars.
For the Raw Pack method, simply put your whole tomatoes into the jars and fill them with some hot water.
If you choose the Hot Pack method, put the funnel in the jar, place a bay leaf at the bottom, and start filling them with the boiled whole tomatoes or the sauce/puree.
As you fill the jars, leave about ½ to 1 inch of headspace to allow room for expansion while processing the cans.
5. Add Citric Acid
Don’t rush, pals! After you pack the tomatoes in the jars, you need to add some preservatives at the top to maintain the acidity level and extend the shelf life of your jars.
Just add ¼ teaspoon per pint or ½ teaspoon per quart of citric acid to each jar and clean the rim using a damp cloth or paper towel to remove any residues.
6. Remove Air Bubbles and Seal Jars
You’ve almost reached the finish line of your tomato canning process with citric acid!
Take a debubbler – a non-metallic utensil or plastic/wooden chopstick, and carefully run it around the inner walls of the jar to ensure there are no air pockets that could lead to spoilage later.
Now, double-check that the jar rims are still clean, secure the lids, and tighten the fingertip of the band to create a proper seal for the next process.
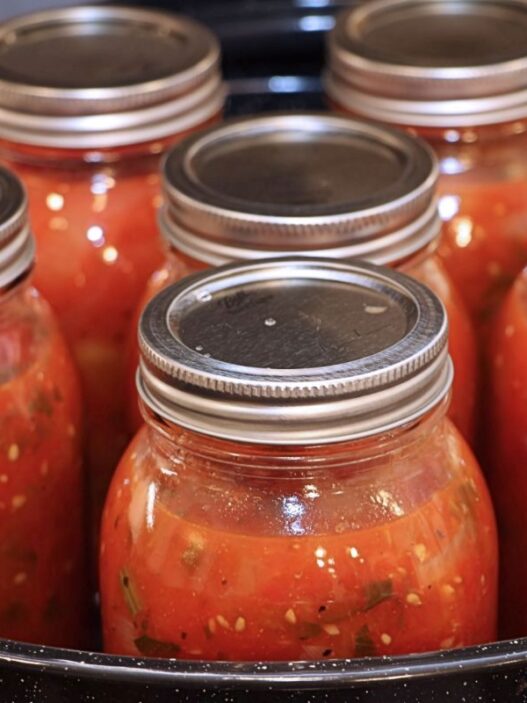
7. Process and Store Jars
The heart and soul of the tomato canning with citric acid are processing the jars in the water bath canner to vacuum-seal them and kill any remaining harmful bacteria to preserve the content for the long haul.
How to do this? Simply put the sealed jars in the canner, cover them with water with at least 1 inch, and boil them for 40 (pint jars) or 45 (quarts) minutes.
Now carefully remove the jars from the canner using the jar lifter and allow them to cool down.
Finally, label each jar with the preservation date and store them in your freezer or pantry for up to 1 year.
Wrapping Up!
Give yourself a pat on your shoulder, fellow canners, because you followed all 7 steps to canning tomatoes with citric acid like a pro!
Remember, it doesn’t end here! Armed with this method, you can now preserve other vegetables in your garden in almost the same way.