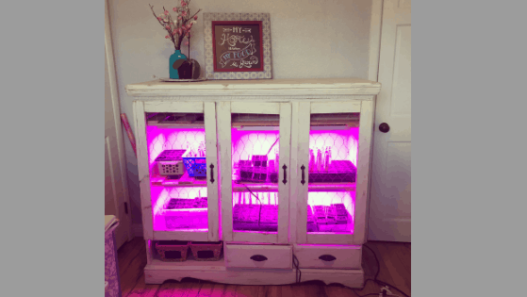
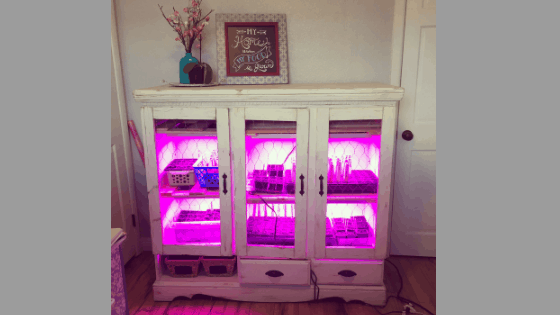
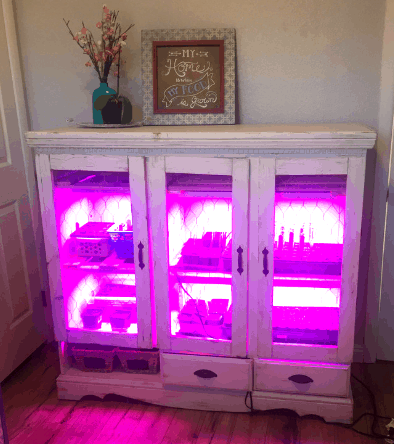
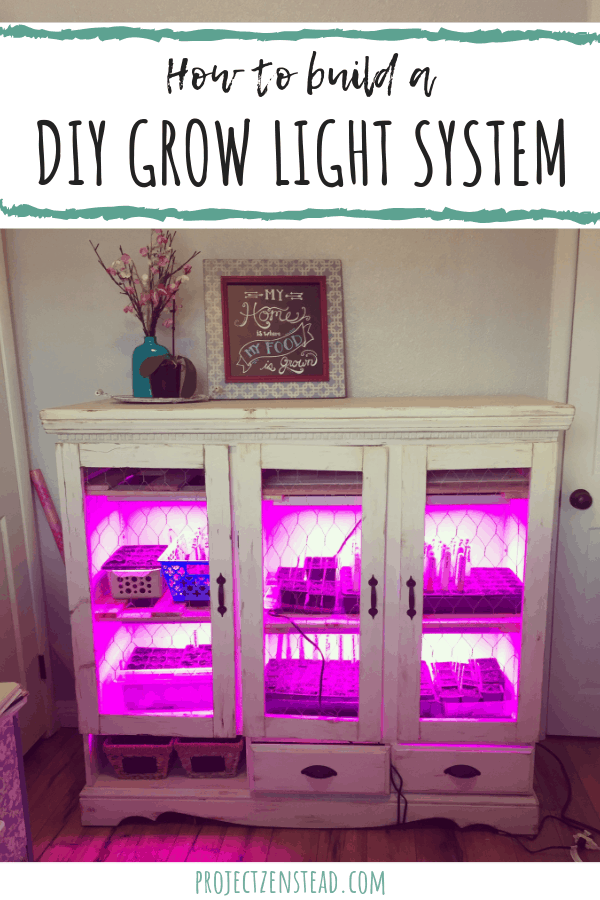
Here’s how we created a DIY grow light system for indoor seed starting using an old entertainment cabinet! A grow light system lets you grow healthy seedlings anywhere – no natural sunlight needed!
From brooder to grow light system for indoor seed starting:
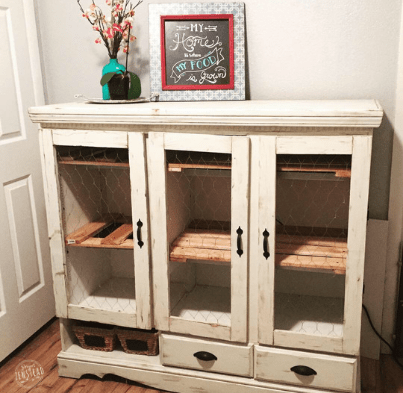
Two years ago, we turned an ugly broken entertainment center into a gorgeous chick brooder (full details and step-by-step info in this post!). The cabinet was beautiful and functional and it worked fantastic as a brooder!
There was just one problem… the dust and dander!
If you have raised chicks indoors, you know that trying to control the dust and dander can be a real struggle! Those adorable little fluff balls put off a huge amount of dander as they preen themselves and grow their feathers. We use puppy pads instead of shavings or straw, but there was still a ton of dander! And with my allergies, it just wasn’t working out!
Last Spring, we put our chicks in a spare outdoor coop with a broody hen. Let me tell you – this is the easiest way to raise chicks, in my opinion! You don’t even need heat lamps! The broody hen does all the work for you!
This left us with an empty brooder cabinet. Ahhh… endless possibilities!
We didn’t want to the brooder cabinet. But we also didn’t want it sitting empty, taking up space in our small house. We were in desperate need of a proper place to start all of our plant seedlings. And ya’ll know I need all the plant room I can get! So, we decided to transform the brooder into a seed starting setup where I can grow all my baby plants!
All about our DIY Grow Light System for Seed Starting:
Products We Used for Our Grow Light System:
**This post contains affiliate links. We may receive a commission at no expense to you if you choose to sign up for services using these links. See our full affiliate disclosure here. Thanks for helping support this blog! **
The Cabinet:
We picked up the cabinet for free from Craigslist. It’s solid oak, so I sanded, painted and antiqued it! We covered the walls with waterproof Polywall paneling and caulked it so that it would be waterproof – perfect for baby chicks or baby plants! We also drilled two holes in the back wall so that we could run in electrical cords for heat lamps (for chicks) or heat mats and grow lights (for plants).
Check out this post for the full step-by-step instructions and pictures of how we originally renovated the cabinet!
The Shelving System:
We really didn’t haven’t to change much to transform the cabinet from a brooder to a seed starting setup. The main thing we did was add shelving – which was super easy and fast to install! We used wall-mounted shelving tracks and shelf clips.
The shelf clips can be easily moved so that we can adjust the height of the shelves. We can also remove the shelves altogether in case we want to use the cabinet as a brooder again!
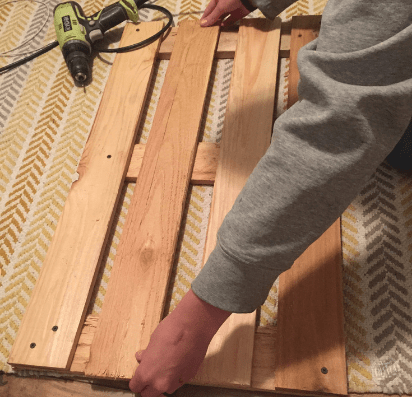
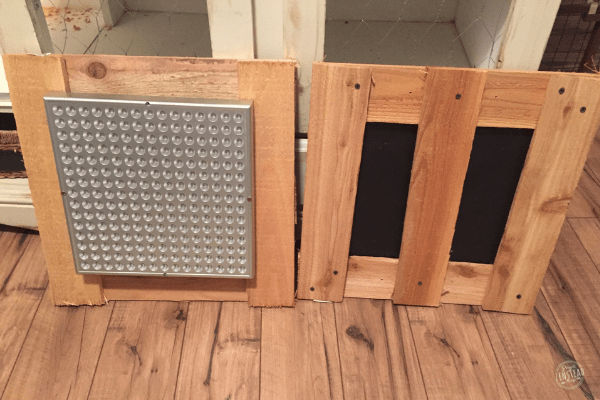
The shelves themselves are hand-built by yours truly! We wanted the shelves to fit like a glove, so making them ourselves was the best option. We used cedar fence panels, which are also super affordable and easy to work with!
The Grow Lights:
The beauty of using grow lights is that you aren’t confined to keeping your plants in an area where there’s natural sunlight. This is a huge advantage for us since we live in a smaller home and we don’t have much extra room! The grow lights also provide more controlled hours and intensity of light. This helps prevent “legginess” and stretching which happens when plants stretch towards the light source.
We purchased these Hytekgro grow lights from Amazon. They are considered “beginner grow lights” but they are much more affordable than professional-grade grow lights. The lights are LED so they are extremely cool to the touch and won’t run up the electric bill, even after 12+ hours of use each day! They come with a 12 month warranty and are available in a variety is sizes and shapes.
Grow lights need to be raised and lowered according to your seeds’ stage of growth. Again, this will help reduce stretching. The Hytekgro lights do come with a small hanging suspension cord that is adjustable. However, we decided that it would be easiest for us to attach the lights directly to the bottom of our shelves. The lights have holes for screws so they were very easy to attach. Since our shelves are easy to adjust, we will raise and lower them as needed.
The Heat Mats:
Soil temperature is very important for plant germination! Each seed has a different soil temp that signals the seed to start growing. Soil temps generally drop over night, so a heat mat will help to keep your soil temp constant. Bottom heat can increase the soil temps by 10-20 degrees, which can speed up the germination process considerably.
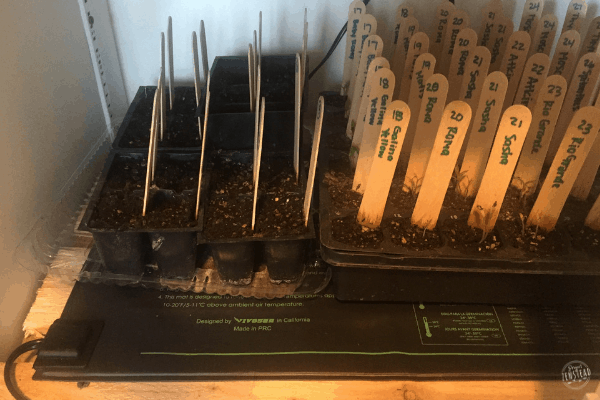
We use VIVOSUN heat mats which are durable, waterproof, and maintain the correct temps for our baby plants! Once seeds germinate, they no longer need the heat mat. We have two heat mats, so once the seeds in one tray germinate, we remove the heat mats and move the mats under a new tray of seeds.
The Results:
We seeded almost 50 varieties of warm crop veggies, herbs and flowers last week. They have been in our new seed starting cabinet for just under a week now. I’m happy to report that about 50% of them have already sprouted and more are popping up daily! The seeds that have the heat mats under them were the first ones to germinate. Since I only have the two heat mats, I will rotate them under the other trays once these ones finish germinating.
I’m really happy with our grow light setup. It is such a huge improvement from our “system” in the past, which consisted of a bunch of seed trays in our one south-facing window! I have a lot more room now which means that I can start more plants from seed which saves us money. I also believe that this grow light system will help us have better germination and survival rates!
And really, is there anything that feels better than watching those little seed babies pop up?! What kind of seed starting system do you use? Share with us in the comments!




What a great way to reuse a cabinet! I like that it doesn’t look industrial, but is more a part of your house. I’d love to do something like this in the future.
This is amazing, I didn’t realize you could do this inside! I’m a gardening newbie and this post was so informative for me so thank you!!
Wow! This is so cute! And I recognized it immediately from the DIY chick houses post! Haha
You’re also giving me the gardening bug! I’ve been on my husband to get something ready… I see everyone starting their seeds and I hope it’s not too late for us to have a garden this year!
This is the cutest setup I’ve seen. I love the homey feel to it, and I’m a sucker for diy projects.
That’s such a good way to have a seed starter setup! My setup doesn’t look as cute, but it gets the job done. We bought metal shelving and fluorescent lights to hang up under each shelf. I haven’t tried LED lights yet. I’m curious about what the difference would be.
Amazing, what a nice decoration too. Way to go.