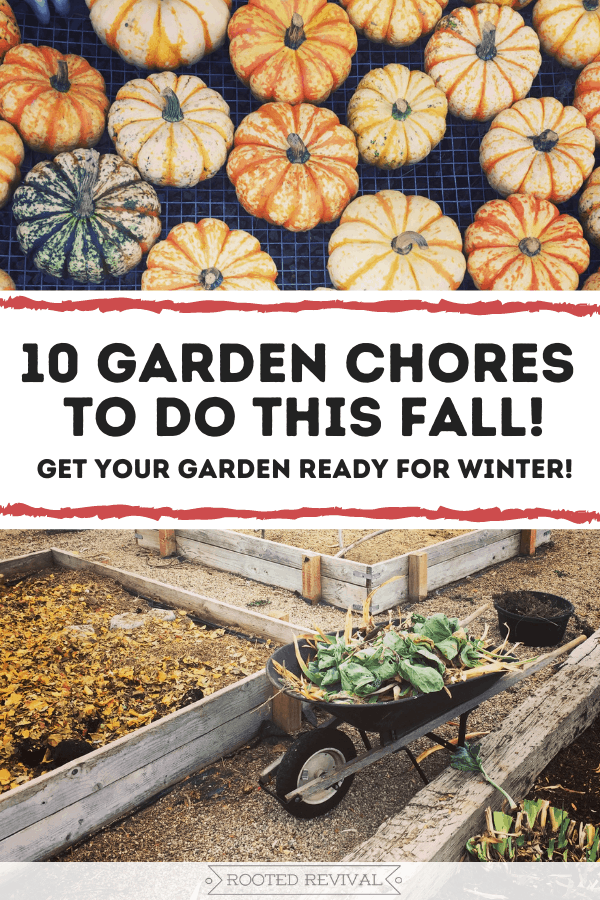
Do these 10 fall chores to prepare your garden for winter, increase your soil’s health, and set your organic garden up for success!
The summer garden season has finally come to close! Time to relax and enjoy the bounty of your harvest… almost! But first, we need to make sure that our gardens are set up for success for the winter season! Properly preparing our gardens for winter is an essential part of organic gardening. And, surprisingly, there are actually quite a few chores to do before the snow starts falling!
Check out this post to learn more about how we prepare our homestead for winter – plus, get a free checklist!

Prepare Your Garden for Winter: 10 Chores to do this Fall!
1. Leave the leaves
Want a super easy way to prepare your garden for winter? Leave the leaves!
There’s a reason that nature drops it’s beautiful leaves for us each year! Decomposed leaves are extremely beneficial to soil! As the leaves decompose, they help increase organic matter and improve soil tilth (click here to learn how to easily test your soil texture at home!). They also help feed beneficial microorganisms and provide a habitat for overwintering bugs, butterflies and small animals!
I can tell a dramatic difference in the areas of our garden that received a healthy covering of leaf mulch in the fall! By spring, the soil is much darker and richer than other areas. It’s also teeming with earth worms!
Whenever possible, leave your leaves! Let them fall in your garden and flower beds and stay there to do their important work. If you are worried about the leaves that fall on your lawn, you can rake them into your flower beds or garden area.
2. Make leaf mold
If you must rake up your leaves, put them to use by making leaf mold! Leaf mold is a form of compost made from fallen leaves. It’s extremely beneficial to your soil and will work wonders when you add it to your garden!
To make leaf mold, rake up your leaves and put them in a pile. As with any compost, the smaller the particles, the better they will break down. We use a leaf blower with a bag on it that sucks up the leaves and mulches them into smaller pieces. You can also use a chipper or break them into smaller pieces by hand.
To keep your leaves from blowing away while they compost, it’s ideal to encircle your pile with some wire fencing or old pallets. Pack the leaves in as tight as you can! Then, let the leaves sit and decompose over winter. You may need to water the pile from time to time if you have very dry winters. By spring, you will have a pile of beautiful, dark, carbon-rich mulch to use in your garden!
3. Care for your compost

Speaking of compost, don’t forget to prepare your compost pile for winter! It’s important to get compost nice and hot so that the microbes can keep working on the pile throughout winter. Turn your compost to increase oxygen and help heat up the pile.
If you live in a dry area like ours, you may also need to regularly water your pile in the fall to get the correct moisture level. Of, if you live in a wet region, you may need to provide a cover or rain shelter to keep it from getting too wet! You will also want to make sure your pile is a good size (3 feet x 3 feet x 3 feet is ideal) so that it can retain heat in the colder weather.
Here’s a great article that goes into even more detail on winter composting from Earth 911.
4. Plant cover crops
Cover crops are excellent allies in the no-till gardening world! Growing a fall cover crop can help replenish vital nutrients and protect your soil as you prepare your garden for winter. If your garden has been heavily producing all summer long, fall might also be a good time to give it some extra love and nutrition!
We rotate through our garden beds, giving them breaks during different seasons. For instance, I will grow beans and peas (which are nitrogen fixing plants) in a bed one year. The next year, I will grow garlic (a heavy feeder) in that bed. Once the garlic is harvested in mid-summer, I plant a late summer cover crop of oats and buckwheat.
There are many cover crops that you can plant in early fall, after the summer harvest is finished, that will continue growing until the ground freezes. If you want to learn more, here’s a great guide to fall cover crops from High Mowing Organic Seeds.
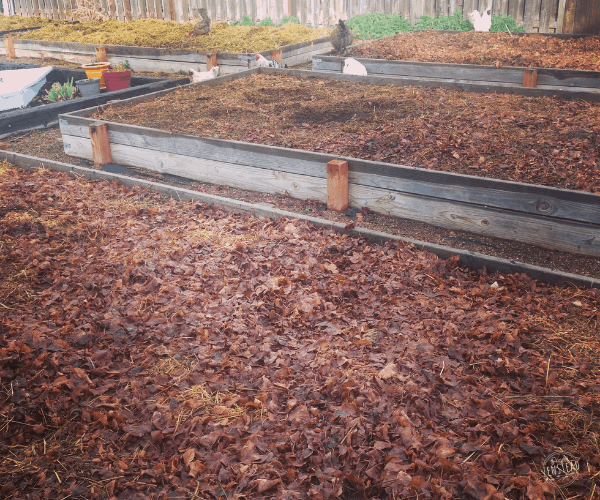
5. Cover your garden soil

One of the most vital things you can do to prepare your garden for winter is to cover your soil! Just like our skin, we also don’t want our garden soil exposed over winter!
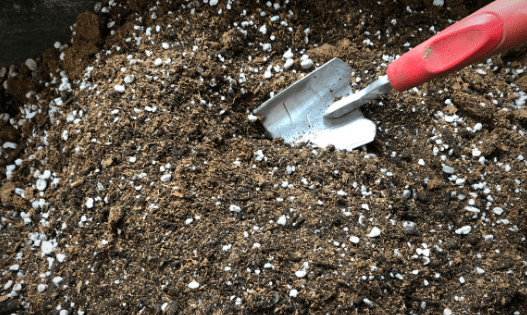
Applying a 2-4 inch layer of compost and mulch to your garden beds will help protect your soil from blowing away in heavy winds. Mulch also helps protect and insulate your soil and the microorganism in it. And, as the mulch decomposes, it will increase the organic matter in your soil, which helps condition your soil and increase its tilth. Some options for mulch include wood chips, grass clippings, leaves, straw, hay and plant matter. Just make sure that your mulch comes from a healthy, natural source!
According to no-till garden practices, we keep our soil mulched at all times. But we add an extra thick layer of mulch and compost in the fall. We are lucky enough to be able to source our mulch right here from our own homestead! Our mulch is primarily comprised of composted items including wasted non-GMO alfalfa from the goats, grass clippings, kitchen scraps, used pine shavings from the chickens, leaves and chicken/goat manure.
6. Save seeds
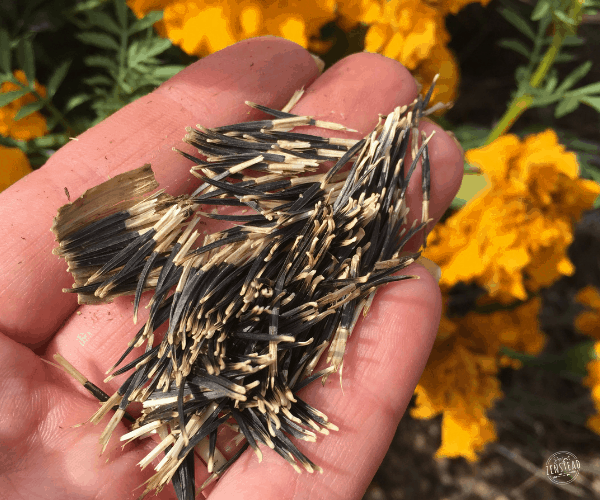
Fall is the ideal time to save seeds! Even if you aren’t an avid seed collector, why not let nature do it for you? I always let certain crops (arugula, lettuces, carrots, radishes, etc.) bolt and dry in the garden. The leaves and seeds drop in the fall when the plants die back. They provides organic matter to protect and nourish the soil and new plants pop up each spring after reseeding themselves! It is important to note that only healthy, non-diseased plant material should be left in the garden overwinter.
7. Remove spent plants & fruit
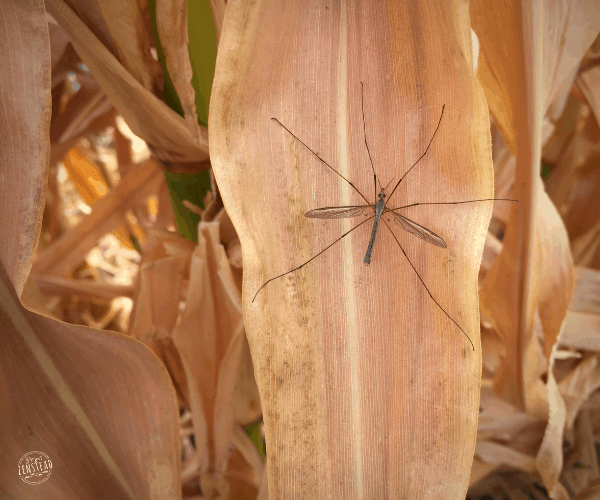
As a no-till gardener, I leave my soil as undisturbed as possible. This keeps all the vital layers of roots, Mycorrhizal fungi and micro-organisms intact. It has also been shown to decrease soil compaction compared to traditional tilling methods.
When it’s time to remove summer crops, I cut the plants at the soil level, leaving all the roots under the soil undisturbed. Over time, the roots will decompose to feed the microorganisms and aerate the soil.
I do leave some plants (like flowers, greens, herbs and corn stalks ) in my garden to die back naturally. They provide a nice habitats for beneficial insects (like butterflies, moths, ladybugs and praying mantis) that overwinter in the garden. I also let radishes bolt, collect the seeds, and then leave the bulb in the soil. The bulbs will decompose, aerating the soil and providing extra food for the micro-organisms.
I do remove any plants that are unhealthy or look diseased. I also remove the plants that are most likely to create fungal issues in the soil, like nightshades and cucurbit family plants. And, of course, I remove any old or rotting fruits (like tomatoes) which can spread fungal diseases in the soil.
8. Dig your roots
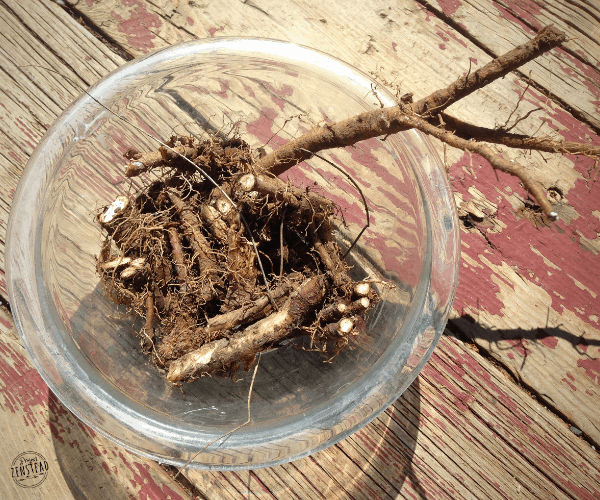
Fall is the best time to dig up and harvest beneficial roots, like horseradish, burdock and dandelion. Roots should ideally be harvested after the frost but before the ground freezes. As a rule of thumb, I usually harvest around 30% – 40% of the root matter and replant the other 60% – 70% so that the plant can regrow and be harvested again at a later time. Each plant is different though, and it may take several years before it can be harvested again!
Here’s a great guide from the Herbal Academy about roots that can be harvested in the fall and how often they can be harvested.
9. Plant seeds & bulbs
Many seeds and bulbs do best when planted in the fall, and some even require a cold season before they can germinate in the spring. Bulb flowers (like tulips, daffodils and iris) are ideal to plant in the fall for spring color.
Wildflowers also prefer to be seeded in the fall and generally germinate best after a cold season. Medicinal plants like angelica, anise hyssop, echinacea and goldenrod are just a few of the many herbs that benefit from having a cold season before germination. Check the instructions on your seed packets to see which seeds are best planted in the fall! And don’t forget to plant your garlic!
10. Clean, sanitize and store tools and pots
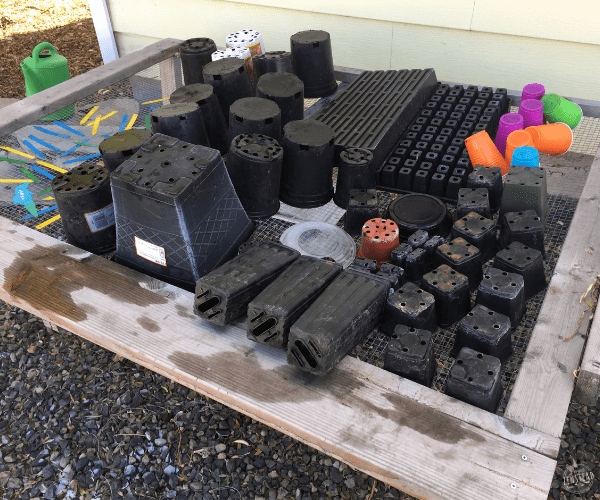
Probably the least exciting but one of the most beneficial activities you can do this fall is to properly clean and store your garden pots and tools. By the end of the garden season, I have about ten zillion pots, seed trays and plastic plant markers lying around! I gather them all up, along with all my tomato cages and tools, and sterilize them by soaking them in a water-bleach solution in a big Tupperware tub. Then I set them out on my big drying table to let them air dry before moving them to the shed for winter storage.
Sterilizing your tools and equipment helps reduce mineral build up. It also helps prevent the spread of fungus and bacteria to your new plants when you reuse the tools and pots. I use this protocol from the Iowa State Extension to sterilize all my pots, seed trays, cages and tools at the end of each season.
How do you prepare your garden for winter? Share in the comments!
And, don’t forget to check out this post to learn more about how we prepare our homestead for winter – plus, get a free checklist!
C’mon! Give this a pin… you know you want to!


Thank you for the reminder to clean my pots! I also need to sharpen and clean my shovels. I’m constantly neglecting both until early spring when I don’t have time. I’m putting it on my list right now – in ink so it will get done!
It’s always the hardest thing to remember! By the time October rolls around, I just want to sit inside by the fire! It’s always a test of will to get the last of the outdoor chores done! ?
Super informative post, like always! Thank you for sharing! I feel like I always say this, but we still don’t have our garden ready. Hoping I can convince hubby to help me get it ready this fall/winter… it’s currently surrounded by weeds and totally inaccessible, but he covered it with a tarp during the summer to kill the weeds inside. Maybe I can just pull that tarp off and cover with a really thick layer of leaves and then it’ll be good to go for spring and summer?
we haven’t started yet with the preparation. Seeing your long list of items it scares me! I will follow your instructions, thanks!
Just do what you can do and leave the rest to nature! We are still working through ours this year – much slower than usual! But better to do even a little than none at all 🙂
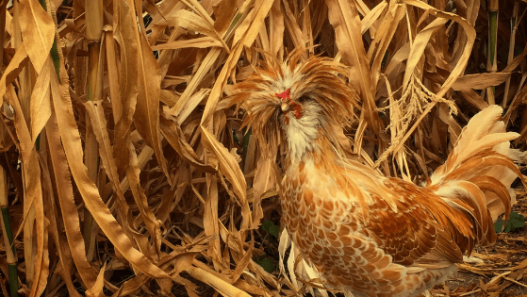
What a great list! My husband and I disagree about the leaves, but a leaf mold is a great compromise. By the way, that is one cute chicken!!
Yes, leaf mold is the perfect way to still make use of a wonderful and free resource without the “messy” leaf look! 🙂