We’ve all done it! We’ve left those potatoes in the back of the cupboard and forgotten them. By the time that we find them, they are growing their own little colony of baby potato sprouts! If you are like me, you’ve probably looked at those potatoes and asked yourself “will store-bought potatoes grow?”.
Well, the good news is, yes, you can grow potatoes from store-bought potatoes! I have done it a couple of times… cause Idaho girls don’t waste potatoes! It actually works pretty well!
Briefly, to plant and grow store-bought potatoes, cut the potatoes into pieces, ensuring each piece has one or two sprouts. Prepare a container by adding drainage material and a layer of soil. Plant the prepared potato pieces in the container with the sprouts facing up and lightly cover them with soil. As the plants grow, gradually add more soil to keep the sprouts covered. Water the plants regularly and provide proper care until they’re ready to harvest.
Kaylee @ Rooted Revival
In the following text, you will find a detailed description of the 7 steps for growing store-bought potatoes that I personally use every six months!
And I’ll also discuss:
- Why would you want to sprout your own store bought potatoes
- Growing ‘sprouters’ versus potatoes from seed
- My rules for growing potatoes to get the best results!
Let’s go…
How to plant and grow store bought potatoes – 7 Steps
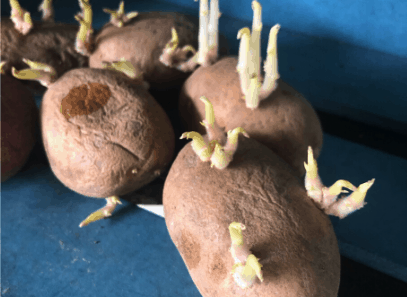
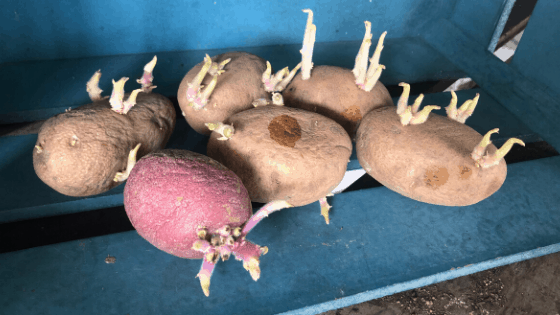
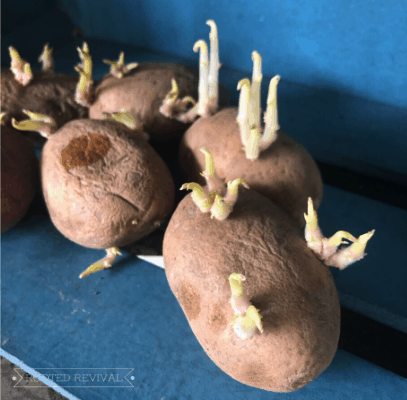
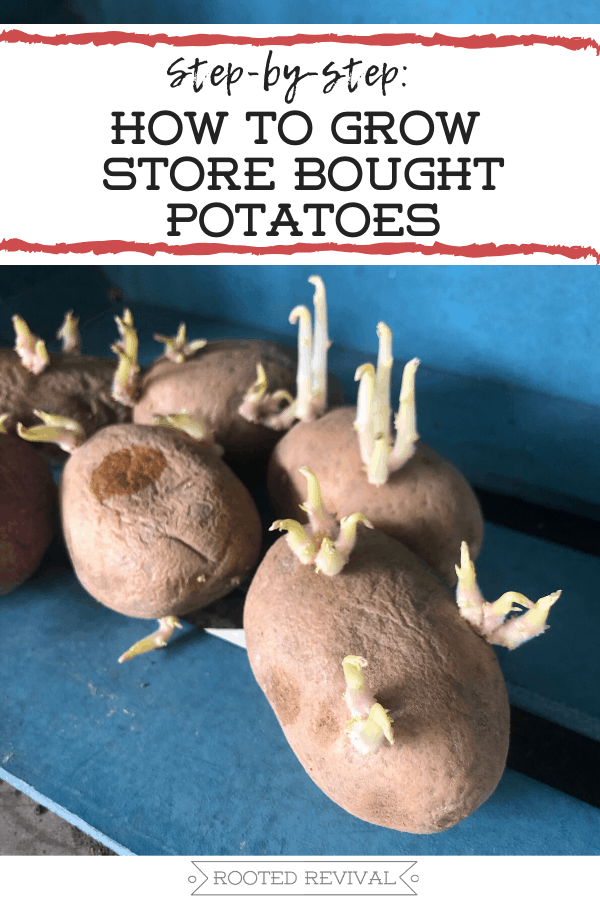
Step 1: Sprout your potatoes
Begin by allowing your potatoes to sprout, if they have not already done so. Potatoes generally have a dormancy period (4-8 weeks after harvest) before they sprout.
Because of this, older potatoes work best for sprouting. Keep them in a warm, bright space a few weeks prior to planting to encourage sprouting.
This process of allowing your potatoes to pre-sprout before planting is called “chitting”.
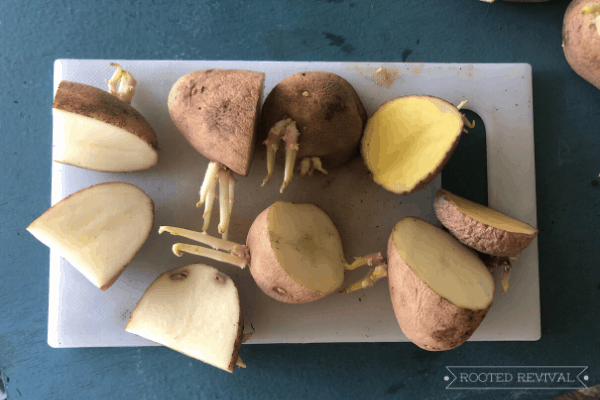
Step 2: Prepare your potatoes
If you want, you can cut your sprouted potatoes into sections to increase your yield.
Cut the potatoes into chunks that contain at least 1 “eye” or sprout per chunk. Allow them to sit in the air for 1-3 days.
This will allow them harden slightly to help prevent rot. You can also leave your potatoes whole if you are concerned about rot.
Step 3: Prepare your bucket or container
Can you grow potatoes in a 5-gallon bucket? Yes! Use it or any other container with drainage holes. Place about 5-6 inches of moistened potting soil in the bottom of the container.
I prefer to use fresh potting soil to reduce the risk of introducing any existing soil pathogens.
Potting soil also drains well which will help prevent damp conditions that can encourage blight and rot. You can also mix in some aged compost to help feed your potatoes while they are growing.
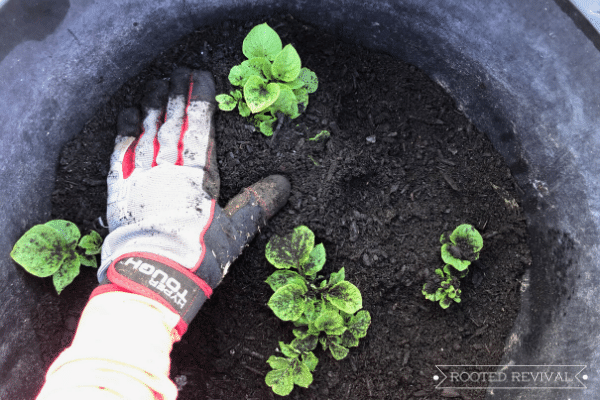
Step 4: Plant your potatoes
Place your potatoes into the pot, burying them slightly into the soil.
Try to allow about 6 inches between each potato or piece of potato that you plant. Plant them with the sprouts facing upward out of the soil.
Then, cover them with more soil as needed until they are completely buried under 1-2 inches of soil.

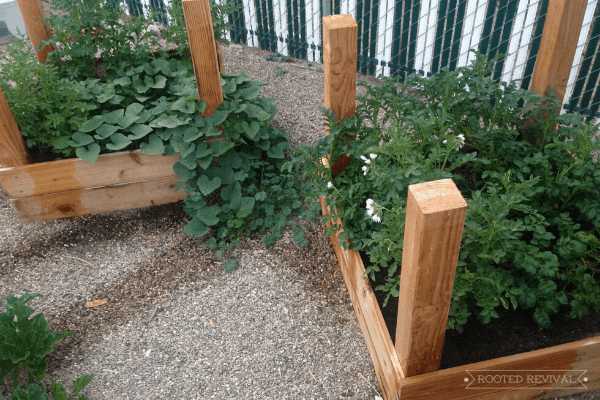
Step 5: Continue adding soil
Potatoes are basically vining plants. As your potato plants develop and grow, you will want to add more soil to your container so that their vines are mostly buried under the soil line.
This will allow you to have a maximum yield!
Continue mounding soil (or a compost-soil mix) around the stalks, covering about 2/3 of the new growth. This process is called “hilling”.
Once your soil level is just below the top of your container, you can stop the hilling process and allow your potatoes to continue growing until it’s time to harvest. Continue watering and fertilizing them as needed.
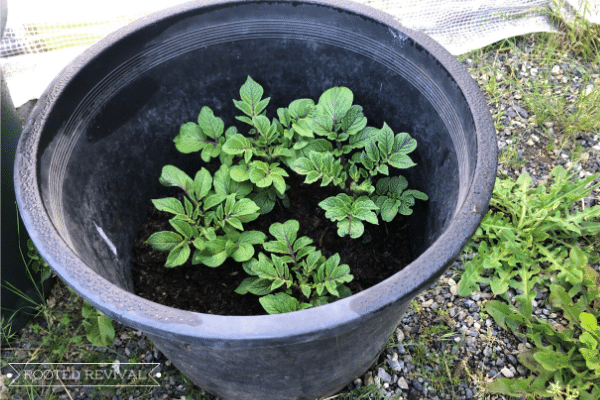
Step 6: Care for your plants
Place your pots in a full sun location that receives 6-8 hours of sun each day.
Avoid exposure to frost. Water your potatoes regularly to keep soil moist but not saturated. Make sure your soil and pot allows the extra water to drain to prevent waterlogging.
To fertilize your potatoes, your can add a diluted fish emulsion fertilizer when you water. Fertilizing every 2-3 weeks is ideal.
Alternatively, you can combine compost into your soil mixture during the hilling process to help feed the potatoes.
Step 7: Harvest
Depending on the type of potato, it can take anywhere from 10-20 weeks for potatoes to be ready to harvest. The plants will tell you when it’s time!
The leaves and stalks will begin to turn yellow and die back as they come to the end of their life cycle.
When you see this happen, stop watering the plants. This will allow the tubers time to cure. Let them rest for a week or more before harvesting.
Once your potatoes are harvested, you can use them fresh or cure them for longer storage.
Before we get into the meat and potatoes of this post (see what I did there?) you can also check out my full video (originally posted to my Instagram) showing 5 creative ways to grow your potatoes!
*Obligatory plug: don’t forget to follow me on Insta for more gardening tips & tricks like this one!
** I may receive a commission at no additional cost to you from purchases made through links in this article. Full Disclosure Link **
Growing Store Bought Potatoes Versus Seed Potatoes
Seed potatoes are potatoes that are grown expressly for the purpose of being planted.
Seed potatoes can be purchased at nurseries, garden centers or from online suppliers (like Amazon).
They are tested and certified to be disease resistant. They are also generally from seed stock potatoes which are known to be good producers.
As with other crops, it’s most ideal to start your potato plants using high quality seeds. Seed potatoes offer us the best chance for a healthy, productive potato crop.
And, just for the record, seed potatoes are not actually seeds. They are, in fact, just potatoes! They may even look identical to sprouted potatoes from the grocery store.
Conversely, potatoes that you buy in grocery stores are potatoes that are grown expressly for the purpose of being eaten.
That means that they are not necessarily disease resistant or from good productive genetics.
Traditionally-grown potatoes can also be treated with herbicides (most commonly chlorpropham) to help inhibit sprouting so that they can be shelf stable for longer.
Despite being treated with sprout-inhibiting herbicides, your store bought potatoes may still sprout depending on how old they are and the temperatures that they are stored at.
Why grow store bought potatoes?
If seed potatoes are generally preferable, why would we want to plant sprouted grocery store potatoes?
The primary reason is because you have them! It’s often easier and more economical to grow the potatoes that are already sprouting in your kitchen rather than ordering or finding certified seed potatoes.
However, if you are serious about growing a good crop of potatoes, it’s best to invest in good seed potatoes rather than using store bought.
My 3 “rules” for growing store bought potatoes:
As we discussed earlier, certified seed potatoes have a lot of advantages over store bought potatoes, such as disease resistance and higher production yields.
However, growing store bought potatoes can still be a fun garden experiment and a great way to grow a harvest from something that otherwise would have been a waste product!
If you plan to grow sprouted store bought potatoes, there are a few things to keep in mind. These “rules” will help you grow store bought potatoes more effectively and safely!
1. Use organic potatoes
According to this University of Idaho report: “After mid-winter, nearly all potatoes available in commercial markets have been treated with a chemical sprout inhibitor, such as chlorpropham (CIPC). CIPC is the most commonly used post-harvest sprout inhibitor in the United States… Alternatives to CIPC are needed for both organic and export markets—where CIPC is not permitted.” This means, that organic potatoes would be the most ideal option since they are not treated with an anti-sprouting agent.
2. Plant store bought potatoes in pots or containers
Potato blight is a common disease that effects potato crops.
The pathogen that causes the disease can survive in soil even through harsh conditions like freezing winters. There are a few approved herbicides to treat it, however resistance has already occurred in potato growing regions, like Idaho.
You can read more about potato blight in this report from University of Idaho.
Basically, you don’t want to mess with blight in your garden – especially your organic garden! So prevention really is your best method!
And, since your store bought potatoes are not certified to be disease free, it’s best to keep them out of your garden beds!
The safest way to grow store bought potatoes is to grow them in pots or containers. By growing them in containers, you are able to easily throw out the soil and plant material if blight occurs.
This will reduce the risk of potato blight and other diseases spreading through your garden soil.
3. Treat the process as a fun experiment
The reality of growing store bought potatoes is that they may not produce well. Or, they may end up with a disease. But they may do wonderfully!
Understand that this process is a fun experiment to see if you can generate some extra food from what would otherwise be a waste product.
If you want to grow a serious crop of potatoes, it’s best to invest in high-quality seed potatoes.
Have you ever grown potato plants using store bought potatoes? Share your tips & trick with us in the comments!
Don’t forget it – Pin it!


What a great post! I always buy organic potatoes, and I often miss the window before they sprout. I have thought about trying to grow them, but I never have. I would really like to try doing this with sweet potatoes. I hear they have beautiful flowers! Thank you for this information!
Yes, this a great way to grow sweet potatoes since it can be hard to find sweet potato slips sometimes! And, they are such gorgeous vining plants – plus, (unlike regular potatoes) sweet potato leaves are edible! 😀
I never knew that it is that easy. I can’t wait to try this!
Thanks so much love how you teach and share. You rock roll boil and sprout… i know you get that. Rofl. I never had a potatoe buddy but i always wanted a mr. Potatoe head. I have many potatoes budding and every time i toss them I think these are organic them eyes are beautiful i bet i can plant them… today i took them out the garbage while reading your page. Im going to at least try and see what my eyes harvest. Much thanks and kindness back to you and yours. Amazing post and top of the spud approved.
Ha! Well darn it, are you ever too old to have a Mr Potato Head?!? I’m so glad you stopped by and left this comment! It certainly brought a smile to my face! I hope your potato experiment is successful and also spud-approved!!
How often should you add soil for the “hilling” process? Once a week? Add one or two inches at a time? It’s hard to tell how to gauge that process without knowing how deep each container is
Hi Rebekah! You will generally want to hill them once they have grown about about 6-8 inches. Growth rate will depend on a lot of environmental factors as well as the varieties. You can find a more in-depth tutorial in this video on my YouTube.
I have more success with red potatoes than yellow, and more success with yellow than russets. Don’t know if that’s because red and yellow are less likely to be treated with CIPC. Maybe russet farms are bigger because the variety is more popular – and can afford more chemicals.
Do you get success when the potato sprouts are 6 to 12 inches long.
@kathleen adams, Yes, when potato sprouts are 6 to 12 inches long, you’re doing great. This indicates healthy growth. Just remember to keep hilling soil around the plants, water consistently, and watch for pests.