These days I try to grow pretty much everything from either cuttings or seeds. It’s just so much more economical and magical as well!
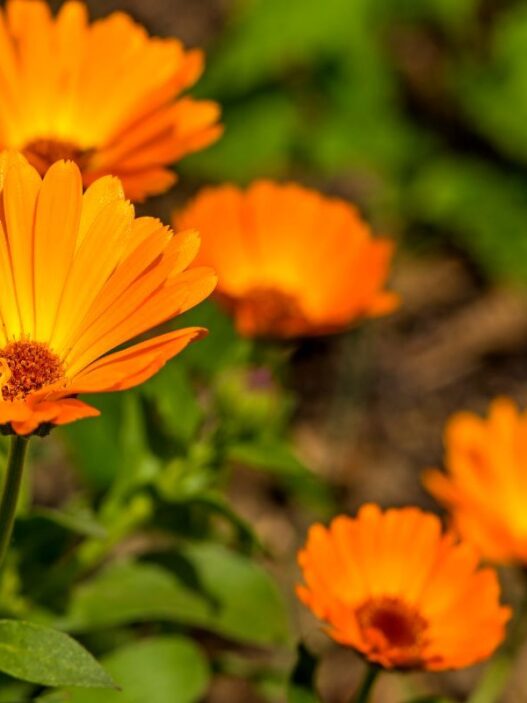
Calendula (or pot marigold), is pretty simple to grow from cuttings by following 5 simple steps which are:
- Step 1 – Cut the stem of an existing calendula plant
- Step 2 – Prepare the stem so that it is ready for optimal growth (more about this below)
- Step 3 – Use rooting hormone powder (optional)
- Step 4 – Plant the cuttings
- Step 5 – Transfer the cuttings to individual pots or to your garden
Whatever your current level of gardening skills, this is all extremely doable. In this post, I’ll cover:
- Each of these five steps in turn
- Give you lots of top tips to make this process work 100% of the time, whatever your level of gardening knowledge
Tools You Need To Grow Calendula From Cuttings
Propagating is a rewarding process. Not only do you get to have more of your favorite plant for free, but you also benefit from the relaxing effect.
Besides a lot of patience, here’s what you need to grow Calendula from cuttings successfully:
- Calendula plant
- Clean, sharp scissors or knife
- Water
- A clean container
- Suitable soil
How To Grow Calendula From Cuttings
Planting Calendula from pre-existing cuttings is the best practice to carry over your favorite plants from season to season.
Additionally, it’s a great way to save money, as you don’t need to buy new seeds or plants.
Follow these steps to grow Calendula from cuttings and enjoy an unlimited supply of this useful flower.
Step #1: Cut the Stem
First, you should cut the Calendula stem that you need to replant.
The cutting doesn’t need to be too long (between four to six inches is just fine).
It’s always better to gather the cuttings in the early morning. That’s because your plant at this time is in optimal condition.
In the early morning, your plant opens up to the sun and contains more moisture in its leaves. (This is pretty important).
Although you can do this any time of the year, propagating your Calendula during the growing season guarantees fast results.
Just make sure to use clean, sharp scissors to have a perfect cut.
Step #2: Prepare the Stem
Cut all the unnecessary leaves and flower buds at the bottom of the stem with sharp scissors or a knife.
This helps increase the chances of having a successful rooting process.
That’s because removing all excess parts ensures the plant channels all energy toward root development.
Plus, doing this prevents moisture loss, which results from expelling water through leaves and flower buds.
Having said that, it’s better to prepare a few stem cuttings. You never know which one survives the propagation process and which doesn’t.
Step #3: Use Rooting Hormone Powder (Optional)
Now, you may need to dip your Calendula cuttings into rooting hormone powder. You can skip this step if you prefer organic gardening.
Generally, rooting hormones stimulate the roots to grow by replicating the natural growth conditions. They also help form stronger roots quicker than usual.
All you need to do is pour the powder into a small container. Then, dip the base of your Calendula cutting and shake it to remove any excess powder.

Step #4: Plant the Cuttings
To start rooting your calendula cuttings, you need to have a suitable pot ready.
Fill the container with fresh, moist potting mix. Then, use your finger to poke holes into the soil and gently stick the cuttings into these openings.
Usually, the cuttings are weak and vulnerable. Plus, they don’t have roots to help them absorb the moisture they need.
That’s why the best positioning for them is around the edge of the pot for better moisture retention.
That said, a common practice to lock the moisture in is placing a plastic bag over the pot. That’s in case you don’t already have a propagator.
Finally, place your planted cuttings in a bright place away from direct sunlight.
Step #5: Transfer the Cuttings
After one to two weeks of keeping the soil moist but not soggy, the cuttings should start to root.
Moreover, you can notice new growth of leaves and the appearance of new flower buds.
This is when you know it’s time to transfer your Calendula cuttings into individual pots or your outdoor garden.
Important Note
It’s essential to avoid transferring your cuttings too soon. That’s because it disrupts the root development process and may cause the plant to die.
Thus, you must wait for the cuttings to develop a healthy root system and show signs of new growth.
Once you’re completely positive the cuttings are strong enough to handle the transplanting shock, it’s time to move them.
Tips To Ensure a Successful Calendula Propagation Through Cuttings
By now, you should have a general idea about the steps you need to follow for successful propagation.
The following tips are what you need to focus on during the process.
- Choose the Right Cuttings:
It’s vital for the cutting to be a part that’s actively growing with strong stems and no signs of disease to ensure healthy development.
- Make Clean Cuts:
Using a sharp knife to cut the stems ensure a clean cut, which reduces infection risk and allows proper water absorption.
- Remove Excess Leaves:
Getting rid of unnecessary leaves and flower buds helps the plant reserve energy for growing a sturdy root system.
- Use Suitable Potting Mix:
The soil for propagating your Calendula should be well-draining with adequate moisture retention for the best hydration.
- Maintain Adequate Moisture Levels:
It’s crucial to protect your Calendula cuttings from drying out before they can establish new roots by keeping them in a humid environment.
- Wait It Out:
You should never consider transplanting your Calendula cuttings before they’re well-established, with roots strong enough to handle the process.
Optimal Calendula Growing Conditions
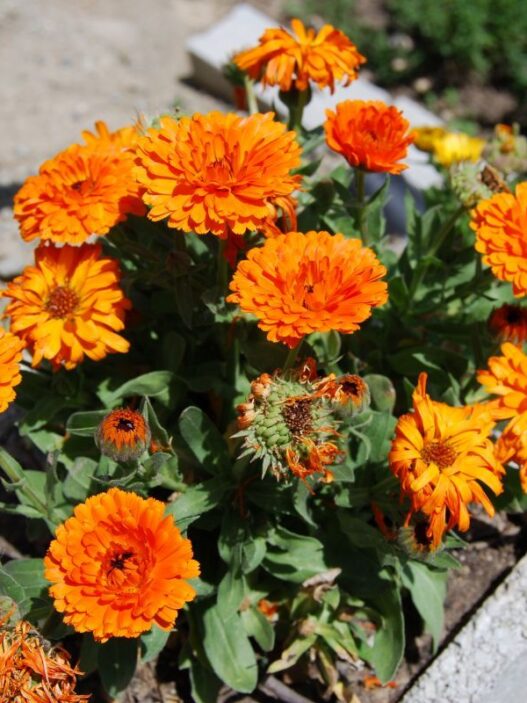
Calendula is a lovely plant to grow in your garden. Aside from the stunning flowers, it has tons of medicinal benefits.
Check out the following table of Calendula’s growing requirements.
| Nature Elements | Calendula Preferences |
| Soil Type | Well-draining and moderately nutrient |
| Soil pH Levels | 6–7 |
| Plant Spacing | 8–12 inches apart in rows |
| Temperature | < 85°F |
| Water | 1–1½ inches/week |
A Final Thought
Growing Calendula from cuttings can seem like a challenging task. However, with a bit of determination, anyone can do it.
All you need to do is choose the right cuttings, prepare them properly, and wait for them to grow roots.
Once you pass this stage, you can transplant those cuttings and enjoy an unlimited supply of gorgeous Calendula.