Zinnia seeds are incredible easy to harvest! Here’s how to save zinnia seeds so you’ll never need to buy them again!
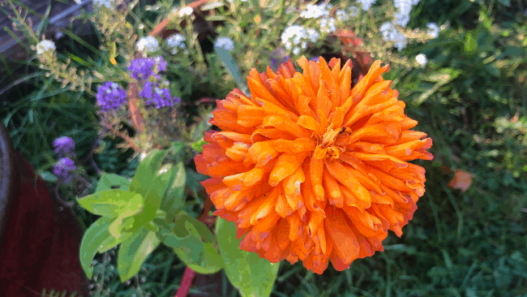
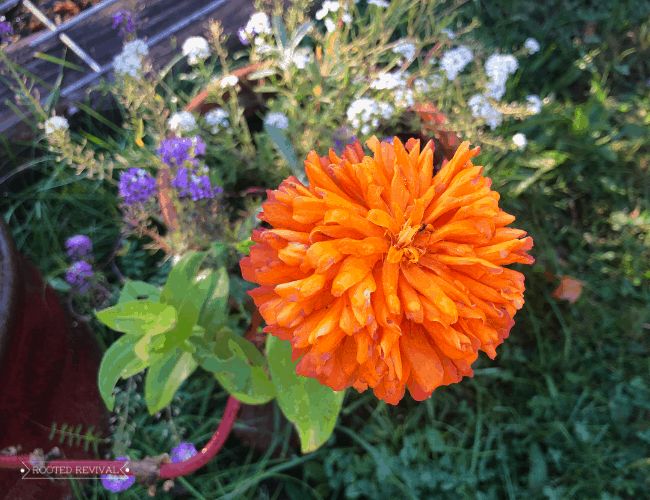
Zinnias are gorgeous! I mean what’s not to love?
They look amazing in any garden. Pollinators love them! They make an amazing cut flowers for bouquets. Their bright colors add a pop to any dull corner. They are a wonderful border plant for flower beds. And they are hardy!
But what makes zinnias even better is how easy the seeds are to save! They are so easy that once you grow zinnias, you may never need to purchase zinnia seeds again!! Even if you just save the seeds from a few of the flowers, you will end up with dozens of seeds from each individual flower head!

Zinnia flowers produce an ample amount of seeds for any gardener! If you take the time to save them, you’ll have plenty for yourself and plenty to share! (Hello, seed swaps!) But the best part is how incredibly easy it is to save the seeds!
**This post contains affiliate links. We may receive a commission at no expense to you if you choose to sign up for services using these links. See our full affiliate disclosure here. Thanks for helping support this blog! **
A few things to consider before you save zinnia seeds…
If you are growing zinnias for seed saving, select a variety that is open pollinated rather than a hybrid variety. Open pollinated varieties pass their traits from one generation to the next, whereas hybrids do not always breed true to their parent’s characteristics. (Confused about hybrids? Check out this post!)
Be sure to label your zinnias when you plant them at the beginning of summer! Otherwise, it can be easy to forget which varieties you planted by the time the seeds are ready to harvest.
Zinnias can also become cross-pollinated. They are pollinated by insects which can carry pollen from one variety to another. So, if you want to keep your zinnia varieties pure, or if you are growing for market, it’s ideal to give each variety ample space! It is recommended to not grow varieties within half a mile of each other. Obviously, this isn’t an option for most of us! Luckily, I don’t mind a mixed bag of surprise zinnia seeds!

How to Save Zinnia Seeds
Step 1: Let the zinnia flowers die back
Once your zinnia blossoms have started to die back, allow them to stay on the plant until they are crispy and turning brown. Some of the petals will probably start to fall away during this process.
Allowing the flowers to dry completely on the plant gives the plant time to finish ripening the seeds. Luckily for forgetful gardeners like me, it’s you can just overlook them until they are completely dry and ready to harvest!

Step 2: Remove the petals
Snip the dried flower from the plant. Pull any remaining petals from the flower. Check at the base of the petals for seeds that may still be attached to the petals. The seeds are dark gray-brown and have an arrowhead shape. You can leave the petal material attached, or simple pull if off of the seeds.

Step 3: Break open the flower head and remove the seeds
Once all the petals are removed, you can now pull apart the central flower head. Most of the seeds will be inside this flower head. Use your fingers to pull all the material from the head and place it on a clean surface. Sort through the plant material and separate out the seeds.
Some of the seeds may still be inside their shell or “chaff” (see photo under step 4). Separate the seeds from the chaff. Discard the chaff and any remaining plant material in your compost bin.

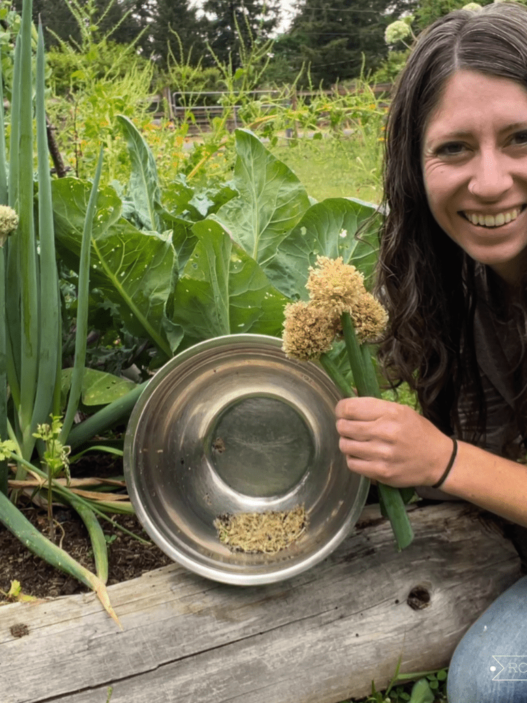
Step 4: Allow the seeds to dry
Once you have collected your seeds, let them completely dry on a flat open-air surface. I like to place mine on a tupperware lid or a plate. Every few days, I will “schouffle” them around a bit to make sure they have adequate air flow. Allow them to dry for about a week.

Step 5: Store your zinnia seeds
Store your zinnia seeds in a jar, zippered bag or seed envelope. I really like these paper envelopes for gifting and short-term storage or these mylar bags for long-term storage. Label the seed packet with the plant name, the year saved and the variety of you know it.
Pin for later!