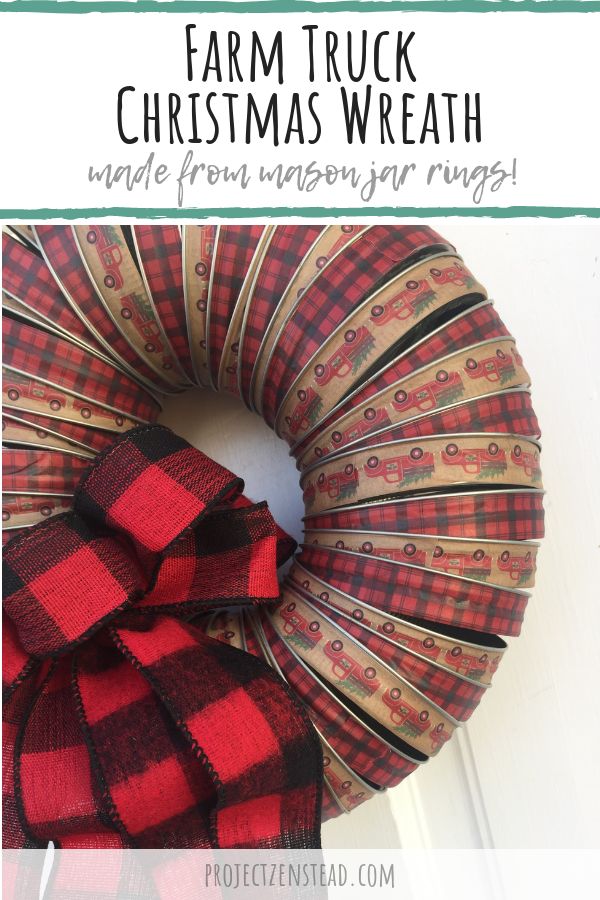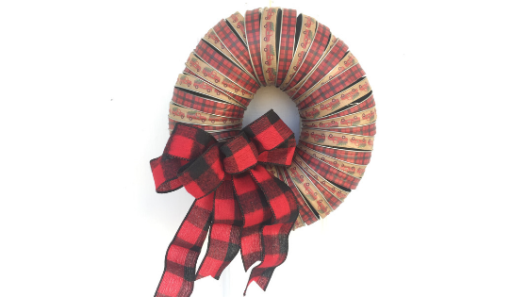
This adorable Christmas wreath is made from Mason jar rings and wash tape! Spoiler alert: it’s so easy to make! You only need a few supplies and about half an hour!
As a thrifty Millennial homesteader (aka: a broke Millennial homesteader), I try to spend as little money as possible on things like craft supplies and home decor. Shocking, right? But I mean when it comes down to buying more chickens or buying craft supplies… chickens will always win! And, hey, maybe someday I’ll even save enough to pay off that college degree that I haven’t used once in my professional life!
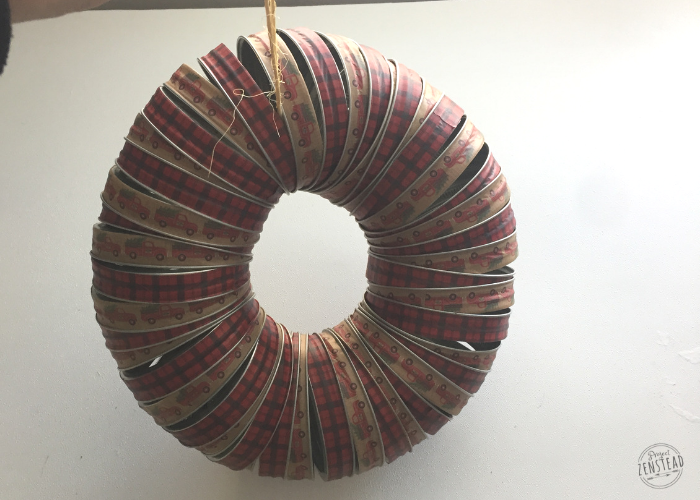
Anyways, Christmas is always a fun time of year for me because I get to be extra crafty… and thrifty! Frankly, I like the challenge of seeing how many items I can repurpose! Today’s repurposed crafty goodness: this mason jar ring Christmas wreath!

Ain’t it just so cute?! I seriously can’t get enough of these little red farm trucks! ?
Mason jars seem to be an overriding theme in our life. They are everywhere and used for pretty much everything! Want some milk? It’s in a jar. Need flour? Also in a mason jar. Preserved produce from the garden? Yep, it’s all in mason jars!

Because of this, we always have a plethora of extra mason jar rings! The rings get rusty pretty quickly and you actually remove the rings from your jars before you store your canned goods for the winter. So I had a big ol’ box of old rings sitting around, just taking up space. I’m sure that every home canner of any level also has a giant box of these bad boys! This is the perfect way to put them to good use!
Making the wreath was a breeze! Like, shockingly easy! I actually made two – which only slightly dented my supply of mason jar rings! I made one with wide mouth rings and one with regular mouth rings. The regular mouth wreath used 34 rings and the wreath turn out to be about 7 inches across. The wide mouth wreath was a bit bigger. I used 44 rings and it is about 10 inches wide.
Supplies I used for this product:
**This post contains affiliate links for awesome products. We may receive a commission at no expense to you if you choose to purchase items using these links. See our full affiliate disclosure here. Thanks for helping support this blog! **
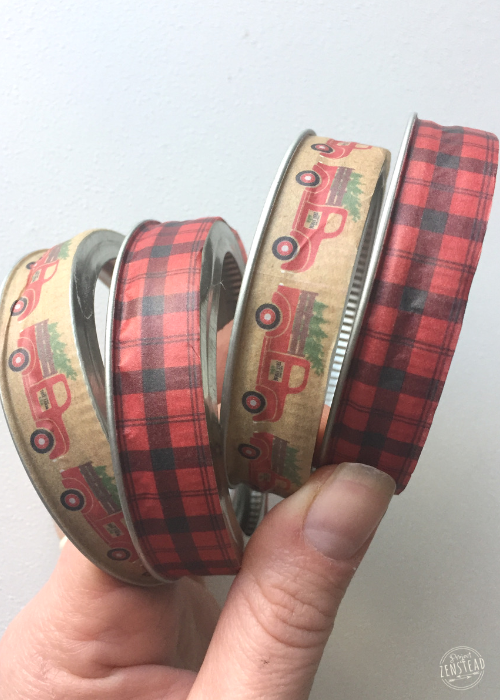
*You guys, everyone seems to be sold out of the Christmas farm truck washi tape now! ? I’m going to link some others below and keep checking in case it comes back on Amazon again. If you want to try to hunt it down elsewhere, it’s called “Tree Farm Decorative Tape” from the Celebrate Christmas Collection by Echo Park (Item CCH159027).
How to Make your own Mason Jar Ring Christmas Wreath:
Supplies:

- Mason Jar Rings
- Wide mouth: I used 44 rings, resulting in a 10-inch wreath
- Regular mouth: I used 34 rings, resulting in a 7-inch wreath
- Washi Tape
- Ribbon, preferably wired, or Pre-Purchased Bow
- Thread, Ribbon, String or Jute (for hanger)
- Floral Wire
- Scissors
- Glue Stick (optional)
Directions:
- Wrap mason jar rings with Washi tape. You may need to secure the ends with a bit of glue.

- Cut a length of floral wire about 2 feet long for smaller wreaths or 3 feet long for larger wreaths.
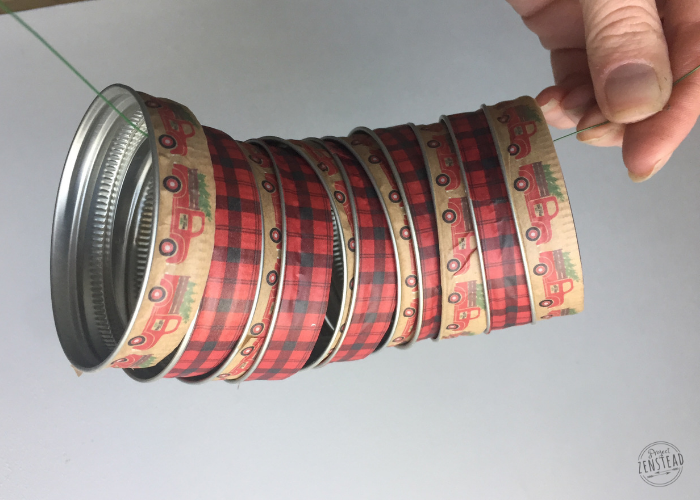
- Begin sliding the rings onto your wire. It may help to secure one end of the wire to something so that your rings don’t slip off and you have two free hands.
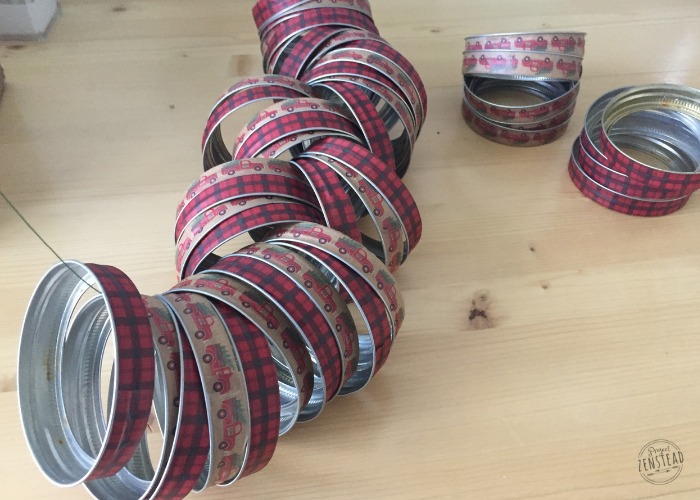
- Once the rings are all on the wire, straighten out the rings so that they overlap (they don’t need to be perfect, but it will make forming the wreath easier if they aren’t all cock-eyed!)
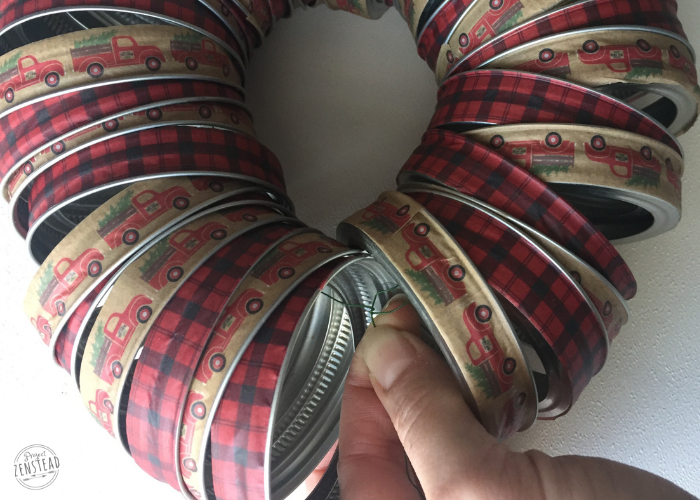
- Pull the two ends of your wire together to form a circle. Twist the wires together into a tight circle. You want the wire to be very tight against the rings. If there is a lot of slack, your wreath will not hold a circle shape. Trim any extra wire.
- Cut a piece of string (or your choice of material) about 8-inches long to make the hanger. You can make this longer or shorter depending on how you want your wreath to hang.
- Wrap the string under your wire and secure it by tying the two loose ends of the string in a knot.
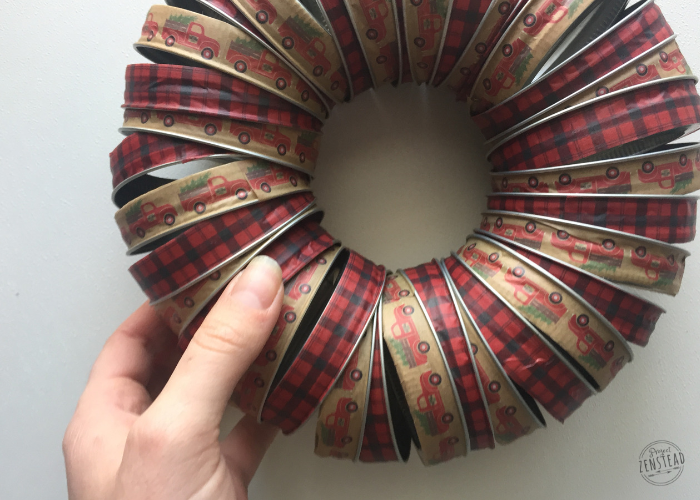
- Lay the wreath on a flat surface and straighten your rings so that they all overlap and sit correctly.
- Test your wreath to see if it holds its shape by lifting it by the hanger string.
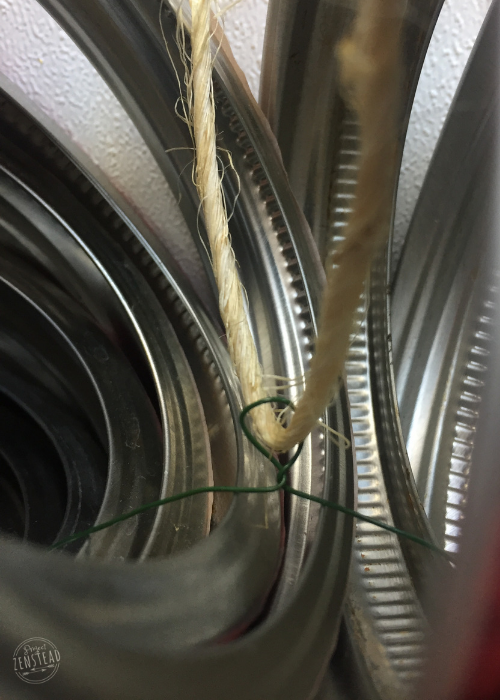
- If the wreath looses its shape when suspended by the hanger, you will need to tighten the floral wire. You can do this by creating an extra “twist” in the wire where the hanger string is (see picture below). Re-test the wreath and continue tightening the wire by twisting it until your wreath holds its shape.
- Once you are happy with the wreath’s shape, lay it back down on a flat surface.
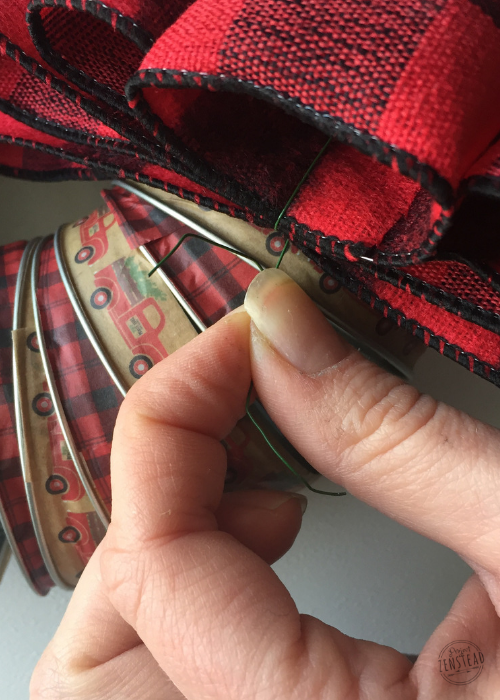
- Create your bow for the wreath using wired ribbon (or use a pre-purchased bow).
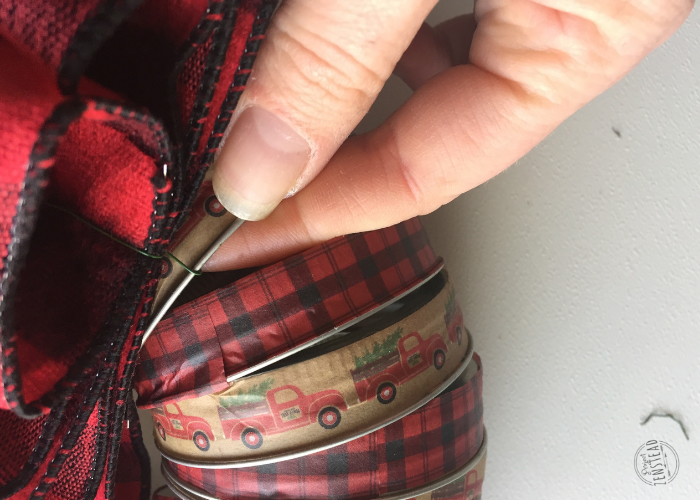
- Cut a 6-inch length of floral wire and wrap it around the bow. Use the wire to secure the bow to one of the mason jar rings. Do this by wrapping the wire around the mason jar ring and then twisting the two wire ends together to secure the bow.
- Trim any extra wire and tuck the ends behind the ring to hide them.

- Hang wreath. Straighten rings and shape wreath as needed and enjoy your new Christmas decor!
Like it? Pin it!