We learned a lot when we moved our homestead from Idaho to Washington! Today, I’m sharing our experience and our tips and tricks for moving animals and livestock!
Moving is hard! Moving a homestead is even harder.
In February, we moved our homestead 500+ miles from Southwest Idaho to the South Sound area of Washington State! It was… an interesting experience! I’m thrilled with the way that things turned out, but mistakes were made, folks!
We thought that we were prepared. And, honestly, we really were! But moving is stressful and terrible no matter how prepared you are! Frankly, we just did our best based on the fact that we didn’t know what to expect!
Let’s face it: moving an entire homestead is very different from your run-of-the-mill move!
I googled a lot of things like “how to move a homestead” trying to look for advice and help. There’s a lot of info on moving to a homestead. But what if you already have an established homestead and are moving? Frankly, there just isn’t much info out there!
Because of that, I swore to myself that once we got settled, I would share as much info as I possibly could to help everyone else who might need it! So, here it is: How to Move a Homestead! There’s a lot of info, so I’ve broken it into a mini-series of posts so that I can properly cover everything. Feel free to jump from post to post depending on what info you need.
How to Move a Homestead!
In this series 4-part series, we will cover:
- Selling your Homestead Property
- The Nitty-Gritty Details of Selling our Homestead
- Prepare for Selling Your Homestead
- Staging Your Homestead
- Tips for Showings
- Choosing a Moving Company for your Belongings
- Professional Moving Services: Pros & Cons
- Moving Container Services: Pros & Cons
- Rental Moving Trucks: Pros & Cons
- Why We Decided to Rent a Moving Truck
- How to Move with Animals & Livestock (The post you’re currently reading)
- Moving Day: Tips for Packing, Prepping & Moving
. . . . . . . . . .
Tips for Moving Animals & Livestock
Moving your animals is by far one of the most stressful parts of a big move! There’s a lot of logistics involved in moving so many living, breathing creatures and making sure they stay as healthy and stress free as possible. Here are some tips that we learned from moving with livestock:
Downsize your animals before the move
As I discussed in my earlier post, we started downsizing our livestock as soon as we realized that moving might be a real possibility. Obviously, the fewer animals that you have to move, the easier it will be. We also decided to keep our most healthy and resilient animals which would handle the move the best. It’s a decision we definitely don’t regret!
Count your animals… then count again!
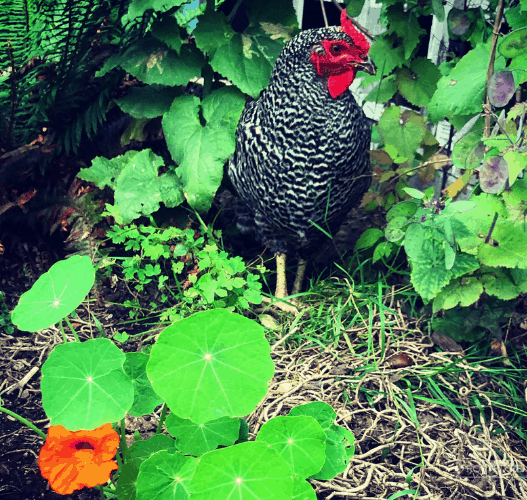
Since we were considerably downsizing our livestock in the months leading up to our move, we kept losing count of how many animals we actually had! Our chicken flock numbers were especially fluctuating! But we finally got down to our goal flock size of 10 chickens, which is how many we took with us when we moved.
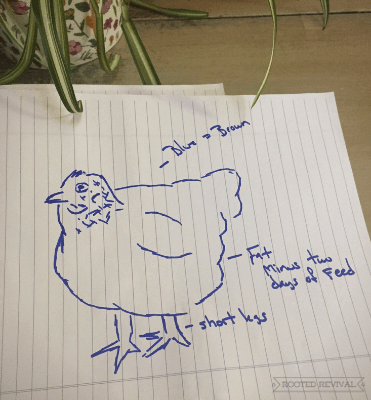
Unfortunately, two days after arriving in Washington, we realized that Fatty, the German Bielefelder, was no where to be seen. It was then that we realized, we actually had 10 hens, not 10 chickens total.
Oops. ??♀️ Lindy drew this lovely wanted poster though so that our neighbors in Idaho could recognize and locate her. ?
Luckily, our fabulous neighbors found Fatty hiding behind some fencing. They have been graciously providing for her until we are able to make it back down that way.
Learn from our mistakes! When moving animals and livestock, count your animals multiple times! And, make sure you actually have everyone rounded up and ready to go on moving day!
Hire a professional transport company
Probably the smartest thing that we did was to hire a livestock transporter. And, yes, that is a real thing! There are tons of people that offer the service of moving livestock for you! Believe me, it’s worth every penny!
When moving animals and livestock, there are a lot of logistics to figure out! Not having to worry about how your animals will get to your new location is a huge relief! Hiring a transporter also saved us the expense and stress of having to purchase and pull a livestock trailer.
If you decide to go this route to move your animals, be sure to check references. It’s common in the goat world to use transport companies when you buy goats from out of state, so I’ve heard everything from the good to the bad!
We used Tiffany from Totes Ma’Goats Transport and she was fantastic! She made us feel like our animals could have been her own! Honestly, she was probably much better with them at that time than we would have been, because we were a bit stressed!
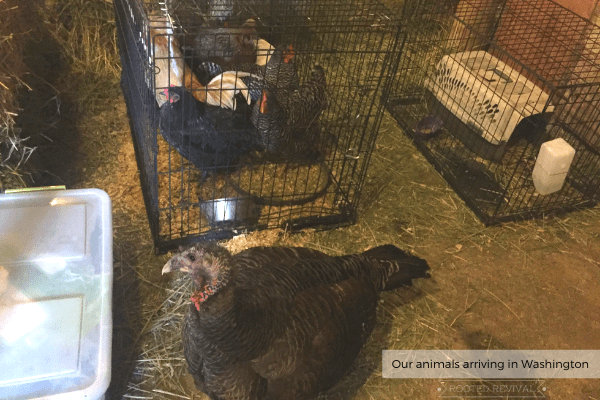
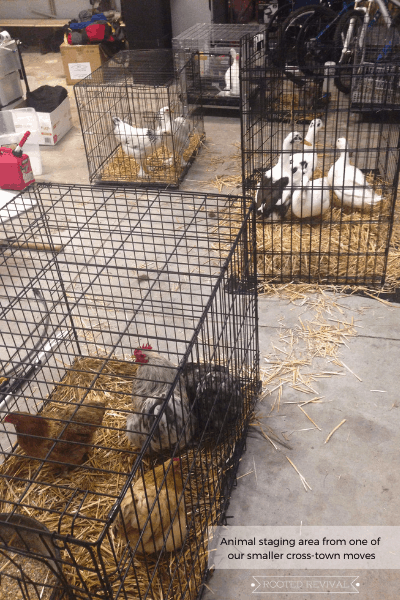
She arrived at our home at about 7:30 AM on moving day. We had all the animals kenneled and ready to be loaded. We loaded all the animals into her vehicle and she hit the road. Tiffany was actually the first one to reach our new home and she went above and beyond to get everyone settled! She mucked out a barn stall, laid down fresh bedding and made sure all the animals were comfy and fed before she left.
*A note about feed and water for the drive: We originally had cage cups in their kennels with them so they had food and water, but it was way too messy on the drive, so I don’t recommend this unless it’s a very long trip. They most likely won’t eat or drink on the drive anyways.
Keep animal first aid supplies on hand
When you are packing, keep your livestock first aid kits easily accessible. We made sure that ours were among the very last things packed so that we could easily grab them out of the back of the truck. I’m so glad that we didn’t have any injuries to deal with, but I felt better knowing we could easily grab supplies if needed!
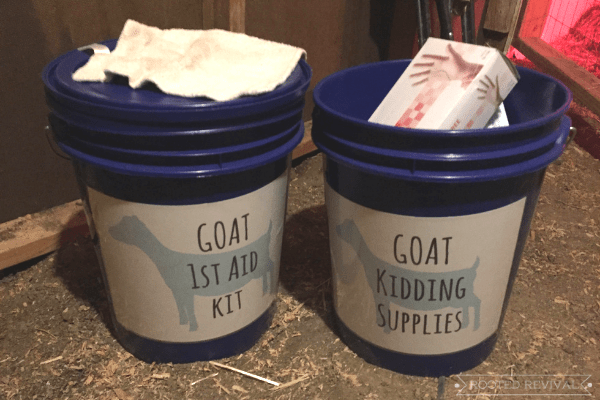
If you don’t have first aid kits packed for your animals, make sure you at least have the basics on hand before you make the move! We store all of our first aid supplies in 5 gallon buckets, which are easy to store and move! You might want to consider at least putting together a bucket of basic supplies to have on hand for the move.
Here are links to what we keep in each of our livestock first aid supply kits in case you need inspiration!
Have a housing plan for your livestock at your new location
There are so many little details that you have to consider in order to pull off a large move! It’s super easy to overlook what will actually happen once you arrive at your new home!
Since we didn’t get to see our property in person before we moved, we really didn’t know what to expect as far as the property set up, fencing, predators, etc. But we did know that there were stalls in the barn. So our initial plan for the days immediately following the move was to keep all of the animals in the barn. We kept the goats in one of the bigger barn stalls and created a fenced area for the chickens using a moveable metal dog fence (like this one). These foldable metal pet fences are great to keep on hand and have around the homestead for various purposes!
Keep in mind that it might take you longer than you expect to get proper (or even semi-proper!) animal areas set up after your move! Our goats stayed in the barn stall for several weeks until we got fencing up. We started letting the chickens out during the day to free range and we finally finished a proper coop area for them a few weeks ago. So, remember when you plan out your temporary housing situation that it might need to be functional for at least a few weeks or more!
Have a feed plan for your livestock
Feeding needs are another thing to prepare for. We source our feed from local mills, meaning that we needed to find a new source of feed once we got to Washington. We brought four 50-pound bags of chicken feed with us. For the goats, we brought a 50-pound bag of goat minerals and 4 bales of alfalfa hay. This allowed us time to find a new feed source and to slowly transition our animals over to their new feed.
It’s also important to make sure that you know where all of your feed buckets, troughs, waterers, etc. are packed in the moving truck. We put ours towards the back so that we could grab them out and get the animals set up as soon as we arrived.
