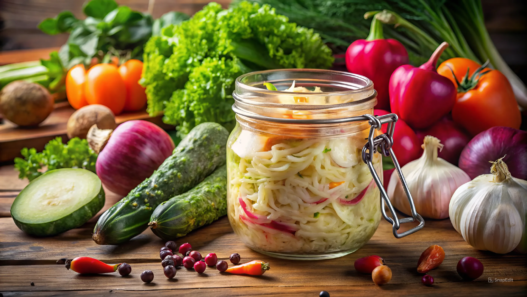
Fermenting vegetables is a simple, well-known process that helps preserve your harvest and turn it into healthy, probiotic-rich foods. Fermented vegetables have great benefits, including gut health and immune system boosting. In this article, we’ll look at the best vegetables to ferment, try to figure out how to ferment vegetables with salt in a jar, and what role salt plays in the process.
I can’t forget the first time I tried fermenting vegetables – my kitchen was such a mess. But once I figured out how to balance everything, fermenting has become one of my favorite ways to preserve vegetables, especially after a big summer harvest. So, let’s get to it!
What Vegetables Are Best to Ferment
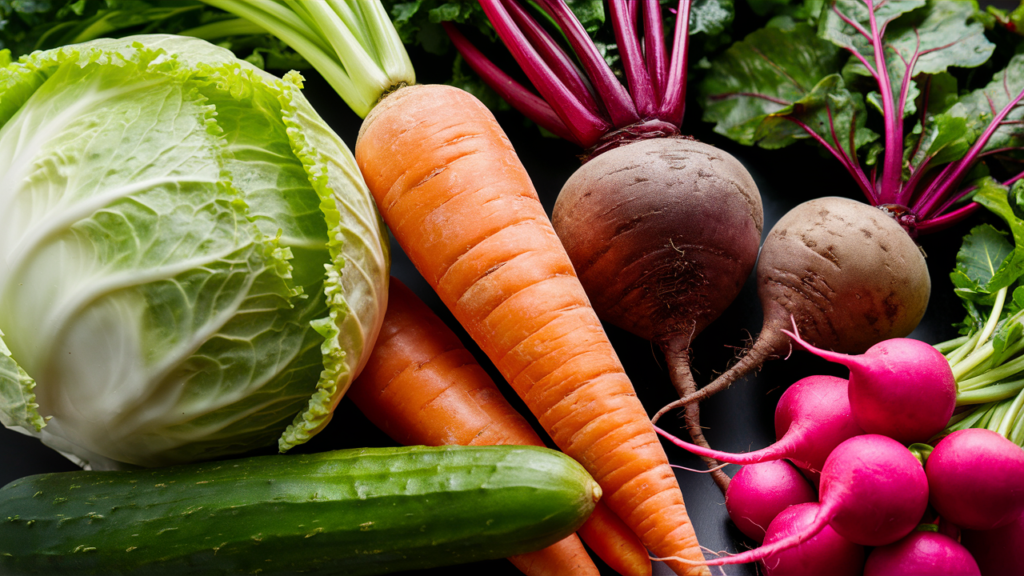
Some vegetables are great for fermentation. They retain their texture well and develop great flavor during the fermentation process. Here are a few vegetables that have proven themselves in my kitchen:
1. Cabbage
Cabbage is the number one food for fermentation. Sauerkraut, who doesn’t love it? It’s incredibly easy to ferment, and it’s loaded with vitamins C and K. And the beneficial bacteria that develop during the fermentation process are invaluable to our gut. A study published in the Journal of Applied Microbiology found that fermented cabbage contains high levels of probiotics, which are beneficial to the digestive system.
2. Carrots
Crunchy, slightly sweet, and very easy to ferment, carrots retain their texture well throughout the process, and fermented carrots are a great snack and a great product for those who want to try how to ferment vegetables with salt for the first time.
3. Cucumbers
The fermentation process produces delicious pickles. But I’m not talking about pickles with vinegar, I’m talking about the brine method. These are the cucumbers that are full of beneficial bacteria. If you’ve ever made dill pickles, you know that cucumbers can have some peculiarities. But if you take into account all the subtleties, the result is simply amazing.
4. Beets
Beets are a good choice for fermentation. Not only do they add a rich, bright, beautiful color to the fermented vegetable mixture, but they are also rich in antioxidants. According to the European Journal of Clinical Nutrition, fermented beets promote better blood circulation due to their high nitrate content.
5. Radishes
For lovers of spicy taste, radishes are ideal. These small vegetables have a bright, rich flavor that softens a little with cooking, and take a worthy place among fermented vegetables.
How to Ferment Vegetables in a Jar
Now we can safely move on to the process of how to ferment vegetables in a Mason jar, since we have already decided on the choice of vegetables. Do not worry, everything is much simpler than it seems at first glance. Moreover, in this case, you do not need to buy any equipment, you only need a few jars and some salt.
Step 1. Prepare the vegetables
We need to remove all the dirt, so we wash the vegetables thoroughly. Next, cut or grate them to the desired size. And do not forget that the smaller the pieces, the faster they ferment and are ready.
Step 2. Making brine
The most important thing in the fermentation process is the brine. It is the salt that not only preserves the vegetables, but also creates an environment for the active development of beneficial bacteria.
How to determine the right amount of salt. I recommend using 1-3 tablespoons of sea salt per liter of water. Sea salt or kosher salt are best suited for these purposes, while table salt often contains additives that interfere with the fermentation process.
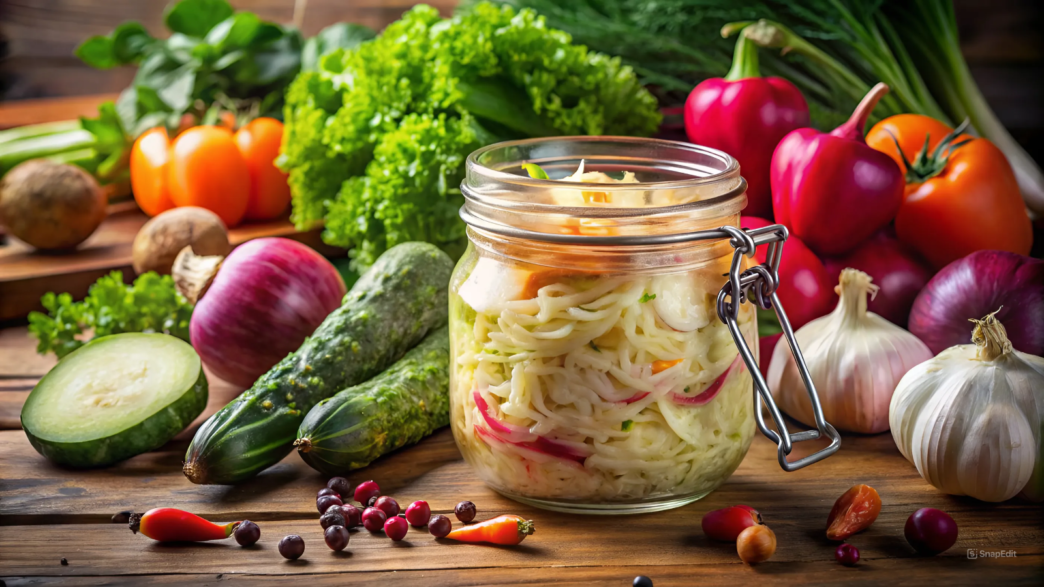
Step 3. Adding Vegetables to the Jar
When adding chopped vegetables to the jar, make sure to leave about a centimeter of space at the top. Then pour the brine over the vegetables, making sure they are completely submerged. I use a small fermentation weight to keep everything submerged in the brine. A clean rock or a small jar filled with water can be used as a weight.
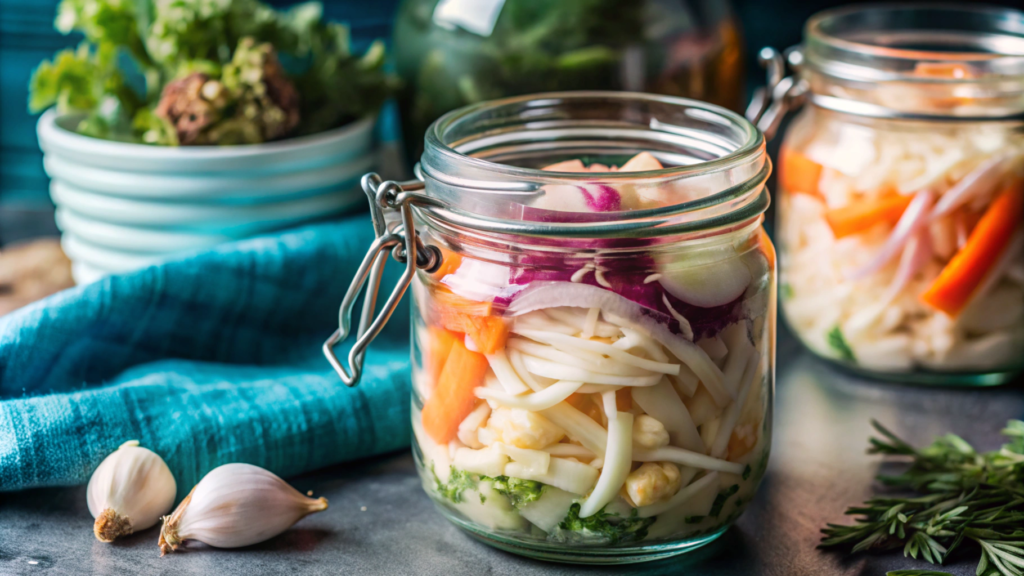
Step 4. Seal and Ferment
The jar should be sealed with a lid, but not too tightly, as air should escape during the fermentation process. I leave mine at room temperature for 5-7 days. If you start to see bubbles, this means the fermentation is going well. Fermentation time may vary depending on the temperature in your kitchen, but 7 days is usually enough.
Salt to Water Ratio

This can be a bit confusing, but it is actually quite simple. The salt solution should be about 2-3%. For example, if you are using 1 liter of water, you will need about 20-30 grams of salt. If you maintain this balance, the fermentation process will be successful.
Tips for Proper Fermentation of Vegetables
- Use non-chlorinated water. Chlorine can kill the beneficial bacteria needed for fermentation. It is better to use filtered or distilled water if your tap water contains chlorine.
- Control the temperature. Fermentation occurs faster in a warm environment and slower in a cold environment. The ideal temperature for fermentation is from 15 to 24 °C.
- Taste. Start tasting your vegetables after 5 days to see if they have reached the level of sourness and saltiness you like. It all depends on your taste preferences. Some people prefer a light fermentation, while others like a deep, rich flavor that can develop after a couple of weeks.
Fermentation Products You Might Need

To make the fermentation process easier, here are a few products I have tried and now recommend from Amazon:
- Fermentation Lids for Jars – These make the process easier and reduce the risk of mold.
- Glass Fermentation Weights – These help keep your vegetables submerged in the brine, ensuring proper fermentation.
- Brine Test Kit – If you’re worried about the salt to water ratio, you’ll love this device. It helps you get the exact ratio for a quality fermentation.
Learning how to ferment vegetables with salt is, at the very least, useful knowledge for a gardener. It helps preserve your harvest, add healthy probiotics to your diet, and, let’s face it, it’s delicious. Plus, it’s fun to watch the transformation of vegetables in jars in your own kitchen.
What are your favorite vegetables to ferment? Share your tips and tricks in the comments below.
Happy fermenting!