When Lindy and I decided to start experimenting in an attempt to make homemade Baileys, it quickly became clear that there were far more variations than it seemed. One evening — the classic, another — a light vodka version, then coconut, keto, and one time we even ended up with an “ice cream liqueur.”
And every single time we loved our Baileys! And friends would always ask: “Can we have more?”
That’s how this collection came together — simple, reliable recipes you can make in the evening and gift the very next day. Different in flavor, texture, and mood, but equally dependable.
You’ll find an option here for any taste. Sometimes a homemade bottle warms the holiday far more than any appetizers or dishes on the table.
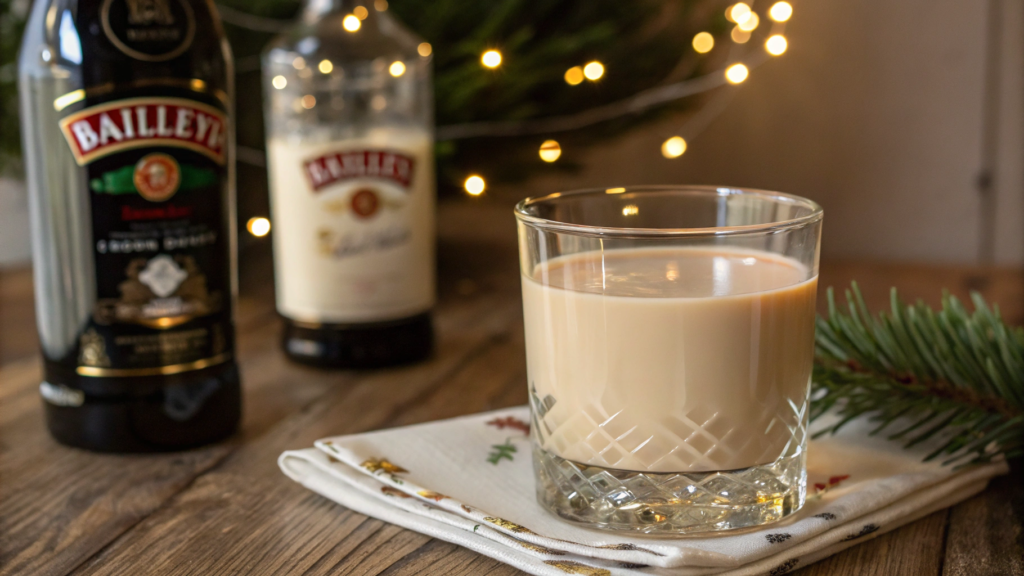
1. Classic Creamy Baileys Clone
This version is that very same classic and incredibly delicate one. It’s pleasant to gift, pleasant to make, pleasant to sip at the end of the day when all the garden chores are finally done.
And the main thing — nothing complicated here. Simple, easy, enjoyable.
How I Make the Classic Creamy Version
This recipe hits that exact texture we expect from the original. A thick, soft, velvety mixture where the whiskey supports the flavor — a truly reliable homemade version.
Ingredients:
- 1 cup Irish whiskey (240 ml)
- 1 cup heavy cream (240 ml, preferably 33–36%)
- 1 (14 oz / ~400 g) can sweetened condensed milk
- 2 tbsp chocolate syrup (or 1 tbsp cocoa)
- 1 tsp instant coffee
- 1 tsp vanilla extract
- pinch of salt — yes, salt
How to Make It (And How Not to Ruin It)
- Cream + condensed milk. I always start with these. And mix gently with a whisk, not a mixer, otherwise you can overbeat the cream — and you’ll get sweet butter instead of liqueur. I had that happen once… don’t repeat my mistake.
- Adding chocolate and coffee. Coffee isn’t exactly essential, but it makes the flavor deeper. I really used to think it was a small thing. Turns out — not small at all. This step gives the drink a deeper, rounder flavor.
- Pouring in the whiskey in a thin stream. Not the other way around. Pour the whiskey into the cream, not the cream into the whiskey — the texture comes out smoother. This is one of those tiny tricks you only feel in a home kitchen, where everything has to be fine-tuned by hand.
- Vanilla and salt. Vanilla brightens the flavor, and salt gently rounds out the sweetness. Without salt the drink ends up too dessert-like. A pinch is enough to create a balanced sweetness.
- Chill overnight. The texture becomes thicker, the flavor more unified. The next morning — pure enjoyment.
On cold days we love adding this version to freshly brewed coffee. And if you want a bit more warmth, just sprinkle a little cinnamon on top — literally a thin dusting, no more.
For serving, thick-walled glasses or small cocktail glasses are the perfect choice. Just avoid thin glasses — they cool the drink too quickly, and we want it to hold its warmth and texture as long as possible.
This recipe is as close to the original as possible, yet homemade and free of artificial flavorings. And one more thing: this is the only version that almost everyone likes. Even those who aren’t liqueur fans at all.
2. Dairy-Free Baileys With Almond & Oat Blend

We came up with this version with Lindy when we were looking for a dairy-free liqueur with a more neutral flavor than coconut. The blend of almond and oat milk gives an unexpectedly smooth, soft texture. Almond milk brings a light nutty note, oat milk adds density and a sense of creaminess. As a result, you get a drink that feels close to the classic but lighter and cleaner.
This liqueur usually lives in our fridge in summer — it’s less heavy and works great both as a drink and as a coffee addition. A lighter alternative that still feels creamy.
Ingredients
- 1 cup unsweetened almond milk (240 ml)
- 1 cup oat milk (240 ml), preferably barista-style
- ¾ cup Irish whiskey (180 ml)
- 1 can oat sweetened condensed milk (14 oz / ~400 g) or ½ cup maple syrup (120 ml)
- 1 tbsp cocoa powder
- 1 tsp instant coffee
- 1½ tsp vanilla extract
- pinch of salt
How to Make It
- Prepare the plant-based base.Warm the oat milk slightly to room temperature — it combines better with other ingredients this way. Keep the almond milk cold to preserve its nutty aroma. Mix them with a whisk until smooth.
- Add sweetness.If using condensed milk, add it in portions — it’s thick. If using syrup, just stir until dissolved. The texture should stay liquid but a bit denser than at the beginning.
This keeps the mixture smooth and pourable. - Mix in the aromatic additions.Add cocoa powder and coffee gradually. Cocoa can form lumps — a whisk solves the problem. Coffee deepens the flavor, making the drink more “liqueur-like.” Then add vanilla and salt.
- Add the alcohol.Pour the whiskey in a thin stream while whisking constantly. Plant-based milk blends can separate when shocked by alcohol, so smoothness matters here.
- Chill.Transfer the drink into a bottle and refrigerate for 6–8 hours. During this time the texture thickens, and the flavor becomes more even and soft.
How We Use This Version
This liqueur often becomes our “quick coffee add-in.” Lindy likes adding a couple of spoonfuls to iced lattes in summer. I use it as a base for simple cocktails with ice — when I want something light but not vodka-forward.
The flavor works beautifully as a summer-friendly liqueur.
Once we took it with us on a picnic, pouring it into small bottles. It was a hit, especially paired with dark chocolate.
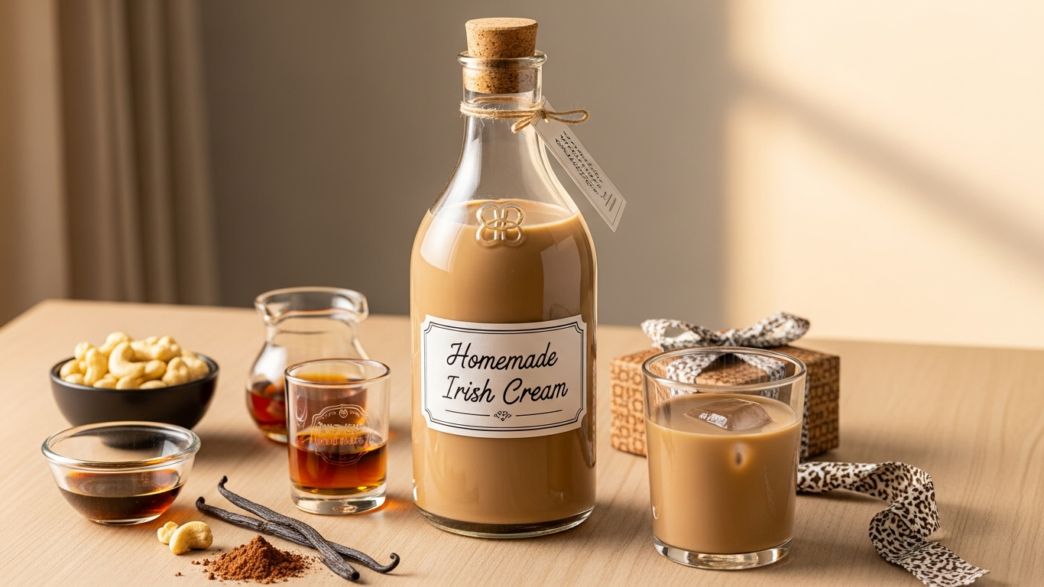
If you’re making it as a gift, choose narrow tall bottles and a minimalist paper label — it looks neat and intentional.
3. Baileys With Eggs and a Hint of Vanilla

This version is more reminiscent of old homestead-style recipes passed down in notebooks: cream, condensed milk, a bit of cocoa and… eggs. They give the drink a denser texture. A similar technique appears in classic “advocaat,” so everything here is quite time-tested.
It creates a drink with a distinctly rich, old-fashioned texture that feels different from the classic Baileys.
Ingredients
- 1 cup Irish whiskey (240 ml)
- 1 cup heavy cream (240 ml)
- 1 (14 oz / ~400 g) can sweetened condensed milk
- 2 large eggs
- 1 tbsp cocoa powder
- 1 tsp instant coffee
- 1½ tsp vanilla extract
- pinch of salt
For storage, choose sturdy bottles with a tight cap. For example Bormioli Rocco Swing Top Glass Bottle.
How to Make It
- Prepare the eggs. The eggs must be fresh and cold. Crack them into a separate bowl and lightly whisk with a fork — not until foamy, just enough to break the structure.
If you want maximum reliability, warm the mixture later over a water bath to 160°F (70°C), but do not boil it. This is the standard temperature recommended in homemade egg-based recipes. - Mix the liquid base. In a large bowl or pitcher, combine the cream, condensed milk, cocoa, coffee, and vanilla. Mix with a whisk until the cocoa fully dissolves. It’s important not to rush — cocoa can leave lumps.
This slow mixing helps maintain a smooth and unified texture. - Add the eggs. Pour the eggs in a thin stream while stirring constantly. This helps avoid the eggs “setting.”
- Add the whiskey last. Thin and gradual. This creates a more stable, non-separating mixture.
- Chill. Pour into a bottle and leave in the fridge for 8–12 hours. During this time the flavor evens out and the texture becomes denser. After cooling, the drink becomes noticeably more “put together.”
This version works best for smaller portions. The ideal serving option is low, thick-walled glasses — they hold temperature well and highlight the drink’s dense texture.
We use the same glasses we use for eggnog. If serving guests, you can lightly dust the surface with cocoa or add an ice cube, but sparingly — the drink is self-sufficient.
A dense egg-based liqueur like this feels especially indulgent in small servings.
4. Vodka-Based Light Baileys Variation
We make this version with Lindy most often in winter, when we want something without the heaviness that sometimes comes with thick creamy liqueurs. Vodka makes the drink “cleaner” in flavor, lighter in the aftertaste, and more convenient if you’re serving guests who don’t really enjoy whiskey. One time we simply didn’t have whiskey on hand, used vodka instead, and eventually this recipe stuck as our “everyday light version.”
.
Ingredients
- 1 cup vodka (240 ml), neutral flavor
- 1½ cups 20% cream (360 ml) — lighter than heavy cream
- 1 (14 oz / ~400 g) can sweetened condensed milk
- 1 tbsp chocolate syrup
- 1 tsp instant coffee
- 1 tsp vanilla extract
- pinch of salt
If you want to pour it neatly into small individual bottles (we sometimes do this when making gift sets), these work well: Small Swing-Top Glass Bottles, 8.5 oz.
How to Make It (Step-by-Step and Calmly)
- Cream and condensed milk base. Mix them with a whisk until smooth. Lower-fat cream gives a lighter texture, so mixing usually goes faster.
This step ensures a light yet stable foundation for the drink. - Add chocolate syrup and coffee. These two ingredients play an especially important role here — without whiskey the flavor can become too simple, and chocolate plus coffee help preserve character.
- Add the vodka gradually. Pour in a thin stream while stirring constantly. Vodka is more “aggressive” on contact with cream than whiskey, so gradual pouring is the key to a stable texture.
- Vanilla and salt. Vanilla softens the flavor, and salt makes the sweetness more cohesive. Salt is more important here than it may seem — without it this version tastes a bit flat.
It helps bring out a balanced sweetness. - Chill. At least 6 hours. We sometimes leave it overnight — the drink becomes more even and “settles” beautifully.
We most often take this version with us to evening gatherings by the fire. It’s lighter, easier to drink, and no one gets overwhelmed by extra sweetness. One time we even made a little “mini-bar” outside with a thermos of coffee and a small bottle of this liqueur — and the evening was a complete success.
For serving, small liqueur glasses or lowball glasses work best. The vodka version behaves more stable over ice, so one or two ice cubes fit perfectly here. If serving with dessert, you can lightly dust the top with ground coffee — literally just a pinch.
5. Non-Dairy Baileys Using Coconut Cream

One day Lindy and I wondered: is it possible to make a fully dairy-free Baileys that doesn’t taste like a tropical dessert? Turns out — yes, and surprisingly well.
Coconut cream gives a thick, stable texture that holds up nicely to chilling and storage. The flavor stays mild, without a strong “coconut note,” if you balance the cocoa and coffee correctly.
This version works well for anyone avoiding dairy or simply enjoying a denser, more saturated liqueur.
Ingredients
- 1 can coconut cream (13.5 oz / 400 ml), chilled
- 1 can coconut sweetened condensed milk (13–14 oz / ~400 g) or ½ cup maple syrup (120 ml)
- 1 cup Irish whiskey (240 ml)
- 1 tbsp cocoa powder
- 1 tsp instant coffee
- 1 tsp vanilla extract
- pinch of salt
How to Make It
- Prepare the coconut cream. Take the can out of the fridge and let it sit for 10 minutes — this softens the cream without fully melting it. Mix with a whisk to break up the firm fat pieces. This is normal for coconut cream.
This creates a smooth, stable base for the liqueur. - Add sweetness. Coconut condensed milk is thicker than regular, so add it gradually. If using syrup — stir until dissolved. At this stage the mixture should be thick, almost creamy.
- Mix in the flavorings. Add cocoa powder and coffee. Both reduce the coconut “accent” and form a flavor closer to the original Baileys. Coffee is especially important — it boosts the chocolate profile. Then add vanilla and salt.
These additions create a balanced chocolate-coffee depth. - Add the alcohol. Pour the whiskey in a thin stream while stirring continuously. Coconut bases can separate when shocked by alcohol — slow mixing prevents this.
- Chill. Transfer to a bottle and refrigerate for at least 6–8 hours. The liqueur thickens noticeably and the flavor becomes more cohesive. The next day it’s usually even better than right after mixing.
How We Use This Version
This coconut Baileys shows up in our house mostly in autumn. Lindy loves adding it to hot coffee — the coconut fat makes the surface of the drink smooth and silky.
I take it with me when we go out of town. It handles small temperature changes well and doesn’t separate even after long drives. A few times we poured it into a thermos and took it on a walk — it became our little “travel liqueur.”
A stable, road-friendly dairy-free liqueur that holds both flavor and texture.
For gifting, a dark bottle like Amber Glass Liquor Bottle with Airtight Cap looks neat and professional, especially with a simple paper label.
6. Keto Irish Cream With Erythritol Sweetener

When Lindy and I started developing a keto version of Baileys, we realized that recreating a creamy texture without sugar wasn’t such a simple task. Either the drink turned watery, or too thick, or the flavor lost that creaminess people love in the original.
But after several trials, we found a formula that consistently works: heavy cream + almond milk + MCT oil.
And yes — this version truly stays within strict keto guidelines, with no hidden carbs and no compromises in flavor. The texture turns out silky, the sweetness natural, and the aroma deep thanks to espresso and vanilla.
Ingredients
- 1 cup heavy whipping cream 36–40% (240 ml)
- ½ cup unsweetened almond milk (120 ml)
- ¼ cup MCT oil (60 ml)
- ⅓ cup powdered erythritol
- 1 tbsp unsweetened cocoa powder
- 1 tsp vanilla extract
- ½ tsp espresso powder
- 1 ¼ cup Irish whiskey (300 ml)
- pinch of salt
How to Make It
- Mix the heavy cream, almond milk, and MCT oil. This trio creates the right texture: rich but not thick. Do not whip it; just whisk until smooth.
This base forms a silky keto-friendly consistency. - Add the powdered erythritol. The powdered form dissolves completely without crystallization. Stir until all granules disappear.
- Mix in the cocoa and espresso. Sift the cocoa to avoid lumps. Espresso powder adds depth, making the flavor more “Irish” rather than just creamy.
- Add the vanilla and salt. Salt enhances sweetness, especially when the drink is served cold.
- Pour in the whiskey in a thin stream. Stir constantly to keep the mixture smooth. Heavy cream handles alcohol well, but gradual addition is still important for stability.
- Chill for at least 6 hours. During this time the flavor stabilizes and the composition “comes together” — especially important for sugar-free liqueurs.
- Taste before bottling. If you want stronger chocolate notes — add a pinch of cocoa. For a smoother texture — add a tiny bit more MCT oil.
These adjustments help maintain a balanced low-carb flavor.
This version is for our friends who follow low-carb diets and usually can’t drink liqueurs because of sugar. It looks like classic Baileys, smells like a coffee dessert, and the carbs are minimal.
Serving
The best option is very cold Baileys + one small ice cube. Keto versions are usually richer, and ice helps open the flavor without diluting the drink.
If giving as a gift, use smaller glass bottles — this Baileys is denser and goes a long way.
7. Frozen Baileys Ice Cream Delight
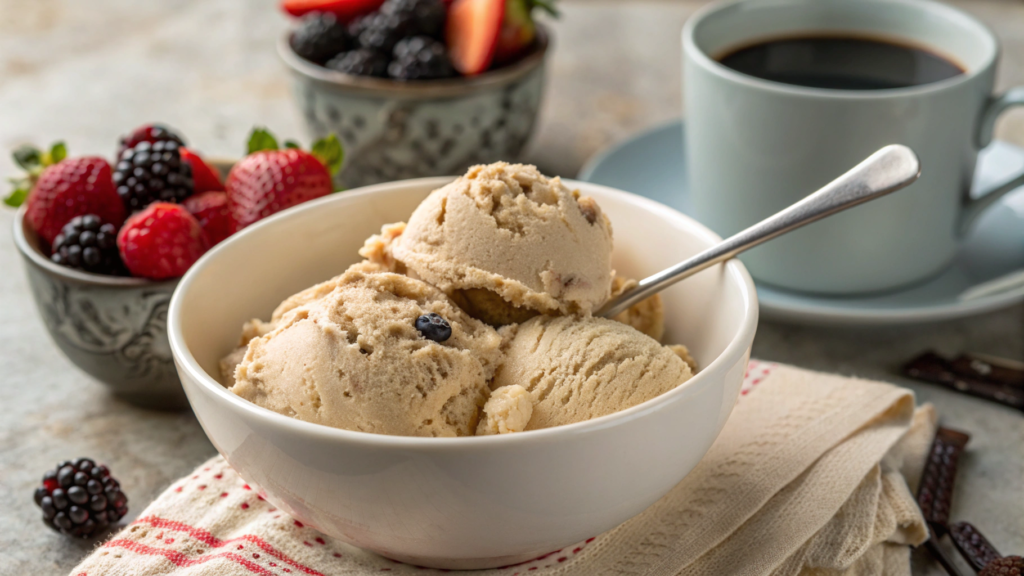
Frozen Baileys is something between ice cream and a soft cream dessert: it’s served with a spoon, keeps its alcoholic profile, but stays thick and tender. Alcohol plays a double role here — it gives flavor and prevents the base from crystallizing, creating a soft texture.
This dessert works beautifully in summer with berries or coffee, and in winter as a “grown-up serving” after dinner.
Ingredients
- 1½ cups heavy cream (360 ml)
- 1 cup homemade Baileys of any variation — classic, coconut, or almond (240 ml)
- ½ cup sweetened condensed milk (120 ml)
- 2 tbsp cocoa powder
- 1 tsp instant coffee
- 1 tbsp vanilla extract
- pinch of salt
How to Make It
- Prepare the base. In a large bowl, mix the cream and condensed milk. Whisk until smooth and flowing. Do not whip — no foam needed. The texture should be similar to liquid cream.
This step builds a smooth, unified starting base. - Add cocoa and coffee. Sift the cocoa powder to avoid lumps. Mix it in gradually to keep the mixture uniform.
Coffee enhances the chocolate profile and adds a slight bitterness, preventing the dessert from becoming overly sweet. - Add vanilla and salt. Vanilla softens the flavor, and salt pulls the sweetness together. These two ingredients are critical for the final taste, especially when frozen — cold always mutes aroma.
- Add the Baileys. Pour in a thin stream while stirring constantly.
At this stage the mixture will become noticeably more liquid — that’s expected.
If the Baileys is thick, warm it slightly to room temperature so it combines better. - Chill before freezing. Place the mixture in the refrigerator for 30 minutes. This evens out the temperature and helps the dessert freeze more uniformly.
- Transfer to a container and freeze. Spread the mixture in a layer no thicker than 2–2.5 cm — it freezes faster and without ice crystals.
Cover with a lid and freeze for 4 hours. - Stir every 45–60 minutes. This is the key step for texture.
Take the container out and run a spoon or spatula through the mixture, breaking up forming crystals.
After 3–4 cycles, the mixture becomes silky, soft, almost like soft-serve ice cream.
The periodic stirring creates a smooth, spoonable texture. - Soften before serving. Remove from the freezer for 5–7 minutes. Alcohol prevents it from becoming rock-hard, but slight softening improves texture.
Spring and summer are when this becomes our “regular” dessert. Lindy loves adding a spoonful to hot espresso — it turns into something like an affogato but with an Irish twist.
I usually serve it alongside berries — especially strawberries or blueberries in season. The coconut or almond versions give a brighter flavor, while the classic stays softer and more balanced.
Serving
For this dessert, the best options are:
- small ceramic ramekins,
- low glass cups,
- or mini dessert servers (4–6 oz bowls).
You can add grated chocolate, a pinch of coffee crumble, or serve it plain — it’s self-sufficient.
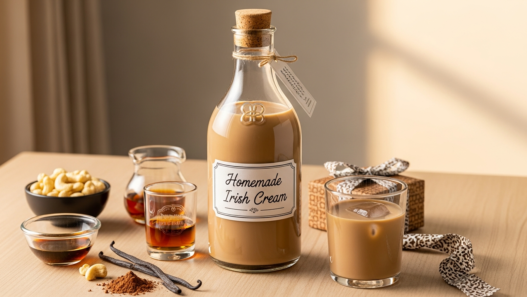
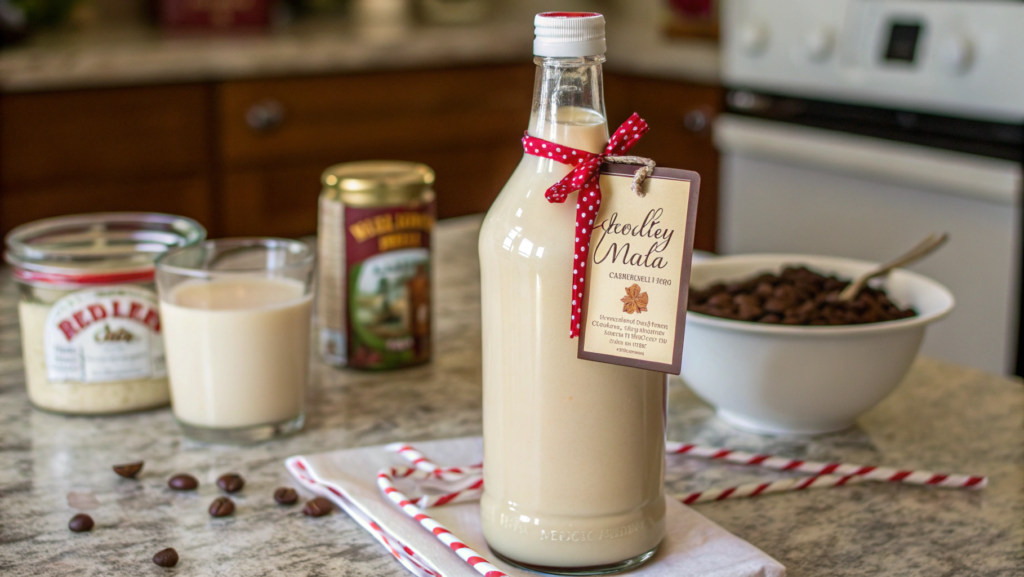
8. Gift-Worthy Homemade Baileys Bottles

Homemade Baileys is one of the simplest and most rewarding gifts, especially if you package it neatly.
The right bottle turns the drink from a “homemade mix” into something that truly feels like a specialty gift from a local market.
Which Bottles Work Best
For Baileys to look presentable, the bottle should be:
- glass,
- tightly sealed,
- preferably narrow and tall,
- with a neck that makes pouring easy.
We tried many shapes and learned that swing-top bottles work best. They look neat, hold pressure well, and create the feeling of a finished product.
A swing-top closure adds a professional touch without any extra effort.
How to Prepare a Bottle for Gifting
- Wash and dry it perfectly. Sounds obvious, but it’s a step you cannot underestimate.
Lindy and I always wash bottles with hot water, rinse with boiling water, and dry them upside down for at least an hour to remove excess moisture.
Residual water can affect the flavor, especially if the liqueur is stored for several days.
This ensures a clean, flavor-safe container. - Pour the liqueur carefully. Use a funnel. Don’t fill it to the very top — leave 1–1.5 cm.
This makes the bottle look cleaner, and the drink won’t create pressure when chilled. - Choose the right portion. A good gift volume is 200–300 ml. Enough to enjoy, but not so much that someone feels obligated to finish a “big bottle.”
- Chill before gifting. Even if the person will later store it at room temperature, a chilled bottle always looks better — the slightly fogged glass gives a sense of freshness.
How to Make the Gift Look Professional
We tried different approaches — from bright decorative ribbons to ultra-minimalist packaging. In the end, simplicity won: small details work better than excess.
Minimalist Presentation (H3)
- natural twine
- a small thick-paper tag
- a short label: “Irish Cream – Homemade” or “Winter Cream 2026”
A simple, elegant label often looks more expensive than decorative overload.
More “Festive” Option (H3)
- thin satin ribbon
- a mini cinnamon stick attached to the side
- a small kraft paper tag
What to Write on the Tag
We try to include:
- the name of the drink,
- the preparation date,
- a small note (for example: “Our favorite winter version. Add to coffee — works great.”)
This creates the feeling that the gift was made with intention, for a specific person, and not just poured into a bottle in a hurry.
Whenever we go to dinner with friends, to one of Lindy’s work gatherings, or even to fall markets, a small bottle of homemade liqueur is a universal gift that almost everyone loves.
The biggest hits are:
- the classic creamy version,
- the coconut dairy-free version,
- the keto variation for people who avoid sugar,
- and the frozen version if a freezer is nearby.
One year we even made “gift sets” with three mini bottles — they looked absolutely wonderful!
If you want to take the gift to the next level, add a small card with a short cocktail recipe, or a tiny packet of ground coffee (literally a teaspoon as an accent), or a small piece of dark chocolate.
It turns the bottle from “part of a gift” into a complete, polished set.
9. DIY Label Designs for Homemade Irish Cream
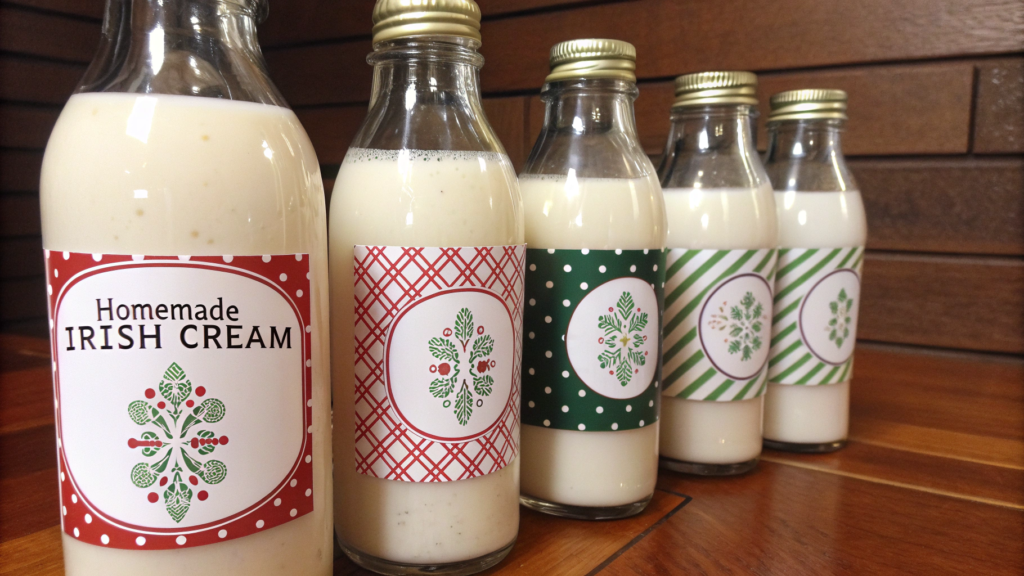
When Lindy and I started gifting homemade Baileys, we quickly realized one thing: the label is half the gift. Even the simplest bottle looks like a premium farmers-market product if it has a neat, well-designed sticker. And the best part — anyone can make a label like this at home.
Choosing the Style
We usually start with the style that matches the character of the drink. The classic version calls for a calm design, the coconut one for slightly warmer tones, and the keto variation for strict geometry.
Minimalist style — light background, black text, thin border, no decorative elements.
Craft / farmhouse style — kraft paper, textured fonts, a small icon (twig, leaf, coffee bean).
Festive style — deep tones: burgundy, green, blue, small gold accents, slightly larger font.
A label must always include the name of the liqueur, preparation date, a short instruction (e.g., “shake before serving”), approximate strength, a small note or mini-message.
Materials That Work Best
- Matte sticker paper — universal, no glare, fridge-friendly.
- Kraft sticker paper — warm, rustic, perfect for “homemade style.”
- Transparent stickers — create the effect of text printed directly on the glass.
A great printing option is Avery Printable Sticker Paper – White Matte.
How to Make the Label
- Choose the style. We always begin by asking: what’s the drink’s personality? Calm → minimalism. Warm → craft. Festive → rich color.
- Create the layout. We usually use a simple editor like Canva. One main font and one accent font — that’s enough for a clean design.
- Print a test version. This is crucial: size often looks right on screen but appears larger on the bottle.
- Adjust the dimensions. We resize the layout so the label edges don’t curve over the bottle’s neck line or hit the glass curvature.
Proper sizing ensures a clean, professional fit. - Print on sticker paper. Matte paper gives a tidy, “store-bought” appearance.
- Cut neatly. A knife and ruler work better than scissors — the edges come out cleaner.
- Apply only after the ink is fully dry. Ink can smear if applied too soon.
Presentation and Gift Styling
To make the gift feel complete, we add one small element:
- a short note
- a tiny cocktail recipe
- a cinnamon stick tied with twine
- a small chocolate
It’s a small detail, but it transforms the bottle into a thoughtful, well-assembled gift — the kind people remember.
10. Easy Copycat Baileys You’ll Want to Gift Again
This is the recipe Lindy and I use when we need to make many bottles at once, without complicated ingredients or long prep. Its difference lies in the combination of evaporated milk, regular condensed milk, and cream. This trio creates a soft, balanced flavor without excess sweetness or thickness.
Evaporated milk acts as a stabilizer: the drink stores better, doesn’t separate in the fridge, and keeps the same texture for several days.
It’s the perfect gift when you want a universal flavor that everyone enjoys, from coffee lovers to fans of dessert liqueurs.
Ingredients
- 1 can evaporated milk (12 oz / ~350 ml)
- ½ can condensed milk (7 oz / ~200 ml)
- 1 cup heavy cream (240 ml)
- 1 cup Irish whiskey (240 ml)
- 1 tsp instant espresso (or 1 tbsp cold espresso)
- 1 tsp vanilla extract
- ½ tsp almond extract (adds “creaminess” but doesn’t make the drink taste like almond)
- pinch of salt
How to Make It
- Combine the evaporated milk and condensed milk. They mix together beautifully and create a dense base without whipping. Whisk until smooth.
This forms a stable, creamy foundation for the drink. - Add the cream. The cream softens the texture without making it too thick — the evaporated milk balances the density.
- Add the coffee. Use instant espresso — it dissolves quickly and gives an even flavor.
If using liquid espresso, make sure it’s fully cooled. - Add the vanilla and almond extract. This is the key part of the recipe: a tiny amount of almond extract mimics the creamy depth of commercial Baileys. Lindy and I tested many ratios — half a teaspoon turned out perfect.
- Pour in the whiskey in a thin stream. Stir constantly. The mixture should stay smooth without separating.
- Refrigerate for at least 6–8 hours. During this time the flavor becomes even, and the texture more silky.
- Taste before bottling. Sometimes we add another ½ tsp of vanilla — it depends on the specific batch of evaporated milk.
This final check ensures a balanced, gift-ready result.
This is our “go-to” option for New Year gift sets, neighbor gifts, dinner visits, and office gift exchanges.
The liqueur turns out universal: not too sweet, not too chocolatey, not too thick. People who don’t drink regular Baileys often say they prefer this version because of its soft, balanced flavor.
Leave a Bottle for Me…
Sometimes I think this is what Lindy and I love most about these recipes — the feeling that you’re making something small, homemade, and intimate, yet universal enough to delight anyone. Whiskey versions, plant-based versions, keto variations, ice-cream spins, gift bottles — all of it built on one simple idea: the liqueur should be tasty, clear in flavor, and made with care.
And if one of these versions finds a place in your fridge — then it was all worth it.Which recipe did you like most? What did you try making?
Write in the comments, and if you want, share what flavor you got, what bottle you chose, and who received your first “homemade cream liqueur.”
I’m always happy to hear stories straight from your kitchen.