
You know those times when you walk through your garden and think, “This place could use a little something extra—something that really draws the eye and makes the space feel more… complete?” Well, that’s exactly what a DIY garden arch can do. And trust me, when Lindy and I first decided to build our own arches, we had NO idea how much joy these simple structures would bring. In this post, I’m going to walk you through some of our favorite 5 DIY garden arch ideas—straight from our experience to your backyard.
Simple Wooden Garden Arch
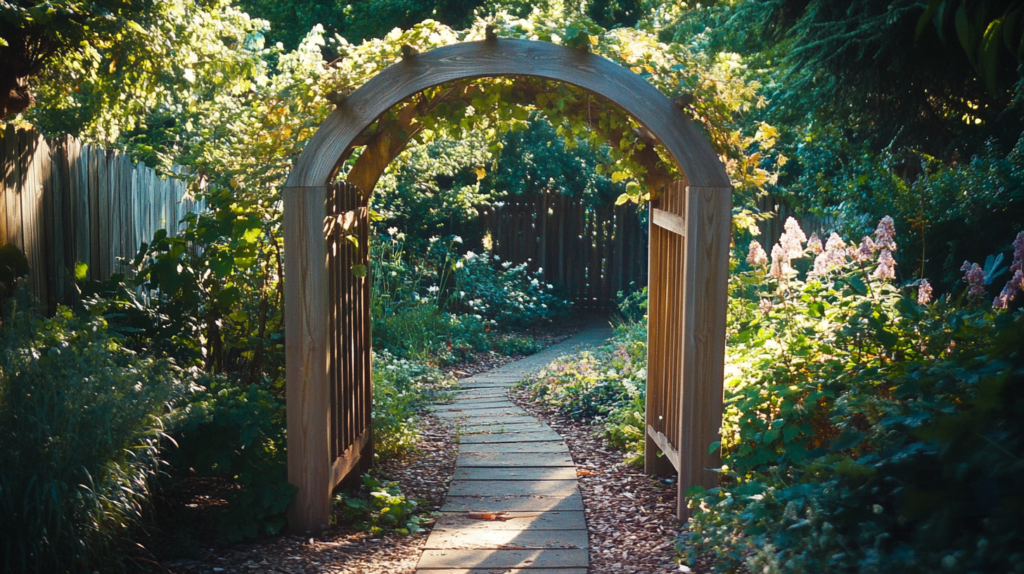
When Lindy and I first moved to our homestead, we had a pretty basic garden setup. It was nice, but it didn’t have that wow factor. Then one day, as I was wandering through the garden, it hit me: we need an arch! But not just any arch—a wooden one that we could build ourselves, something solid and rustic. Now, I’m not going to lie, we didn’t know much about woodworking back then. In fact, we knew NOTHING. But, I thought to myself: YES, you can do it!
Step-by-Step Guide:
- Materials Needed: Start with treated wood planks, galvanized screws, a saw, and a drill. And listen, don’t skimp on the treated wood—your arch needs to stand up to the elements.
- Building the Frame: Measure twice, cut once. Seriously, it’s a rule we learned the hard way. Cut your wood planks to size—two long pieces for the sides and two shorter ones for the top. Then, assemble the frame by attaching the top planks to the side planks with those trusty screws. If you’re anything like us, you’ll want to add some corner brackets for extra stability because, well, better safe than sorry.
- Adding the Arch: Here’s where the magic happens (and where Lindy and I scratched our heads a bit). You can either cut a curved piece of wood or use a pre-formed arch. Attach it securely to the top of your frame, and voila! Your garden has a brand new focal point.
- Finishing Touches: Sand down any rough edges and consider painting or staining the wood. We went with an eco-friendly stain that not only protected the wood but also made it look gorgeous.
Looking for inspiration on how a simple addition like this can transform your space? Check out our before and after homestead page to see how we started.
Upcycled Metal Garden Arch
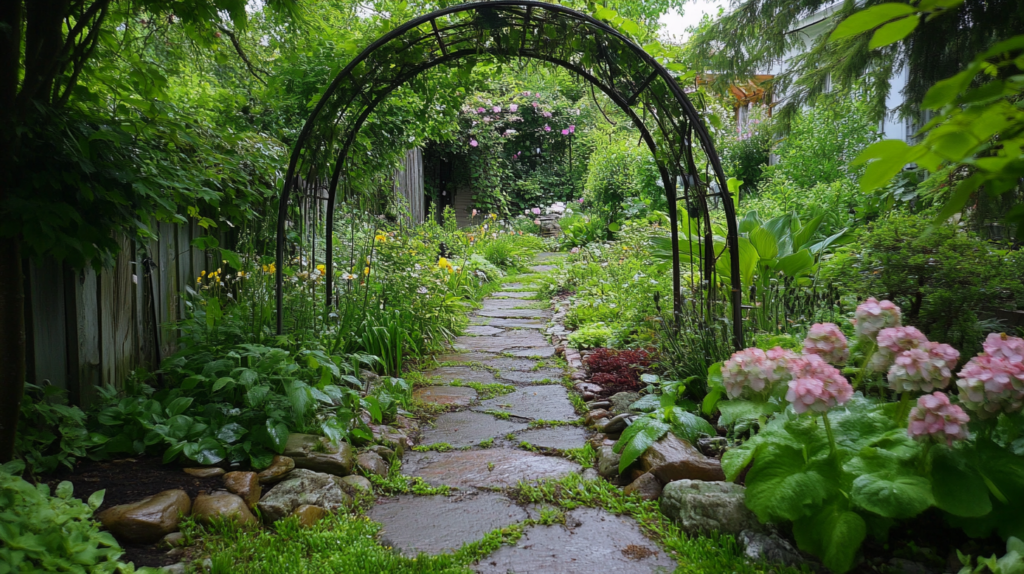
Alright, let me take you back to the day Lindy and I found this rusted old metal gate at a salvage yard. Honestly, it looked like it had seen better days, and by better, I mean a few decades ago. But something about it caught our eye. I think it was the challenge, the idea of taking something worn and forgotten and turning it into something new and beautiful. We took it home, rolled up our sleeves, and got to work.
Step-by-Step Guide:
- Materials Needed: You’ll need an old metal gate or fence—or even some scrap metal if you’re feeling adventurous—rust-proof spray paint, and possibly some welding tools if you need to reshape the metal. And for those who prefer the easy route, this metal spray paint on Amazon is a lifesaver.
- Cleaning and Preparing the Metal: First things first, grab a wire brush and get to scrubbing. This part isn’t glamorous, but it’s essential. Once all the rust is gone, give it a good wash and let it dry completely. Then, spray it with the rust-proof paint. This is your arch’s armor, so don’t skip it!
- Assembling the Arch: If the gate’s already in an arch shape, you’re golden. If not, you may need to bend and weld it. No welding skills? No problem. You can bolt pieces together, and it’ll still look fantastic.
- Decorating the Arch: This is where Lindy really shines—she added some decorative metal accents and let climbing roses weave their way up. The result? A beautiful, rustic centerpiece that makes our garden feel like home.
Curious about upcycling in the garden? Head over to our article on reviving an abandoned garden to see how we breathe new life into forgotten materials.
Living Willow Garden Arch
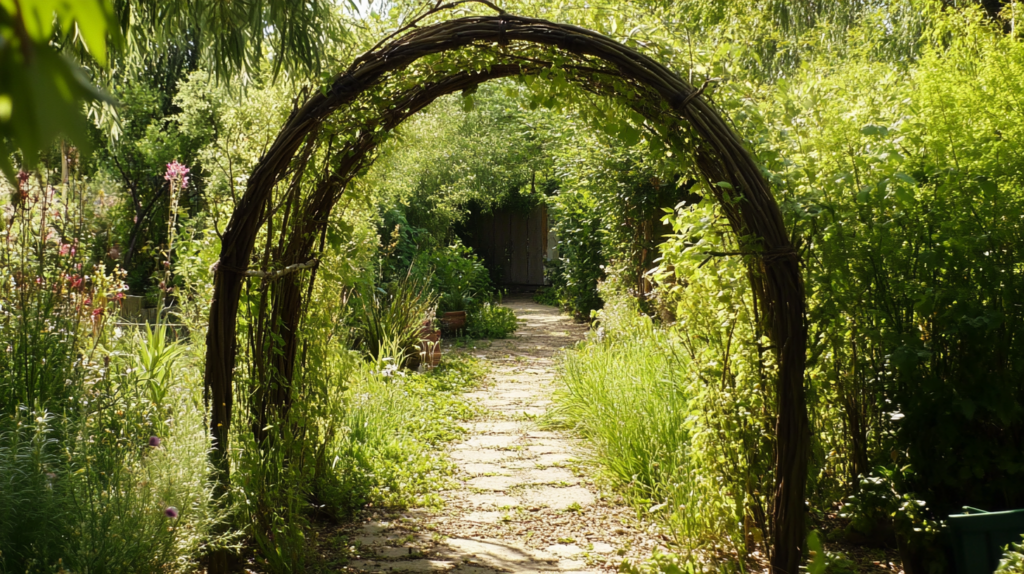
This one’s a bit of a passion project for us. There’s something so satisfying about creating a living structure, something that grows and changes over time. When we first started our living willow arch, I’ll be honest—we had our doubts. Would it work? Would it actually grow? But here’s the thing: with a little patience and a lot of love, it did. And now, every time I walk under that arch, I can’t help but smile.
Step-by-Step Guide:
- Materials Needed: Fresh willow rods, a sharp knife, and some good planting tools (you can’t go wrong with these gardening tools).
- Planting the Willows: Start by planting the willow rods in two parallel lines where you want your arch to stand. Make sure they’re spaced evenly and planted deep enough to establish strong roots. This is where the magic begins—right in the soil.
- Weaving the Arch: As the willow rods grow, start weaving them together to form the arch shape. It takes time, but the results are absolutely worth it. And the best part? This arch grows with your garden, becoming stronger and more beautiful each year.
- Maintenance Tips: Regularly water and prune your willow arch to encourage healthy growth and maintain the shape. Over time, the willow will thicken and become even more robust. It’s a living testament to what a little patience can achieve.
If you’re interested in learning more about living structures and how they fit into permaculture, check out our guide on permaculture design. It’s all about creating systems that work with nature, not against it.
PVC Pipe Garden Arch
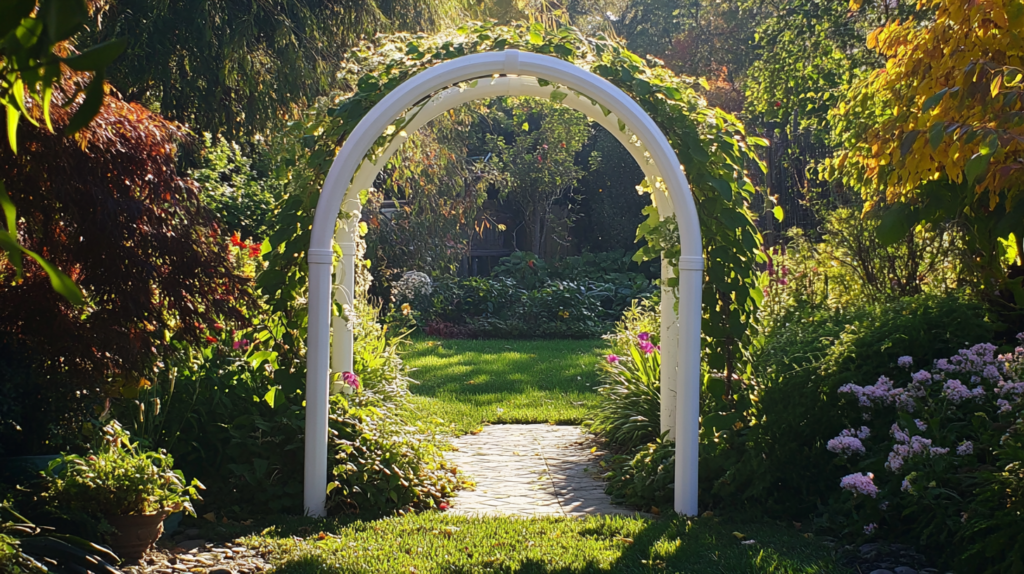
Okay, so let me paint you a picture: It was a sweltering July afternoon, and we were prepping our garden for an upcoming family gathering. I wanted an arch, but time was not on our side. We needed something quick, easy, and affordable. That’s when we turned to the humble PVC pipe. Honestly, I wasn’t sure how it would turn out, but boy, was I surprised by how well it worked!
Step-by-Step Guide:
- Materials Needed: You’ll need PVC pipes (about 1-inch diameter works well), connectors, some paint, and a PVC pipe cutter (check out this one for a reliable option).
- Assembling the Frame: Cut the PVC pipes to your desired length—two long pieces for the sides and one shorter piece for the top. Connect them using PVC elbows to form your basic arch shape. It’s like putting together a giant set of LEGOs—no special skills required!
- Stabilizing the Arch: This is key, especially if you’re in a windy area. We anchored ours by inserting the pipes into the ground and securing them with rebar. You can also use garden stakes for extra support.
- Painting and Decorating: Now, PVC isn’t the prettiest material, so we painted ours with a weather-resistant spray paint to give it a more natural look. Once dry, we draped some fairy lights and hung a few small planters—and just like that, we had an eye-catching, budget-friendly arch!
Looking for other quick and affordable DIY projects? You might enjoy our article on small space gardening ideas, where we share tips on maximizing your garden’s potential.
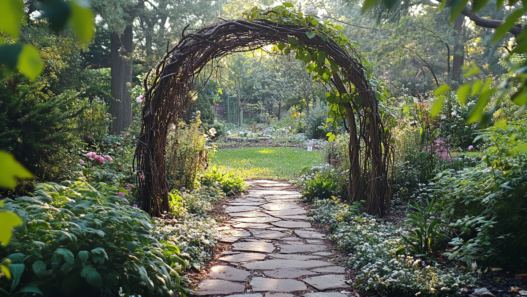
Rustic Branch and Twine Garden Arch
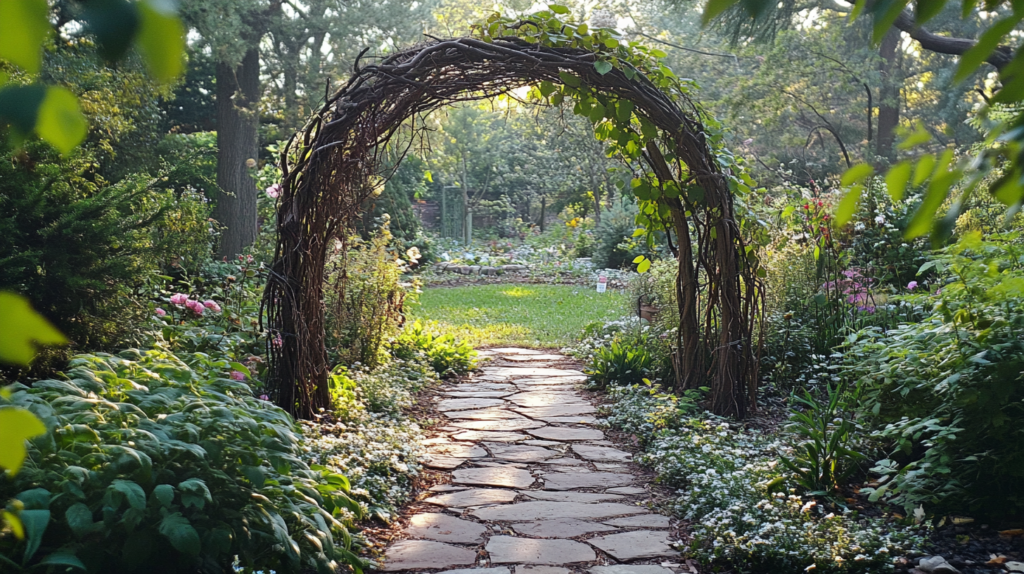
Now, this one’s for those who love a more natural, rustic vibe in their garden. One autumn, after a particularly windy storm, we had a ton of fallen branches scattered across our property. Instead of burning them or hauling them off, we decided to put them to good use. With some twine and a bit of creativity, we ended up with a rustic garden arch that blends seamlessly into our landscape.
Step-by-Step Guide:
- Materials Needed: Fallen branches (look for ones that are sturdy but not too thick), natural twine, and a good pair of gardening gloves.
- Building the Structure: Start by selecting the largest branches to serve as the main supports. Position them where you want your arch, digging them into the ground a bit for stability. Then, begin layering and crisscrossing smaller branches across the top to form the arch shape. It’s like weaving nature’s very own tapestry.
- Securing with Twine: This is where the twine comes in handy. Tie the branches together at key points to secure the structure. Don’t worry about perfection—part of the charm is in the organic, uneven look.
- Decorative Ideas: Add a few hanging lanterns or wind chimes, and let climbing plants like ivy or clematis take over. Over time, nature will do the rest, integrating the arch even more into your garden.
Show Us Your Arches!
So, which of these DIY garden arch ideas are you excited to try? Whether you’re crafting a simple wooden arch or getting creative with upcycled materials, we’d love to see your results! Here’s the fun part—join our #RootedRevivalArch contest on Instagram. Share a photo of your DIY garden arch, tag us, and use the hashtag for a chance to win a $100 Amazon gift card to fuel your next garden project!
But wait, there’s more! We’ll feature the most creative arches on our website and Instagram, giving you bragging rights and a chance to inspire others. So grab your tools, get creative, and show us what you can do. We can’t wait to see your garden transformations!