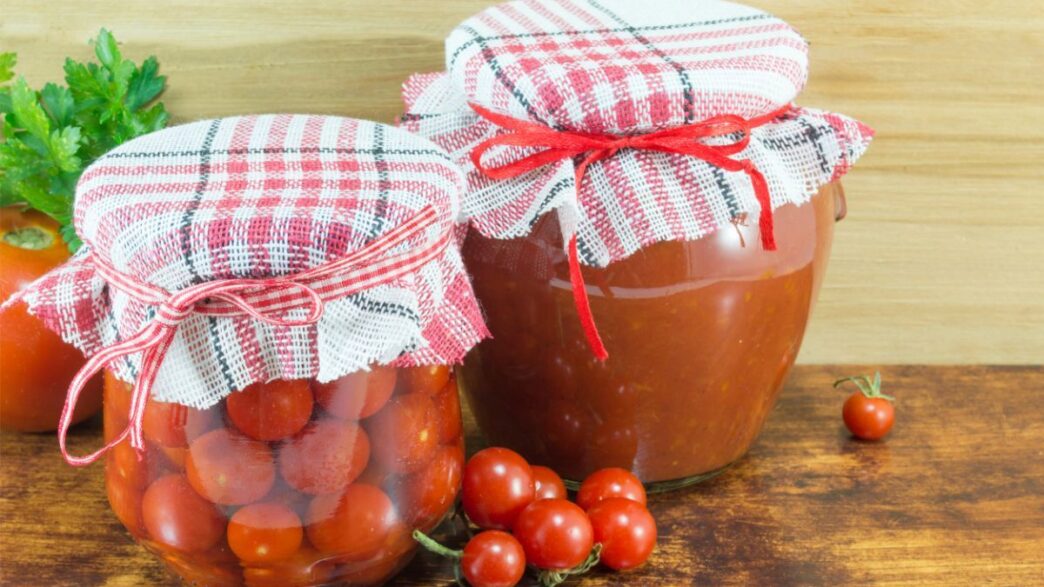
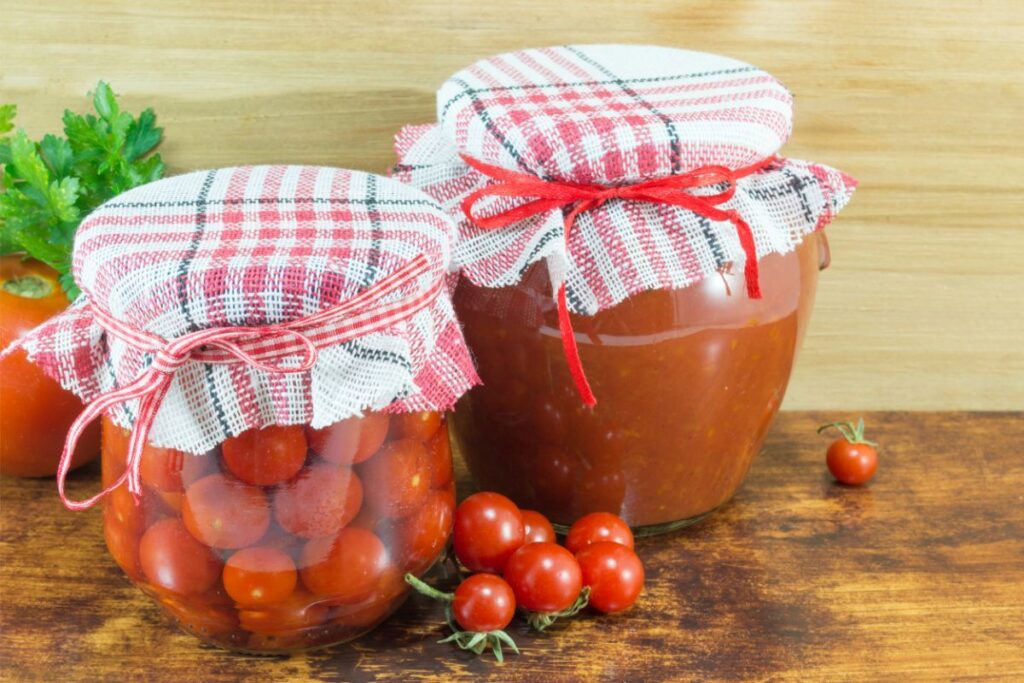
As summer is about to say its adieu, you might be left with too many cherry tomatoes in your garden to store till the next season. You might wonder about the steps to canning them without peeling.
As a homesteader and homegrown food fanatic, I’ve successfully canned cherry tomatoes without peeling them. I use a step-by-step approach, gather all the necessary ingredients, supplies, and containers, and choose a storage place.
In this article, I’ll show you 10 steps to canning cherry tomatoes in air-tight containers without peeling to preserve their delicious flavor and freshness for a later date.
How do I can cherry tomatoes without peeling?
Peeling cherry tomatoes is tedious and time-consuming, but luckily, there is a way to can them with their skins on with these step-by-step instructions.
Step 1: Gather Ingredients and Supplies For Canning
The first step is to gather all the necessary ingredients and supplies on hand, but don’t worry, as the list is short and easy to collect!
Ingredients:
- Cherry tomatoes – as you desire.
- Lemon juice – 1 tbs per pint or 2 tbs per quart (if you use citric acid instead, then take ¼ teaspoon per pint or ½ teaspoon per quart).
- Salt – optional.
- Boiling water (1 cup per pint or 2 cups per quart).
- Hot water for the canner.
Equipements:
- Canning jars (either pint or quart size, your choice!).
- Lids and bands.
- Water bath canner.
- Debubbler.
- Oven mitts.
- Canning funnel and tongs.
Hang on a minute here! Make sure to use regular mouth jars because they keep your cherry tomatoes in place and prevent them from “Floating.”
Step 2: Prepare Cherry Tomatoes
The next step is to get those cherry tomatoes prepped and ready for their transformation into delicious canned goodness.
You’re in luck, as you can choose the Raw Pack or the Hot Pack method at your convenience.
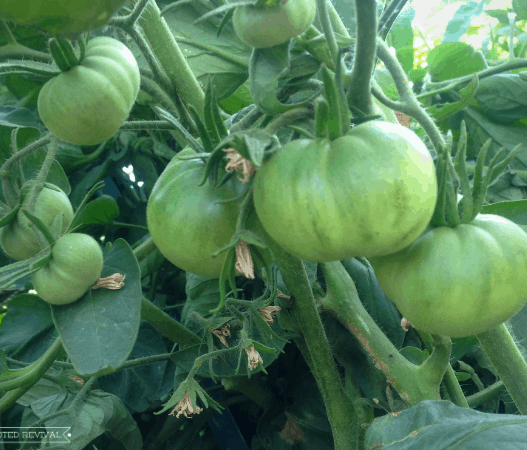
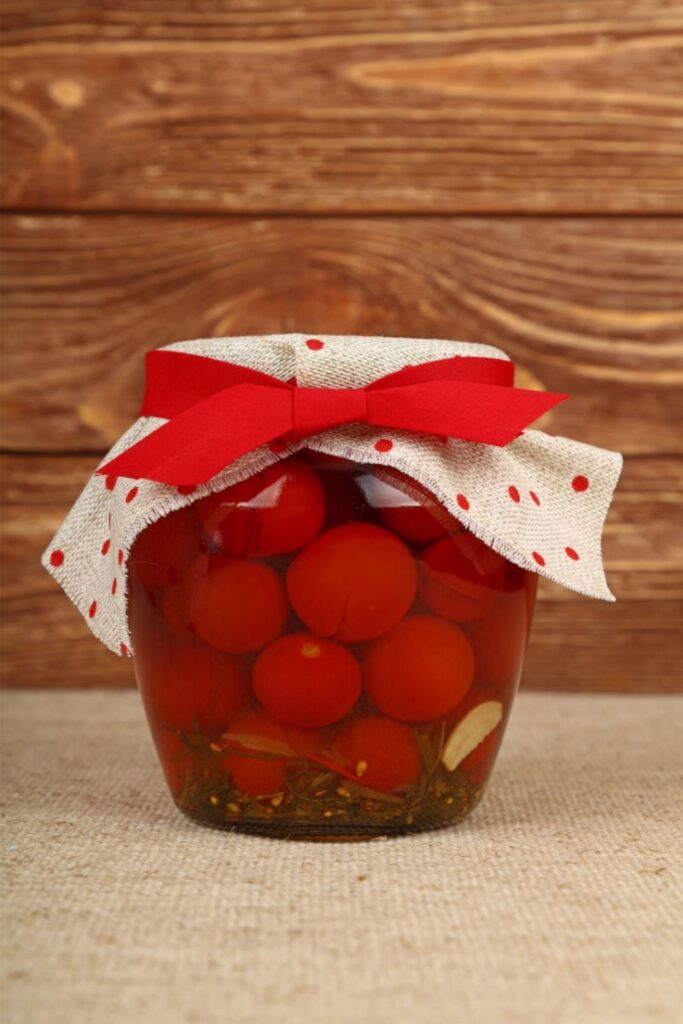
Raw Pack Method: For the raw pack method, select ripe, high-quality undamaged cherry tomatoes, such as the Mini Romas variety.
Here’s the trick! Wash your cherry tomatoes thoroughly under cool running water, remove any stems, and poke some holes using toothpicks. Let them dry in an open area while you prepare for the next step.
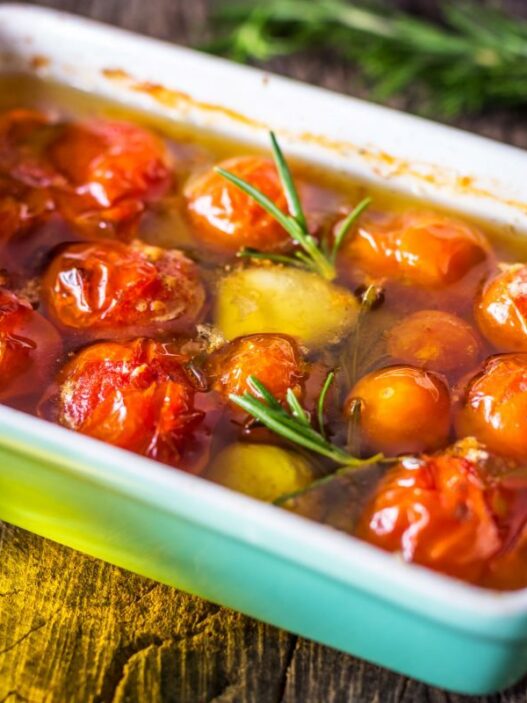
Hot Pack Method: Add washed tomatoes to a pan with some water for boiling. I use 1 cup of water for five cups of small cherry tomatoes.
Put the pan on the stovetop, bring it to boil on a medium-high flame, and wait five minutes before turning off the heat. Next, let the cherry tomatoes cool down and use them whole or make their puree in a food processor.
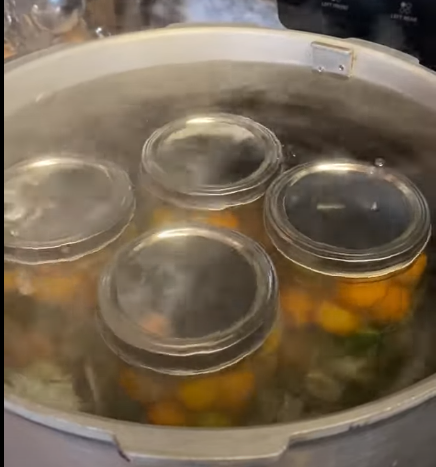
Step 3: Load Jars Into Canner For Sterilization and Boiling Water
While the water bath canning method takes a lot of time, start loading the pot with the canner and add water for sterilization and later process.
So here’s the deal, put the canning pot on the stove, pop the canning rank at the bottom, and load the jars into it.
Wait, you are not done yet! Fill the pot with water until it covers the jars by 1-2 inches.
Step 4: Sterilize Jars and Lids
Once you load the jars into the canner, put the lid on the pot and place it on the burner. You need to bring the water to a rolling boil at 140 F to 212 F and simmer at this temperature for 10 minutes to fully remove any bacteria or microorganisms.
And here’s a little tip: If you live above sea level or higher altitude, add an extra minute for every 1000 feet for proper sterilization.
Don’t forget about the lids! Add a few scoops of boiling water into a separate bowl, place the lids in it, and ensure they’re fully submerged. Let the lids sit in the water for 10 minutes to remove any contamination.
Step 5: Boil Water
It’s time to turn your attention to another essential step of the canning process – Boiling Water!
For this step, you’ll need a second pot – a trusty soup pot will do the trick. Fill it up with water, and then bring it to a gentle simmer until you’re all set to start canning those vibrant cherry tomatoes.
But how much water do we need? That depends on how tightly you want to pack the cherry tomatoes, but usually, each jar needs about one cup of water.
Step 6: Filling
Here we’re, at the heart of the canning process, which involves filling our jars with mouthwatering cherry tomatoes!
Remove your jar from the canner using the canning tongs, put the lid back on the pot, and let the water simmer. Now fill the jar with cherry tomatoes and leave some space at the top.
Hold your horses; there’s more! Add the water we’ve boiled in Step 5 to the jars, and use the debubbler to remove any air bubbles.
Step 7: Add Salt And Lemon Juice
Next, add the final touches to the canned cherry tomatoes to enhance their flavor and ensure longer shelf life.
For this, grab a teaspoon or tablespoon and add the salt as required and 1 tbs per pint or 2 tbs per quart to the jars.
Step 8: Wipe Jar Rim and Seal Jars
In this step, first, wipe the rims of the jars using a damp cloth or paper towel to remove any residue or spills.
Then, it’s time to seal the deal – literally! Take out the lid from the hot water bowl, seal the jars, and screw the bands to secure the lid in place.
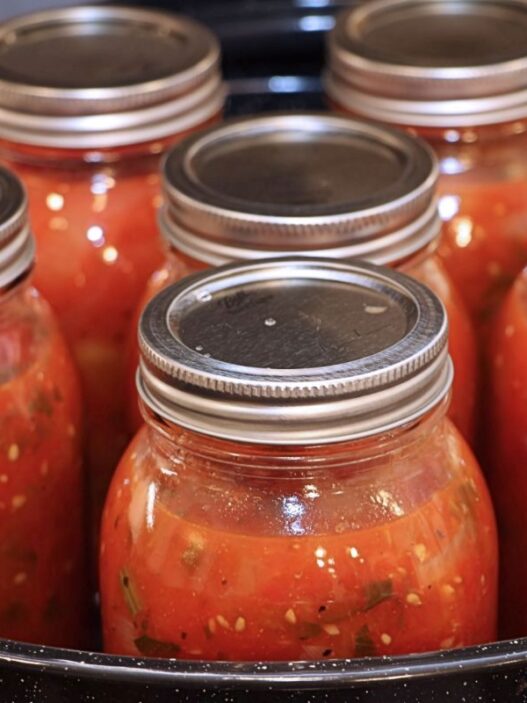
Step 9: Process in Canner
Congratulation! You’ve reached the crucial step of processing the canner pot jars.
Place the filled and sealed jars back into the canner and cover them with water by at least 1-2 inches.
Now bring the water to a boil for 40 minutes while using pint jars or 45 minutes for quart jars to process and vacuum seal them.
Step 10: Store Canned Cherry Tomatoes
Hold on – you’re not quite done yet! You now have to take your jars out of the canner and get them ready for storage.
But first, exercise some caution! Use the oven mitts to carefully lift each jar out of the canner one by one and place them on a heatproof surface.
Wait for the jars and their content to cool down, label them with the preservation date, and store them in your pantry or freezer for up to 1 year.
Wrapping Up!
There you have it! I’ve explained my 10 steps to canning cherry tomatoes without peeling them, which involves gathering the ingredients to storing them in your freezer or pantry.
But do keep in mind the cherry tomatoes canning process requires your attention to detail and patience in each step to capture the essence of this summer fruit throughout the year.