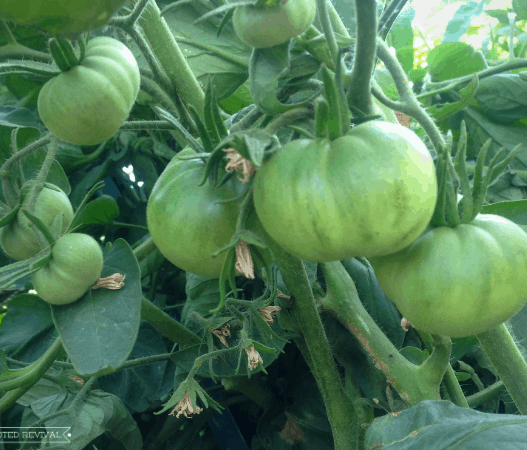

Did you have a bountiful harvest of ripe, juicy tomatoes and want to preserve them but wonder whether you have to peel them for canning?
Over the years, I’ve learned that although you can technically can tomatoes without peeling them, it’s better to remove the skin for safety purposes and to enhance the flavor of the final product. I have been peeling the tomatoes for canning by:
- Removing the tomato skin by boiling them in water
- Freezing the tomatoes and soaking them in lukewarm water to peel the skin
- Roasting the tomatoes in the oven at 350-degree for 15 minutes
- Passing the tomatoes through a strainer to separate the skin and seeds
In this read, I’ll reveal all the answers to ‘do you really have to peel tomatoes for canning’ in detail.
I’ll show you the right steps to remove those pesky skins!
Do tomatoes have to be peeled before canning?
Although you can preserve tomatoes in cans without removing the peel, the USDA’s guide to home canning advises not to do so.
According to the guide, you have to peel the tomatoes for canning because much of the bacteria lives on their skin.
Correct canning can kill most harmful microorganisms, but it’s better to be safe than sorry.
Not only that, peeling tomatoes also significantly impact the taste of your final product.
How? Well, that’s because the bitter flavor in tomatoes is concentrated in the skin and seeds. So, if you want the best-tasting canned tomatoes, always make sure to peel them for canning.
I get it; this process can be time-consuming and may seem overwhelming. But here’s the silver lining! When you savor those perfectly preserved, delicious tomatoes during the off-season, that extra effort pays off in spades.
How do you remove the skin from tomatoes for canning?
If you’ve decided to take the leap and peel your tomatoes for canning, you’re in for a treat! I’ll walk you through 4 easy and efficient methods I use to remove that pesky tomato skin like a pro.
1. The Blanching Method
The blanching method is a classic and more reliable way to peel tomatoes for canning because it does not require much of your hard work.
To start with, give your tomatoes a good wash, then take a sharp knife and carefully make a shallow “X” cut at the bottom of each fruit.
Put a pot of water on the stove, bring it to a rolling boil at 212°F, and add the tomatoes. Let them blanch for about 30 to 60 seconds until you notice the skin start to peel back at the “X” mark. To me, it’s like magic happening right before my eyes!
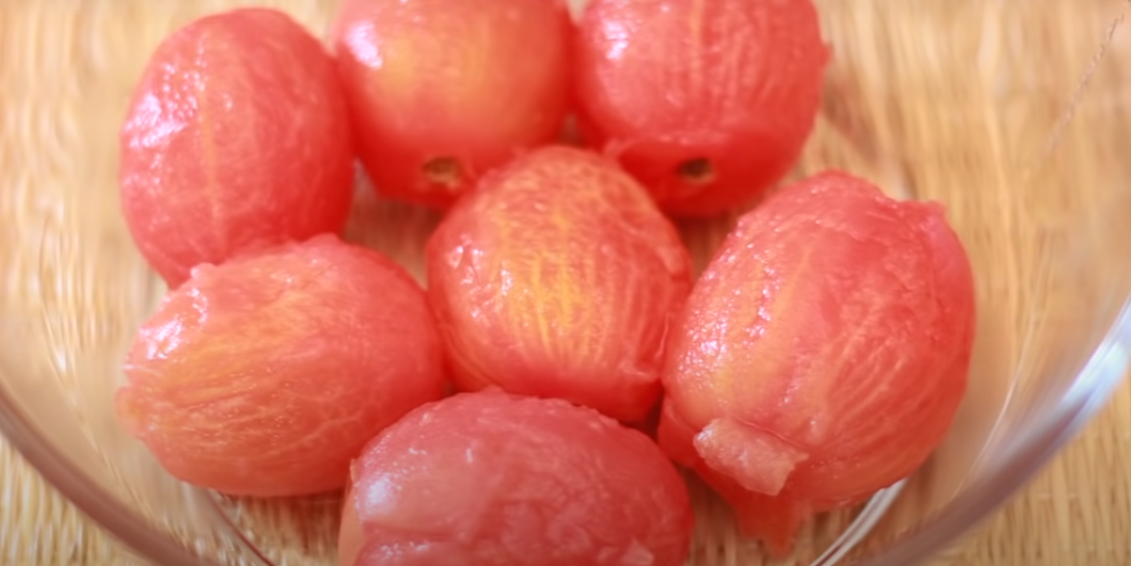
The next part is to transfer the blanched tomatoes into a bowl filled with ice-cold water to cool them down quickly. Here comes the most satisfying part – slide off the skin from the tomatoes using your fingers, and it should come off smoothly.
You can now prepare the tomatoes for the canning process without any worries and preserve the essence of these summer fruits.
2. The Freezing Method
If you are looking for a simpler approach that does not involve boiling water, freezing might be the perfect method for you.
Here’s how it works! First, wash your tomatoes under cool water and then put them in a zip-lock bag or airtight container. However, make sure they are not touching each other. Next up, pop the bag or container in the freezer and let the tomatoes freeze solid.
Once fully frozen, remove the zip-lock bag or container from the freezer, and soak the tomatoes in lukewater for a few seconds.
Now, remove the stem from the tomatoes and gently squeeze them or remove the skin with your fingers. It will come off easily, leaving smooth tomatoes ready for canning.
This method is a great way to preserve the fresh taste and vibrant color of your tomatoes.
3. The Roasting Method
The roasting method not only helps you peel the tomato easily but also imparts a rich, caramelized taste to them for canning.
First, line a baking pan with parchment paper and place the tomatoes in a single layer. Keep a little personal space between each tomato to let them roast more evenly.
Now slide the baking pan or tray into a 350 °F or 175°C preheated oven and set the timer for 15 minutes. Remove the pan from the oven when the skin splits and peels away from the flesh. If not, give them another 5 minutes, then check again.
Let the tomatoes cool down for 10 – 15 minutes so you can handle them without getting burnt. Gently remove the skin by grabbing the core of each tomato and peeling it away.
There you have it! Your fully peeled and roasted tomatoes are ready to be canned for the next few months.

4. The Tomato Strainer Method
Well, if you find the above methods time-consuming and want to start making your tomato sauce or paste for canning immediately, I’ve got another trick up my sleeves.
For this, gather your fresh, ripe tomatoes, wash them well, and remove the stem. Put the tomatoes, diced onions, and your favorite herbs in a pot and let them simmer for 10-15 minutes in hot water.
The next thing in line is to remove all the water from the tomatoes, feed them into the strainer, and crank its handle or switch it on to separate the skin and seeds from the pulp.
You can now collect the smooth tomato sauce in a bowl to prepare it for the canning process.
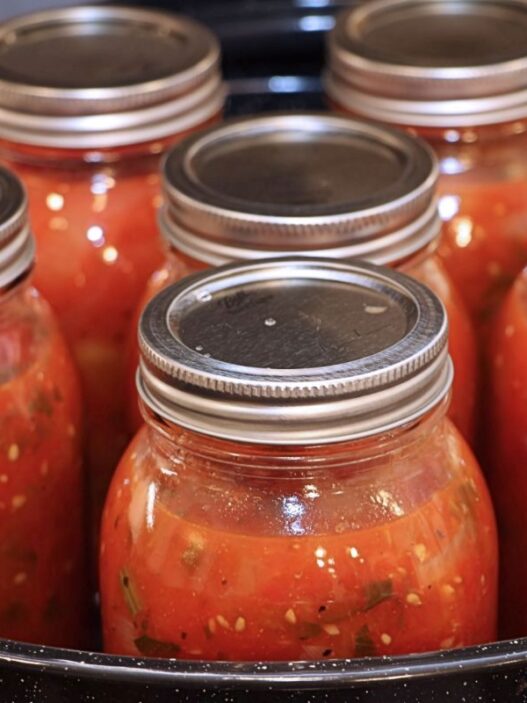
Pro Tip: Always sterilize the canning jars before putting the tomatoes or their sauce to avoid any contamination that can lead to spoilage.
Summing Up!
So, fellow canning enthusiasts, I’ve revealed do you have to peel tomatoes for canning and shown you four methods to remove the skin easily.
Whether you choose the classic blanching, the convenient freezing, or the time-saving tomato strainer method, you can preserve the deliciousness of fresh tomatoes all year round.