Calendula is one of the best all-around garden plant companions! Find out why and how to grow it in your garden!
Calendula (Calendula officinalis), also known as “pot marigold”, is probably one of the cheeriest flowers you can add to your veggie garden! In fact, it’s probably my favorite flowering companion plant because of its many benefits!
I always include it in my annual vegetable garden in pots and containers placed near the raised beds. I also include it in all of my perennial plant beds along with my fruit tree guilds. Since it establishes quickly, I love using it in new planting beds to help fill them in and suppress weeds.
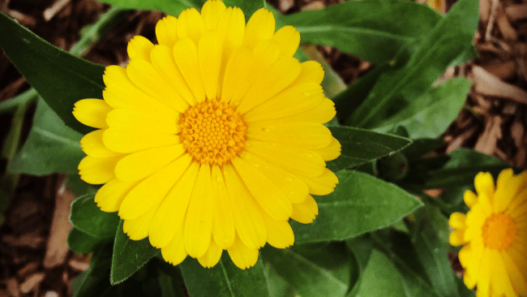
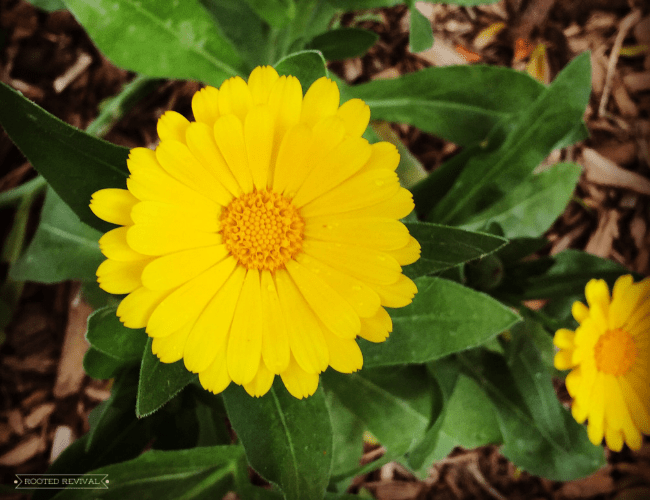
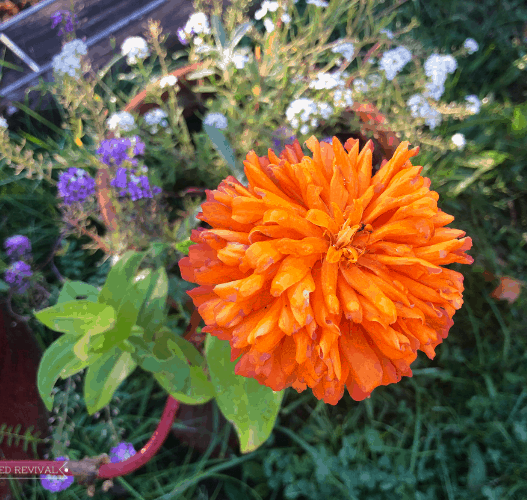
Calendula comes in a variety of colors from bright yellow to orange to pinkish hues! There are so many different varieties and petal arrangements that you’ll never get bored! Hands down, it’s an amazing plant! And you definitely need it in your garden!
How to Grow Calendula:
Calendula grows bests in cooler weather. Which is great news because it will flower in early spring and fall when there aren’t a lot of other flowers blooming. In milder climates, it can even bloom through winter! It may bloom all summer long as well, depending on how hot your growing region is! Here in the Pacific Northwest, my calendula blooms from March through November/December on average.
Calendula is grown as an annual in most of the temperate world. Luckily, it’s incredibly easy to grow! It will grow well from seed without much work from you – just scatter the seeds and rake the soil over them! Plus, it doesn’t mind slightly unfavorable soil conditions that other flowers may balk at.

It’s amazingly easy to collect the seeds from calendula: just let the flower heads go to seed and dry out! I usually collect bags of seeds each year to share with friends and families and to trade in seed swaps.
In addition to collecting seeds, you can also let some of the heads go to seed on their own so that the plant will resow itself. But remember that if you want to keep your calendula blooming longer, be sure to pluck the flower heads and use them before they go to seed!
Harvesting & Preserving Calendula:
Calendula is a pure joy to harvest – you literally just go pick flowers! Plus, the more you pick the flowers, the more the plant will produce so it’s ideal to harvest every few days! I try to keep up with picking the flowers throughout the first half of the summer. As summer gives way to fall, I let more and more of the heads go to seed so I can collect them and allow them to reseed.
The easiest way to pick your calendula is by placing your index and middle finger on either side of the stem, right at the base of the bract (green sticky base of the flower). Then, just pull! The flower head will pop off from the rest of the plant. If some of the stem comes, that’s just fine too! I do usually discard it though because it’s easiest to use and dry without the stem.

Once harvested, you can use your blossoms and petals fresh! Or you can dry your calendula and save it for later – I like to do a bit of both!
To dry your calendula blossoms, give them a little dust off to let the little buggies escape. Then, set them upside down on a mesh rack or woven basket to air dry.
In the high desert of Idaho, our blossoms would air dry quickly, but now I pop them in the dehydrator on super low for a few hours to help jump start the process so that they don’t mildew in the damp Pacific Northwest air! Store your dried flower blossoms in an air-tight container or glass jar.
Calendula’s Benefits in the Kitchen:
Pretty Petals:
The petals can be eaten fresh or cooked – just be sure to pull them from the sticky bract (the green part at the base of the flower). The petals add a kick of color to any dish! I like to add them into salads, pastas, drinks, and anything else I can think of! I’ve even used them as “sprinkles” to garnish pastries!
Healing Herb:
Calendula is an herbal all star! And the best of its herbal medicine is stored in the sticky green bracts so be sure to use the full head! I use them in herbal stocks, teas, bone broths and soups! It’s amazingly healing for the GI tract and has many anti-inflammatory properties! It will even help support your lymphatic system! Learn more here!
Skin Ally:
Calendula is a premier herb for the integumentary system and is a well-loved healer for inflamed or damaged skin and tissues. One of the best ways to use it is by making an oil infused with the calendula heads. You can used the oil by rubbing it into the skin or take it a step farther and make a salve combined with other healing herbs like plantain and dandelion!
Learn more about calendula, how to use it in the kitchen and how to make your own calendula infused oil from Chestnut School of Herbal Medicine.
Calendula’s Benefits in the Garden:
Perfect for Pollinators:
Calendula is a great way to attract pollinators to your garden! It has much higher pollen levels than its cousin, the marigold, making it more attractive to bees and butterflies. But it will also attract beneficial insects like lacewing and hoverfly!

Trap Crop:
Calendula can be used as a trap crop for aphids. Because of the sticky sap that it excretes, aphids love it! On more than one occasion, I’ve found my calendula covered in aphids while the plants directly next to it are unfazed! I cut out the effected calendula (along with the aphids!) and toss them in the garbage can!
Calendula’s Benefits on the Homestead:
Chicken Feed:
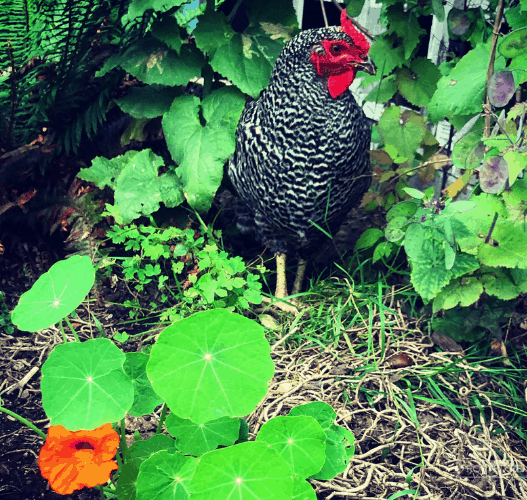
Calendula can be fed to chickens! My chickens love to peck at the flower heads and the petals. It’s high in beta carotin which helps create those beautiful dark orange yolks! Plus, its a natural anti-inflammatory herb which can help with overall health and wellness of your flock! I even included calendula in my “chaos” chicken garden this year!
[mv_create key=”9″ thumbnail=”https://staging7.rootedrevival.com/wp-content/uploads/2021/07/companion-plant-calendula3.png” title=”Companion Plant Profile: Calendula” type=”diy”]


Thank you for this informative article about Calendula. I have it growing in all kinds of places on my homestead and have added it to my “forest tea” and I have made skin cream with it but I never thought of feeding it to my chickens. They are sure to love it.
Isn’t it wonderful! I love when it pops up randomly and surprises me! Such a great plant!