Behind the Scenes: February 2019 – A quick recap of some of the homestead happenings that occurred on the Zenstead this month!
February is always such a strange month! When it starts, everything is frozen or tucked below the occasional blanket of snow. It gives me the false idea that I have plenty of time until Spring projects need to begin!
But by the end of February, green shoots are starting to poke out of the earth and Spring is threatening to come charging in at full speed! Along with excitement, this causes a complete panic because I realize how much I need to do and how little time I actually have to do it all!
So we tried our best to finish up our winter to do list before we kick our spring projects into full gear! And that meant a lot of fencing and garden planning!
Redesigning Our Goat Pasture Layout:
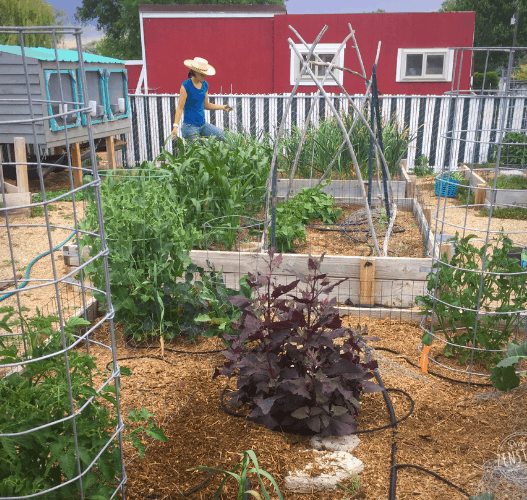
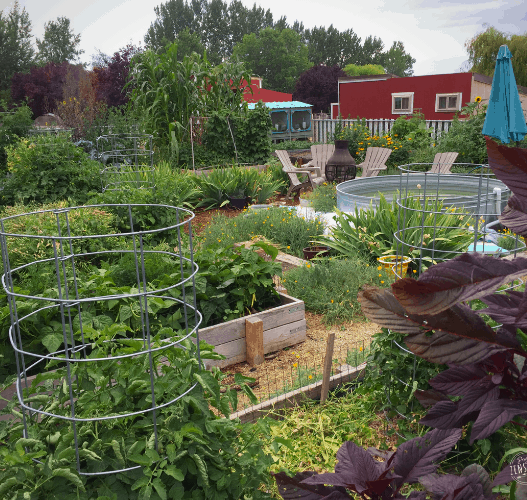
Our big project for the month was redesigning the layout of our goat pasture. If you’ve been following my Story updates on Instagram, you know that this project actually has about 10 zillion different phases! Homestead projects are funny like that! ? It’s still a work in progress, but we did make some significant progress with it in February.

For new homesteaders, I highly recommend that you use temporary fences (think t-posts and wire/panels) for the first year or two. After you live with the space for a while, you will eventually figure out a layout that works best. We changed our pasture layout ideas multiple times in the past few years! I’m so glad that we didn’t install an expensive permanent fence when we first moved in! By using t-posts and ranch panels or wire, we’ve been able to change our pasture layout to fit our needs – needs that we didn’t even know we had when we first bought this property!
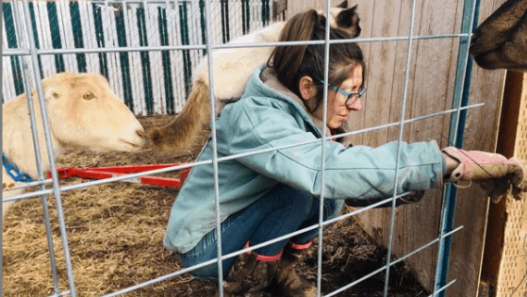
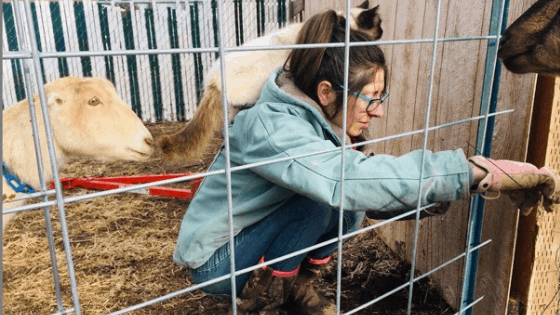
I would also recommend that you carefully plan out your access points and incorporate alleyways. When we first brought our goats over to this house, we were so happy to get them home that we didn’t put a lot of thought into the pasture layout. We only had one main gate to access the goats, the milk parlor and the turkey area. Over time, it became a headache to try to access those area by going through the main goat pasture. If you’ve ever tried to keep a herd of goats from escaping out of an open gate while maneuvering a wheelbarrow though it, you know what a pain it is! I love my goats, but I love them a lot more now that we can get in and out without going through their pen every time!
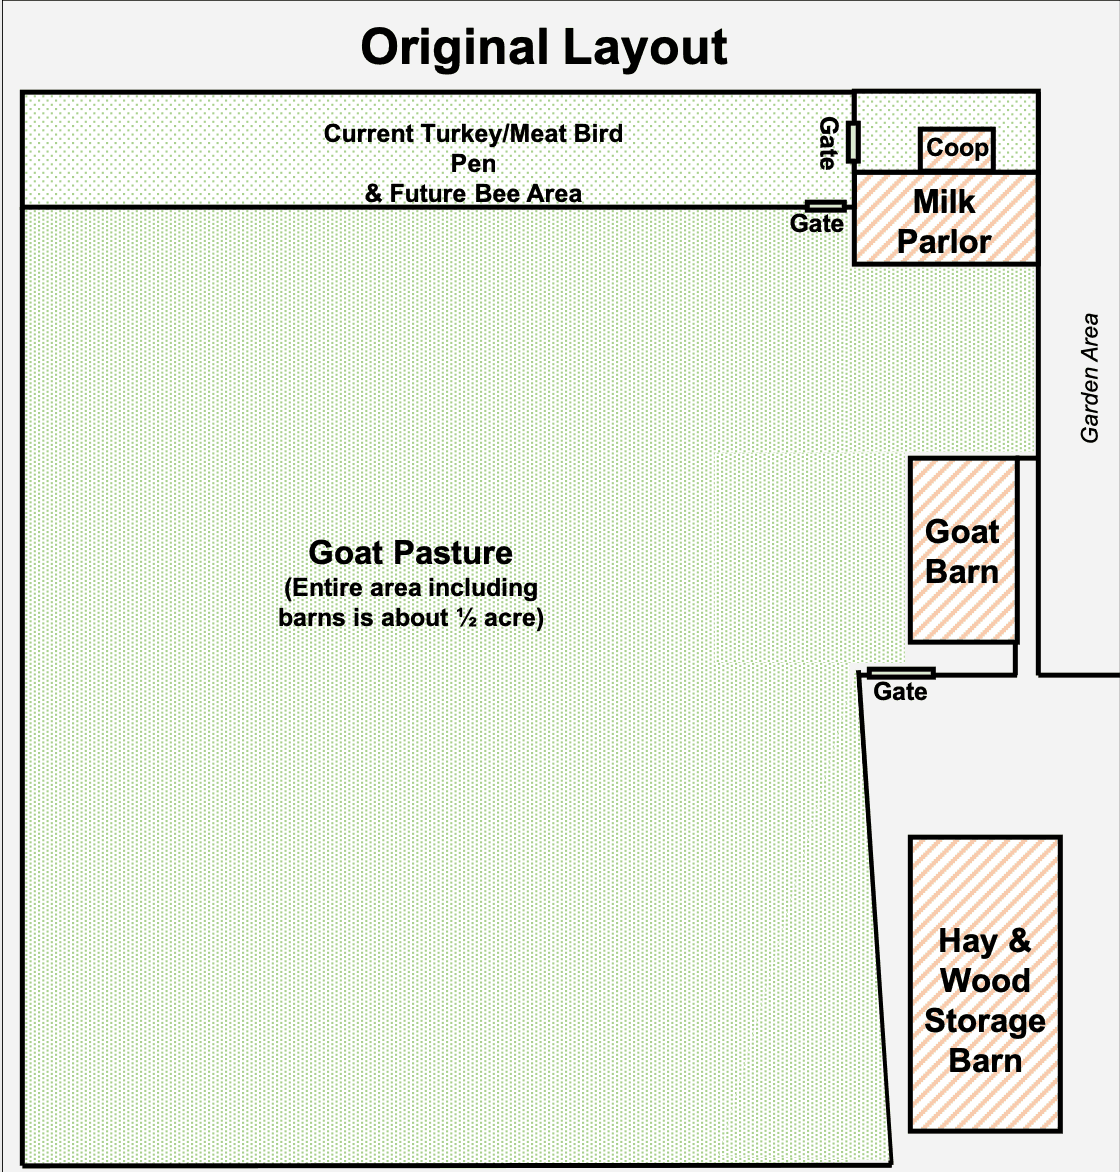
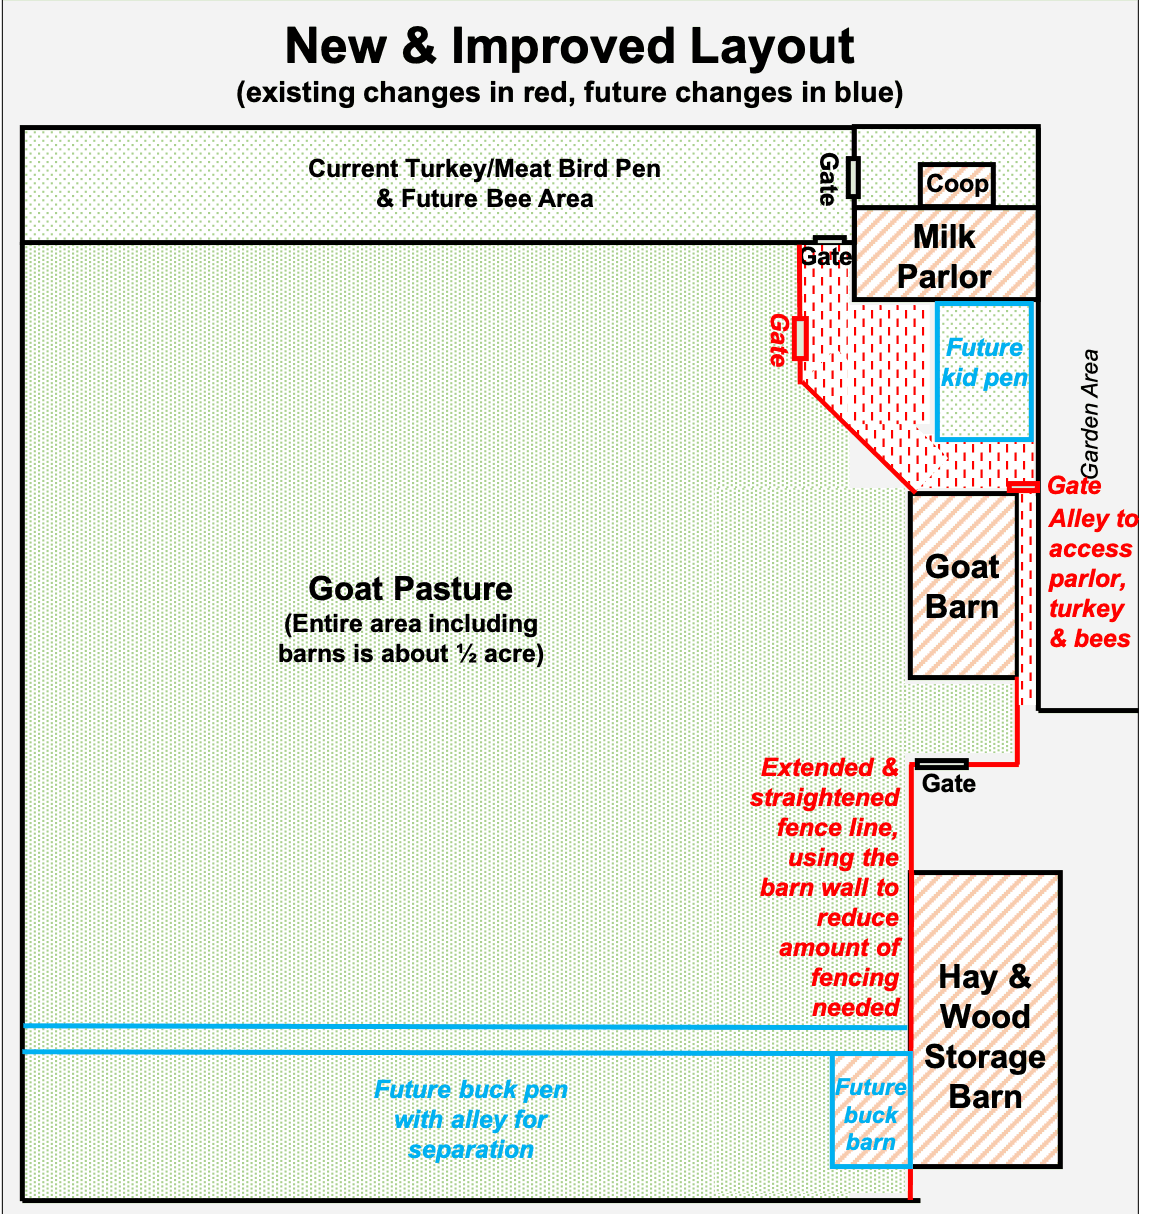
Pasture Layout Changes:
Here’s a look at the layout changes we’ve done so far! You can also check out my Instastory highlight to see what it looks like in real life.
*Also, just wanted to add that I love looking at layout plans for homesteads. BUT they are always grossly disproportioned which drives me craaaazy! To make these layouts as accurate as possible, I used a snip from Google Earth. Then, I edited it in Microsoft Powerpoint. This is a great way to plan layouts for your own homestead without needing any fancy or expensive tools!
Garden Planning:
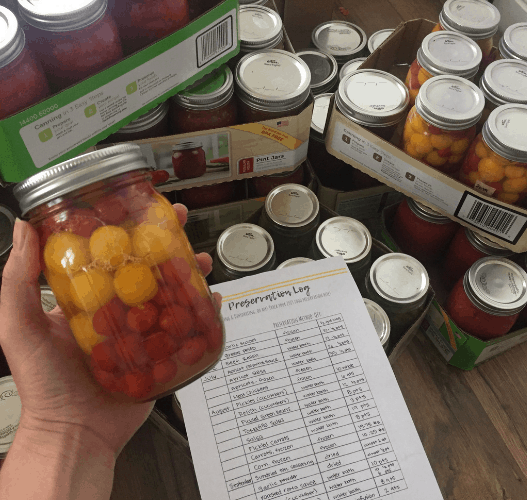
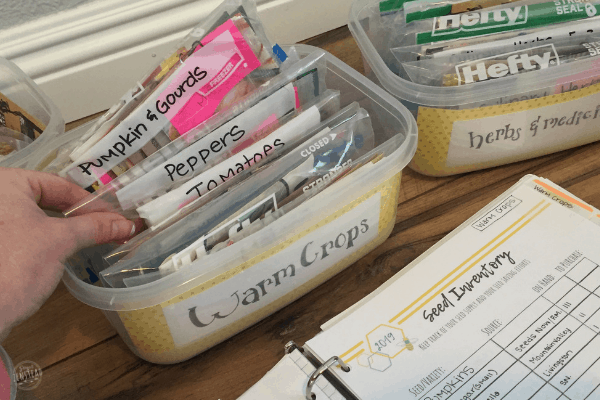
In the past, I’ve been guilty of garden planning on the fly! I would riffle through my seeds and plant whatever I thought we needed. It was a mess! So I’m pretty proud of my adulting skills this year because I took a proper inventory of all my seeds, organized them, and made a detailed plan for our garden!
Having an inventory of all my seeds made the garden planning process so easy! I actually knew what I had on hand without having to go through every packet. I now know what I have on hand and what I need to purchase.
If you haven’t created your seed inventory yet, do it! There’s even a Seed Inventory sheet in the free 2019 Homestead Management Binder so no excuses! Go do it! ?
New Seed Starting Setup:
In other exciting news, I now have an official seed starting setup! I even have grow lights and heat pads which make me a super happy garden-geek! But, more importantly, this setup and proper equipment will help increase our germination and growth rates!
I recently talked about how we saved money by starting our plants from seeds last year rather than buying starts. This year, we are hoping to start about 90% of our garden veggies from seed! It was definitely time to invest in some good, high quality equipment!
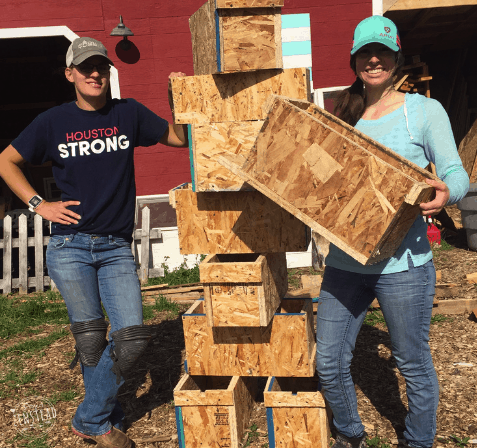
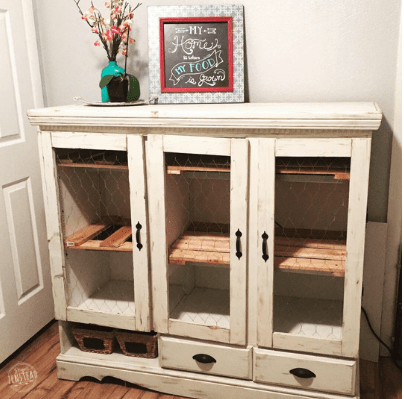
You might remember that a few years ago, we upcycled a chick brooder from an old entertainment cabinet. Since then, we’ve discovered that letting a broody hen raise chicks is the best method for us. It’s so much easier and we don’t end up with dander all over our house. Because of this, the brooder hasn’t been used much and is taking up space in our small home. We didn’t want to get rid of it though, because we still might use it on occasion. For instance, if there’s an injured chick needs some extra attention, we like to have them in the house.
To make the most of our space, we converted the chick brooder to our seed starting area! We did this by building shelves and attaching grow lights. The shelves are removable so we can convert it back to a brooder if needed. I’ll share a full post later this month detailing how we created it and the exact supplies we used. But here’s a sneak peak of what it looks like! You can also check out my Instastory highlight to see it in more detail!
Garden Planning Tip:
Sometimes it’s hard to keep track of when to plant seeds and starts and get everything timed out correctly! I’ve been getting better over the years, but it still feels like some kind of super-complicated math story problem!
A tool that has helped me is the Planting Calendar from the Farmer’s Almanac. To use it, find your state or province and information will be displayed for common veggie crops. Oh, and it’s freeeeee!