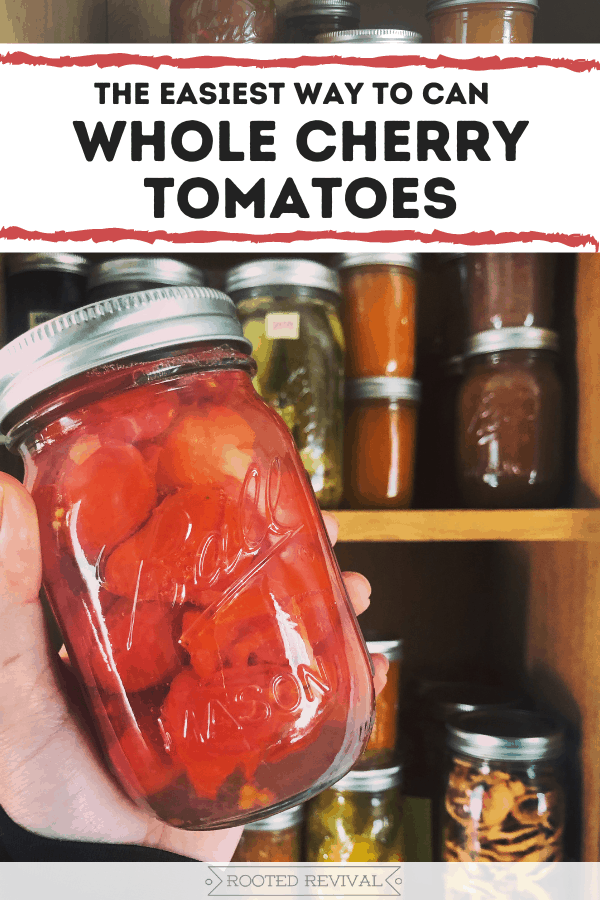
Looking for a fast and easy canning method for your tomatoes? Here’s one of my favorite ways to safely can whole cherry tomatoes!
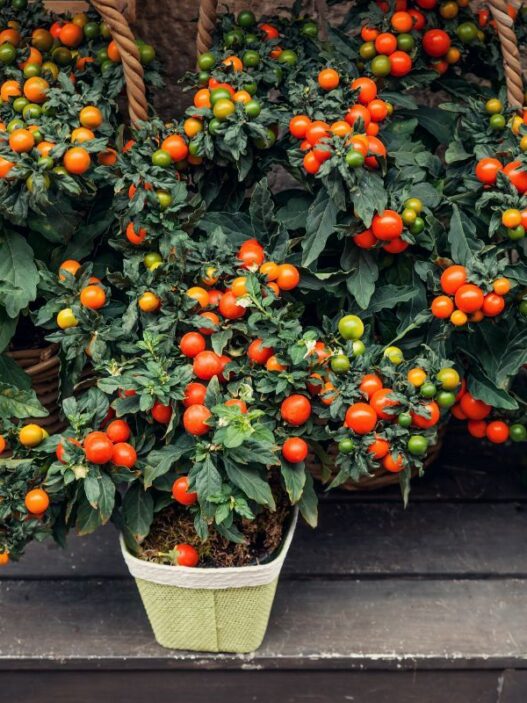
Cherry tomatoes are a staple in our garden! I’ve known many gardeners who thought that cherry tomatoes were only good fresh eating. And I used to think the same!
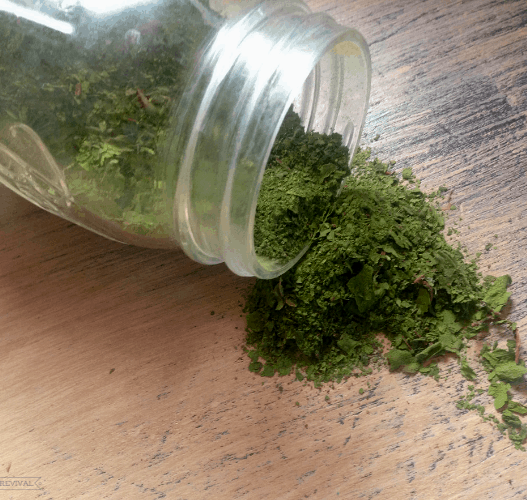
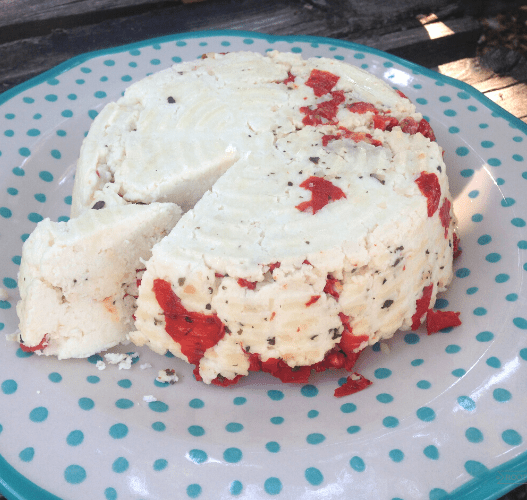
But, over the years, I’ve learned that cherry tomatoes are some of of the easiest and most versatile tomatoes for preserving! Whether you want to eat them fresh, dry them to make sun-dried tomatoes and delicious tomato seasoning mixes, freeze them, or can them; cherry tomatoes are a great addition to any homestead garden!
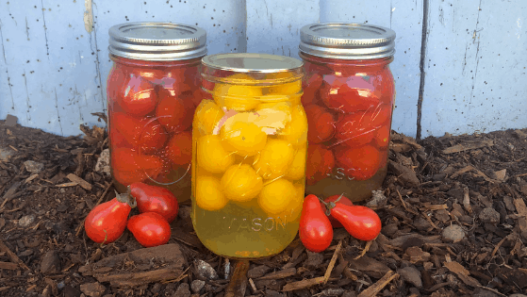
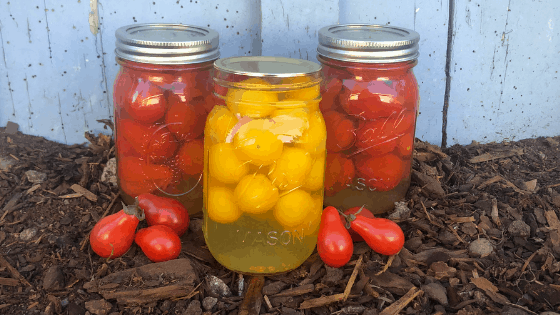
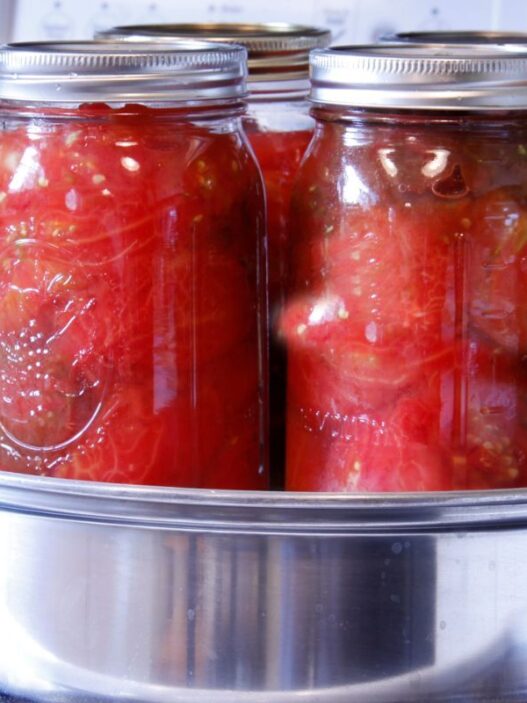
One of my favorite way to preserve cherry tomatoes is to can them whole! “Home-canned raw pack whole cherry tomatoes” may be a bit of a mouth-full, but it’s a delicious mouth-full! Basically, it’s the easiest way to preserve your cherry tomatoes (whole!) so that you can enjoy them all year long!
Recently, I posted a picture of my canned whole cherry tomatoes on Instagram. And I got a flood of awesome questions about them! So, I figured the best thing to do was to write up a post detailing the method I use to can our whole cherry tomatoes!
So, let’s chat about how to can cherry tomatoes!
First of all: What do you use whole cherry tomatoes for?
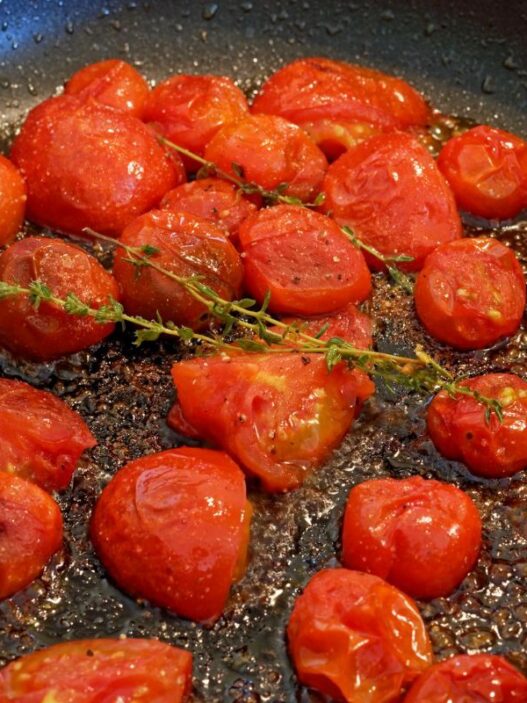
Whole canned cherry tomatoes are a must-have in our kitchen! We use our whole cherry tomatoes to replace tomatoes in recipes all year long! And they are so much tastier than anything from the store! They are my go-to to pop into or top any meal, from tacos to pasta! I also recommend checking out how to can cherry tomatoes without peeling–my fav one.
Next up: Why can cherry tomatoes?
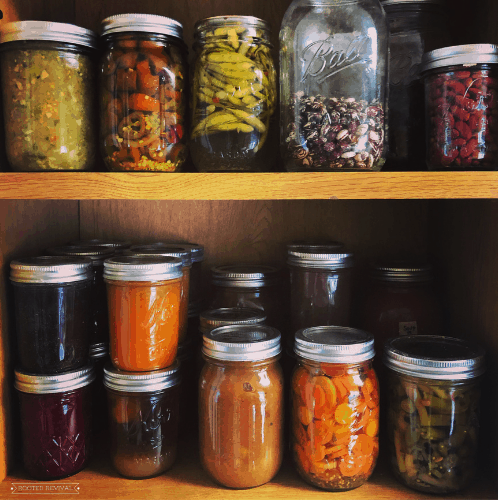
Canning your tomatoes is a great way to safely extend your harvest so that you can have homegrown garden fresh food year round! Freezing is another great way to preserve your tomatoes. But, if you are like me, you’re making your meals on the fly a lot of times! Being able to grab a can of garden fresh tomatoes off the shelf is a huge time saver – no thawing required!
Third: What the heck is “raw pack”?
“Raw Pack” is a canning method that involves packing jars with your tomatoes, filling it with a bit of boiling water and processing it in a water bath canner. It’s similar to “hot pack” which also works very well with whole tomatoes. Both of these methods are a very fast and efficient way to can your cherry tomatoes. If you are a beginner canner, this is a super easy canning method to start with!
** I may receive a commission at no additional cost to you from purchases made through links in this article. Full Disclosure Link **
Home Canning: Safety First!
Let’s chat really quick about some canning safety basics. Because I feel like I can’t responsibly publish a post about canning without at least addressing some of the very basics.
All home canning comes with a certain level of associated risk. Any food, when stored under certain anaerobic conditions, has the potential to develop botulism spores. Please understand that I don’t say this to try to scare anyone away from home canning.
Rather, I believe that everyone should understand what they are eating and what they are feeding their families. Canning is a wonderful way to store healthy and wholesome foods. But canning is a process that should be given consideration and care.
So, yes, there are people who chose to can their food using the same methods that their ancestors did. And if you feel safe doing that, you won’t hear objections from me. But I am not the kind of girl who is going to mess around with botulism! After all, I do all of this to aid our health, not harm it. It simply isn’t worth the risk, so I follow all of the modern guidelines when it comes to canning.
If you are new to canning, I would urge you to take a safe canning class at your local extension office. And, if you are new to home canning, check out this post to get started safely!
How to Can Whole Cherry Tomatoes (Raw Pack Method):
I’m going to detail the raw pack method for canning cherry tomatoes in this post. In addition to the info shared in this post, please ensure that you also consult a safe, approved canning recipe. I use the recipe in my book, the Ball Blue Book Guide to Preserving. You can also find the same recipe here on the Ball/Fresh Preserving website.
Here is a short version of the recipe without detailed descriptions. You can print it out and always have a handy checklist in front of you. And below this recipe card, you’ll find a detailed explanation of each step!
[mv_create key=”22″ type=”recipe” title=”How to Can Whole Cherry Tomatoes (Raw Pack Method)” thumbnail=”https://rootedrevival.com/wp-content/uploads/2020/11/canned-whole-cherry-tomatoes5.png”]
Step 1: Gather your canning supplies
- Jars: Your cherry tomatoes can be canned in either pint or quart canning jars. I prefer to use regular mouth canning jars because the “shoulders” on the jars will help to keep the tomatoes in place so that they don’t “float”. Make sure that your jars are washed and clean before using.
- Lids & Bands: You will need lids and bands for each jar. Lids should not be used more than once as it can cause a faulty seal. It is recommended to buy new lids if you are reusing jars from previous years. Bands can be reused. They should be clean and free of any rust.
- Water Bath Canner: You will need a water bath canner for this recipe. A water bath canner is a large pot with an internal rack to hold the hot jars. There are many different brands and sizes available.
- Lemon Juice: Use bottled lemon juice to maintain proper acidity
- Medium sized soup pot: This pot will be used to heat the boiling water that we pack the tomatoes in.
- Canning Funnel, Canning Tongs, Lid Lifter and De-bubbler
- Ladle
- Oven Mitts (I absolutely love my OveGloves for canning!)
Here’s more info and some pictures of how we set up our tools and equipment for efficient canning sessions!
Step 2: Prepare the Tomatoes
The amount of tomatoes needed will vary based on the size of the cherry tomato. I find that I can usually fit somewhere between 20-30 cherry tomatoes into a pint jar. My favorite varieties are Mini Romas and Galina Yellow Cherry tomatoes.
Select ripe, high quality, undamaged cherry tomatoes. Tomatoes from frost-damaged vines are not safe to can as the frost can effect the tomato’s acidity levels. Wash the tomatoes in cool water and remove any stems. Let them dry in a colander or on a towel while you prepare everything else.
Optional: If you want, you can also poke a hole all the way through both sides of the tomatoes with a skewer. This will help reduce some of the air trapped inside the tomatoes, reducing how much they “float” when canned.
Note about peeling: I don’t peel or core my cherry tomatoes before canning them. Frankly, they are just too little for that! The skins do sometimes separate from the tomatoes during the canning process and some people don’t enjoy the texture of them. But it doesn’t bother me and it saves a ton of time! Whether you choose to peel or leave the skins, both methods are safe for canning. If you do decide to peel your tomatoes, you may want to save those skins to make this easy and yummy tomato powder!

Step 3: Load the Canner
Remove any lids and bands from the jars. Load the jars into your canner. Fill the canner with water. There should be at least 1-2 inch of water over the top of the jars.
Put the clean, unused lids in a heat-safe bowl. Place the bands nearby on the counter.
Step 4: Sterilize the Jars
Put the lid on the full canner. Place it on the burner. Bring the water to a rolling boil (minimum of 140oF). Simmer at this temperature for at least 10 minutes to fully sterilize the jars. Add an additional minute for every 1000 feet of elevation above sea level.
While your jars are simmering, ladle a few scoops of boiling water into the bowl with the lids. Let the lids sit in the hot water for at least 10 minutes to sterilize them and to help soften the gummy sealing band.
Step 5: Heat the Water
While your jars are sterilizing, fill the second pot (the soup pot) with water. Bring it to simmer and keep it simmering until you are ready to start canning. Each jar will need about a cup or so of water, depending on how tightly you pack the tomatoes.
Step 6: Remove the Jars from the Canner
After at least 10 minutes in the simmering water bath, remove the jars from the canner. You can do this by removing the whole rack or pulling out each jar one at a time.
We remove each jar one at a time using canning tongs. I have found that if I dump the water from two of the jars back into the canner and dump the rest from the other jars down the sink, I end up with the perfect amount of water in the canner. This way, the canner isn’t overfull with water once the filled jars are placed back in. We place the hot jars on a large heat-safe cutting board.
Place the lid back on the canner and keep the water in the canner simmering while you fill the jars.
Step 7: Fill the Jars with Tomatoes
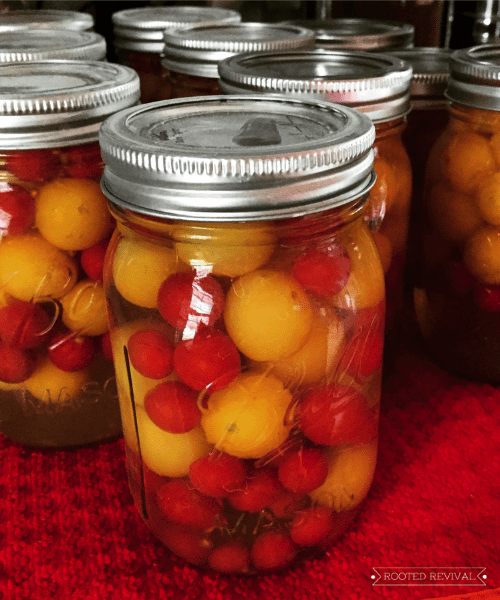
Use the canning funnel to pack the jars with the cherry tomatoes. Pack them in tightly, but leave at least 1-inch of head space. Packing the jars as tightly as possible will help reduce “float”.
Note about float: Float is when the tomatoes rise to the top of the jars once you process them. It really isn’t a big deal and won’t harm your canned goods. All whole canned tomatoes will have some amount of float no matter how well you pack them.

Step 8: Add Lemon Juice
If you are using pint jars, add 1 tablespoon of lemon juice to each jar. If you are using quart jars, add 2 tablespoons to each one.
Step 9: Fill the Jars with Water
Ladle the hot simmering water from the soup pot into the jars. Leave 1-inch headspace.
Step 10: De-bubble the Jars
Use the canning de-bubbler to remove as many air bubbles as possible from the jars. Do this by gently running the debubbler around the inside walls of the jars.
Step 11: Place the Lids on the Jars
Use a damp rag to wipe the rims of the jars. Use a magnetic lid lifter to remove the lids from the bowl of hot water. Place the lids on the jars and secure with the bands. Tighten the bands “fingertip tight”, meaning to tighten it until the band is secure. You don’t need to crank it on, but it should be secure.

Step 12: Process the Jars in the Canner
Place the filled jars into the canner of boiling water. Ensure the jars are covered by at least 1-2 inches of water. If the water has dropped below a boil, bring it back to boil. Once the canner is at a boil, start the timer. You will want to process your jars for the approved times listed below:
- Pint jars: 40 minutes
- Quart jars: 45 minutes
- Increase process time accordingly for elevation.
Step 13: Remove the Jars from the Canner
Once the timer goes off, turn off the burner and remove the lid from the canner. Allow the jars to sit in the water for 5 minutes before removing them from the canner.
Remove the jars from the canner using the tongs to carefully lift them from the water. Try not to tip or disturb the jars as you move them. Place them on a heat-safe surface or towel. Leave about an inch of air space between the hot jars so that they can cool.
Allow jars to sit undisturbed for 24 hours.

Step 14: Check Seals
Once the jars have completely cooled, remove the rings. Ensure that each of the lid “buttons” depressed. Check the seal by lifting each jar by the edge of the lid with your finger tips. The lid should be secure on the jar.
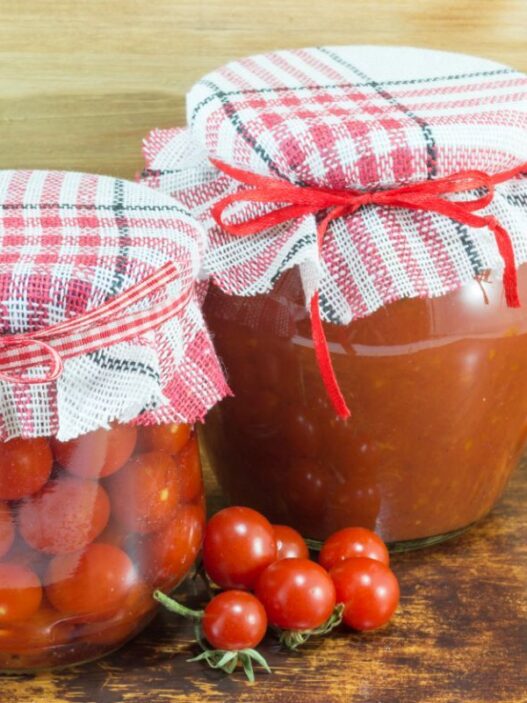
Step 15: Store and Enjoy!
You can now label, date and store your jars of delicious whole canned cherry tomatoes! Bands are not needed for storage. For best results, enjoy your canned tomatoes within 1 year.
Don’t forget it! Pin it!


I’m definitely with you on the taste, I much prefer a smaller cherry or grape tomato to a regular size tomato and those yellow suckers are delicious. I would have never thought to can the small ones though, I don’t think I’ve ever seen them canned before…
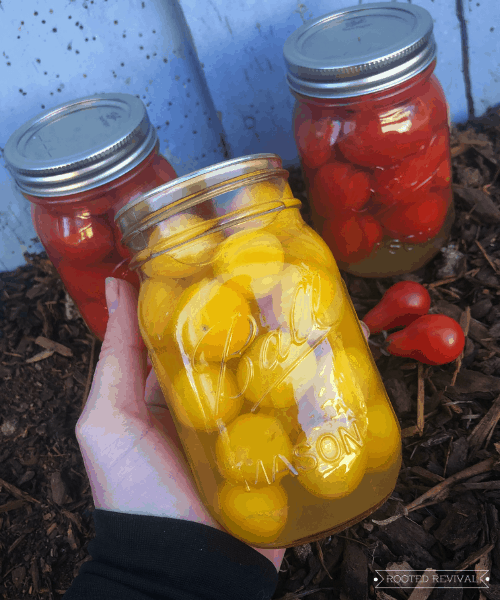
Right?! The yellow ones are probably my absolute favorite as far as flavor goes! They’re like candy! Yum!
I love homemade canned tomatoes and there is a great difference in the taste of store-bought and homemade. I use them in pasta dishes and tomato soup.
There really is a difference! The thought of having to eat store-bought is just terrible once you’ve been spoiled by good homegrown tomatoes!
One of the best “no nonsense, step-by-step, this is how you do it right” articles on the subject! The lemon juice twist; very nice.
Thank you so much, David! I am so glad it helped you! 🙂
I can’t wait to try this!! Gathering everything today!! Have you ever pickled the cherrys? I have a recipe for green tomatoes to pickle but they are hard to find at the farm markets.
I haven’t but I’ve been wanting to try it with the green tomatoes! We always have tons of unripe ones at the end of the season but we usually make green tomato verde salsa with them! I will have to try pickled though! Yum!
Thank you for writing up the instructions. They were straight forward and easy to follow. I have canned larger tomatoes and have used citric acid instead of lemon juice. My jars are processing as I am typing!
I have mostly quart jars, but I have one 1.5 pint and one pint. I am just going to process them all for the same amount of time. Hopefully, there isn’t such a thing as over processing.
That’s fantastic, Nannette! And, yes citric acid will work just like lemon juice to increase the acidity. And, you are correct on the timing – if you are mixing jar sizes, always process according to the largest size/longer time. It may be slightly over processed, but they will still be great in soups or stews or even casseroles!
Can I cover them with EVOO vs hot water during water bath canning process ?
Unfortunately, oils will become rancid in a short period of time and are not recommended for canned products. However, you may enjoy making some sun-dried tomatoes which can be covered in oil. Here’s a blog post showing you how!
Can I use a steam canner for these? I think I can but wanted to see what you thought.
Hi Patti! Yes, steam canners have been approved to use for high acid foods, such as tomatoes with the addition of lemon, like this recipe calls for. You can find more tips on safely using your steam canner here: https://fyi.extension.wisc.edu/safepreserving/files/2019/04/SteamCannerGuidelinesFeb2019.pdf
I have a couple of gallon size bags of frozen cherry tomatoes in my freezer and was wondering if I could still can these using the raw pack as long as a defrost the tomatoes first? Any advice would be greatly appreciated.
Hi Vallarie!
Yes, you can safely can previously frozen tomatoes (as long as they were picked and frozen at their peak before frost), however, they will probably not maintain their shape as well as fresh would. One easy way to prep them when you are ready to can them is to put them into warm water to defrost them. This will allow you to easily remove the skin which is a bonus! Then you can process them using either a hot or cold pack method.
Can you use tomato juice instead of water
You can use the juice instead of water. Here are full instructions on safely canning tomatoes in juice using both the raw pack and the hot pack method: https://extension.sdstate.edu/canned-tomatoes-tomato-juice
I have half pints, how long should I process those?
Hi Robin!
To my knowledge, there isn’t an approved (meaning that it has been tested multiple times) recipe for canning whole tomatoes in half pints. If you need to use the half pints, I would recommend processing them for the same amount of time as the pints just to be safe 🙂
Do you have a good recipe for canned green tomato salsa verde? I have a lot of green tomatoes this year but no good canning recipe for them
Hi Jane! We made this recipe last summer with our green tomatoes and it was quite good! Definitely different from a salsa verde made with tomatillos, but it was nice to have some extra salsa on hand and put the green tomatoes to use!
Hi, can you cut the little tomatoes in half to fit more in a Jar?
Yes, you can! (no pun intended!) You can cut them in half and use the same raw pack method.
Hello! Thank you for the comprehensive guide to packing tomatoes! I have an abundance of the little yellow globes, as I have one plant that is extremely happy and productive. My question is on the lemon juice / citric acid. Is it necessary? I’m surprised bc tomatoes are already so acidic. I vaguely recall my friend processing and I don’t think he used any additives in his tomatoes. Can you elaborate at all on this?
Thank you!
@Hannah, Hello! I’m glad you found the guide helpful. Yes, adding lemon juice or citric acid is necessary when packing tomatoes for canning. Although tomatoes are naturally acidic, their acidity levels can vary depending on the variety and growing conditions. The USDA recommends adding lemon juice or citric acid to ensure the pH level is safe for canning, reducing the risk of botulism.
For each pint of tomatoes, add 1 tablespoon of bottled lemon juice or 1/4 teaspoon of citric acid. For each quart, add 2 tablespoons of bottled lemon juice or 1/2 teaspoon of citric acid. This step ensures the final product is acidic enough for safe long-term storage.
If your friend didn’t use additives and had no issues, it’s possible their tomatoes were sufficiently acidic on their own, but following these guidelines is the safest approach.
Happy canning!