
There’s nothing quite like making your own preserves at home, and if you’re lucky enough to live near the coast, this beach plum preserves recipe is your new must-try! If you’ve never tasted beach plums before, they’re a unique blend of sweet and tart, a true coastal treasure. They grow naturally along the beaches of the northeastern U.S. And, yes, they’re perfect for making preserves that won’t let you to forget the last summer…) I guess, it’s worth trying! So, let’s dive into the process, step-by-step, and create some unforgettable beach plum preserves!
What Exactly Are Beach Plums?
Beach plums (Prunus maritima) are small, wild plums that thrive in sandy, coastal areas. They’re not your average grocery store plums, with a tart bite that mellows into sweet perfection when cooked. And you should also take in account: they’re packed with antioxidants and vitamins, making them not just tasty but healthy too! In fact, according to a study published in the Journal of Agricultural and Food Chemistry, wild plums contain significantly more antioxidants than cultivated varieties. So, your preserves will not only taste amazing but also come with a little boost of nutrition.
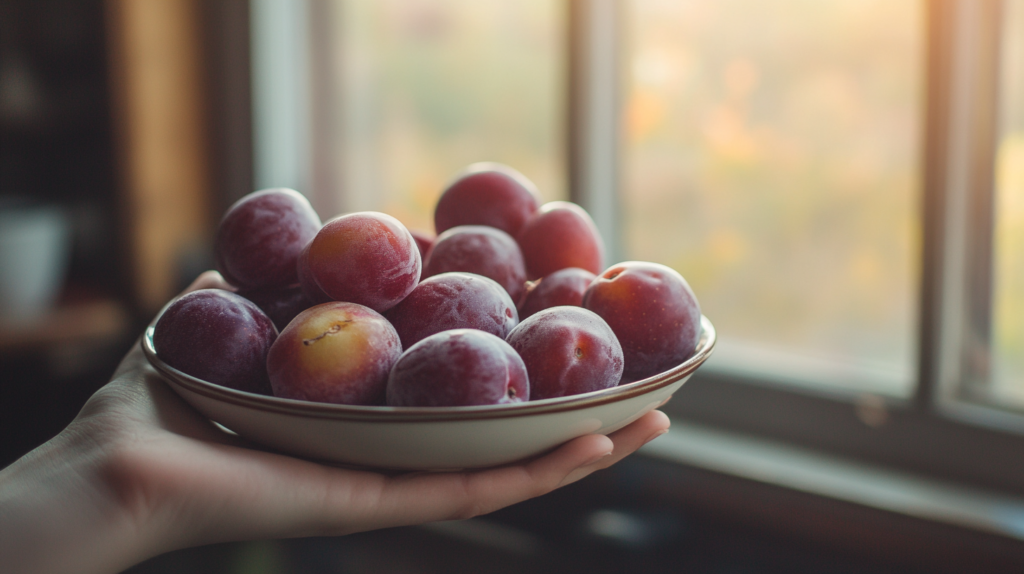
Tip: Beach plums ripen in late summer—usually August through early September—so keep an eye out during your beach walks!
Harvesting and Prepping the Plums
Collecting beach plums is half the fun! Our family first stumbled upon a patch of beach plums during one of our hikes along the coast. We had no idea what they were, but with a little research (and a lot of taste tests!), we realized we’d struck gold. Of course, you will need patience—beach plums are best when fully ripe, with a deep purple-red color. We once rushed the process and ended up with preserves that were way too tart! Let the plums do their thing on the bush.
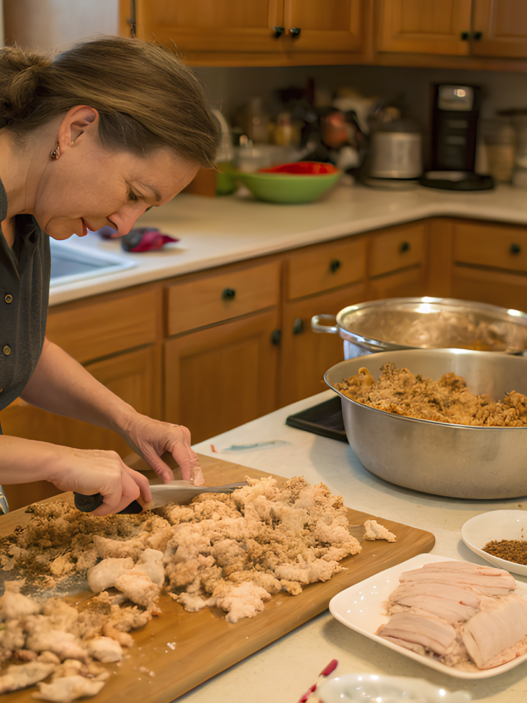
- Clean the plums thoroughly. You’ll want to wash them gently, as wild fruits can carry sand or debris.
- Remove the pits. Yes, it’s tedious, but trust me—it’s worth it! We use a cherry pitter, which makes the job much easier (you can grab one on Amazon here).
Ingredients & Tools You’ll Need
This recipe is simple but effective. Here’s what you’ll need:
- 4 cups of beach plums
- 3 cups of sugar
- 1/4 cup of fresh lemon juice (helps balance the sweetness and adds acidity for safe canning)
Tools: Heavy-bottomed pot, canning jars (with lids), a canning kit (you can find a great starter set here).
Step-by-Step Beach Plum Preserves Recipe: Let’s Get Preserving!
Let’s get into the fun part—making your beach plum preserves!
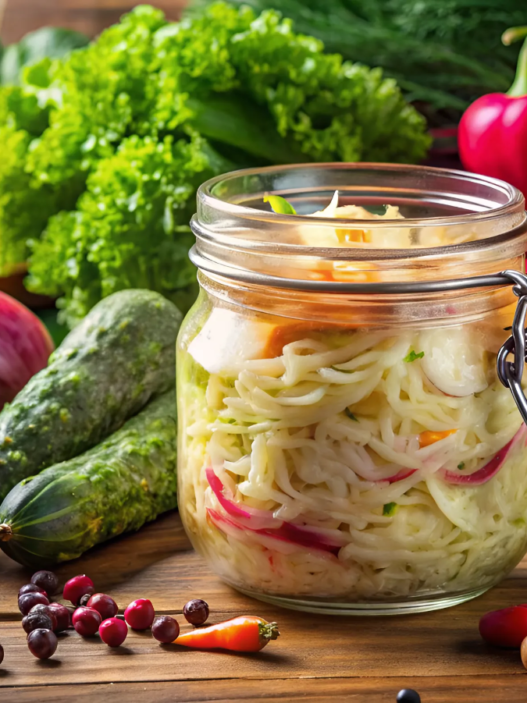
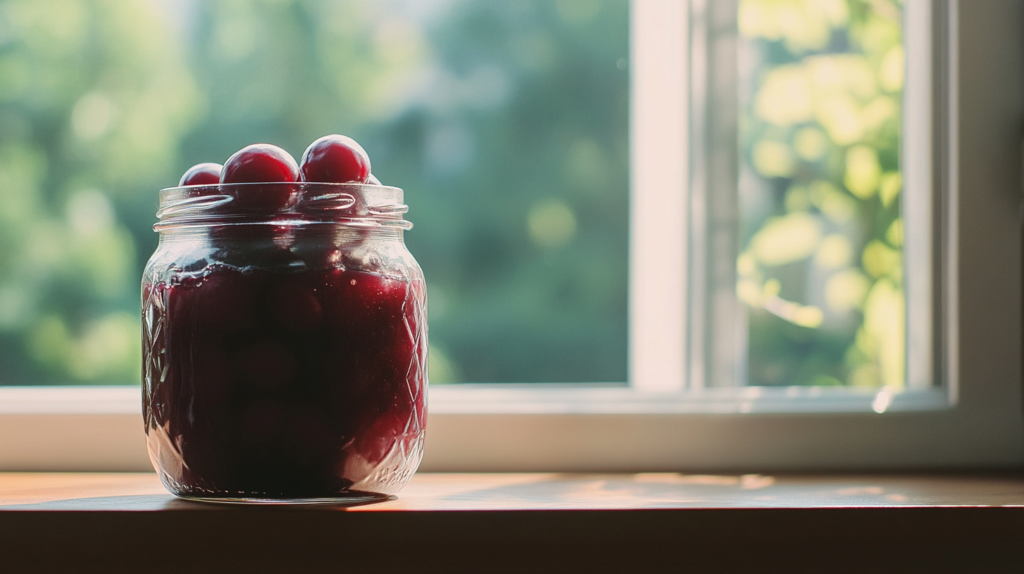
[mv_create key=”27″ type=”recipe” title=”Beach Plum Preserves Recipe” thumbnail=”https://rootedrevival.com/wp-content/uploads/2024/09/beach_plums_jam_in_a_jar.webp”]
Troubleshooting: Too Runny or Too Thick?
Sometimes, despite your best efforts, things don’t go perfectly. If your preserves are too runny, continue cooking and test again every few minutes. If they’re too thick, you might’ve cooked them for too long (been there!). You can thin them out with a little water, just go slowly.
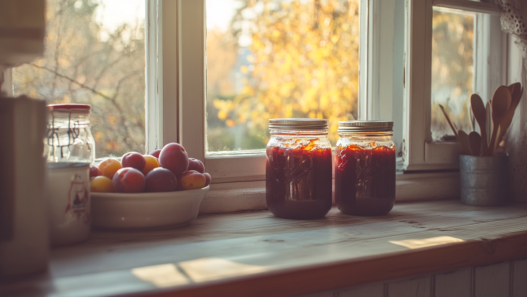
Storing Your Preserves
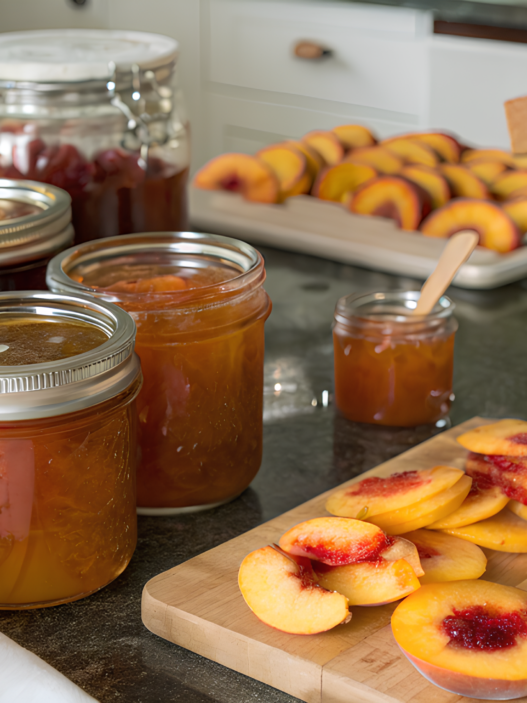
You’ve done the hard work—now it’s time to jar your preserves! Sterilize your jars and lids, pour the hot preserves into the jars, leaving about 1/4 inch of space at the top, and process them in a hot water bath for 10 minutes. This step ensures your preserves are shelf-stable.
Fun fact: Properly canned preserves can last up to a year in your pantry!
Variations on the Recipe
If you’re like me, you love experimenting with different flavors. Try adding a vanilla bean during the cooking process for a subtle sweetness, or throw in a cinnamon stick for a fall twist. Last summer, we even tried adding a dash of bourbon—wow. The combination of sweet, tart, and smoky was incredible! If you want to try this, just add a tablespoon of bourbon in the final few minutes of cooking.
Enjoying Your Beach Plum Preserves
One of the best parts about making beach plum preserves? Getting creative with how you use them! Spread them on homemade bread, swirl them into yogurt, or even use them as a topping for vanilla ice cream. Around here, we love pairing them with a sharp cheese for the ultimate sweet-and-savory snack.
Ready to Make Your Own?
Have you made beach plum preserves before? Share your experience in the comments! And if you try this recipe, let me know how it goes—did you add any fun twists? Post your photos on Instagram with the hashtag #RootedRevivalJams, and maybe you’ll see your creation featured on the blog!
If you loved this recipe, be sure to check out my seasonal jam recipes to make the most of your harvest.