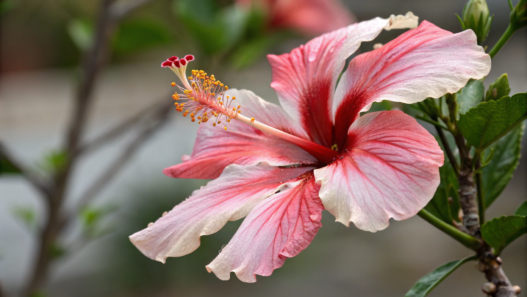
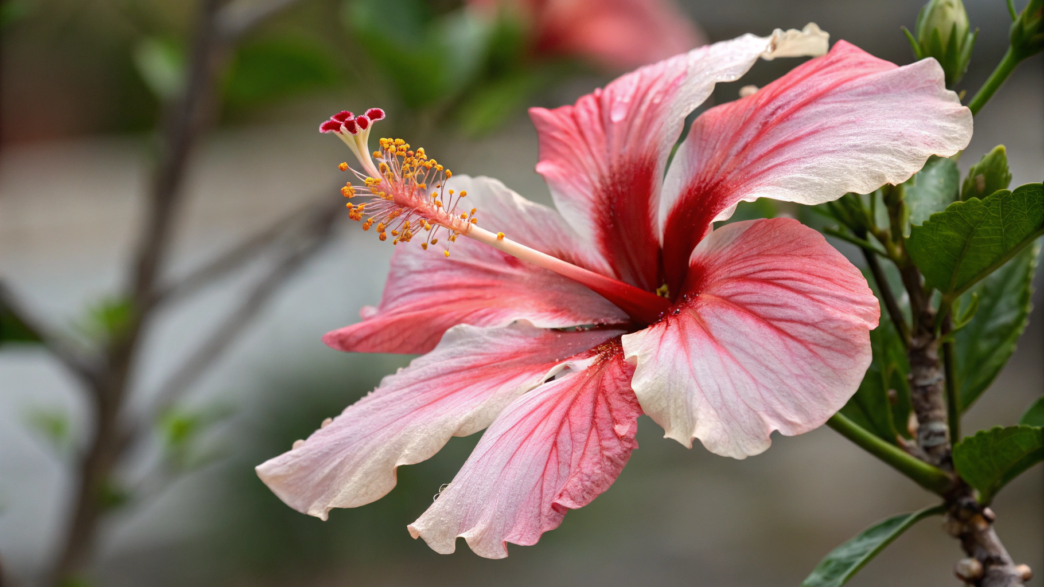
Hibiscus looks amazing — a big bush, glossy leaves, huge flowers. Put it in the sun, water it, and wait. But then the plant seems alive and growing, and suddenly it starts dropping buds, wilting in the heat, or turning yellow. And you get frustrated. What should you do? Water more? Add fertilizer? Move it or prune it?
By now, I know that you need to look at the conditions as a whole. What kind of hibiscus are you growing, how much sun does it get, how quickly does the soil dry out, what are you feeding it, and how does it overwinter?
In this article, I’ll share 10 hibiscus care tips, covering plant choice, sunlight, watering, fertilizers, winter care, and the reasons your hibiscus may stop blooming.
1. Choosing the right hibiscus variety for your climate
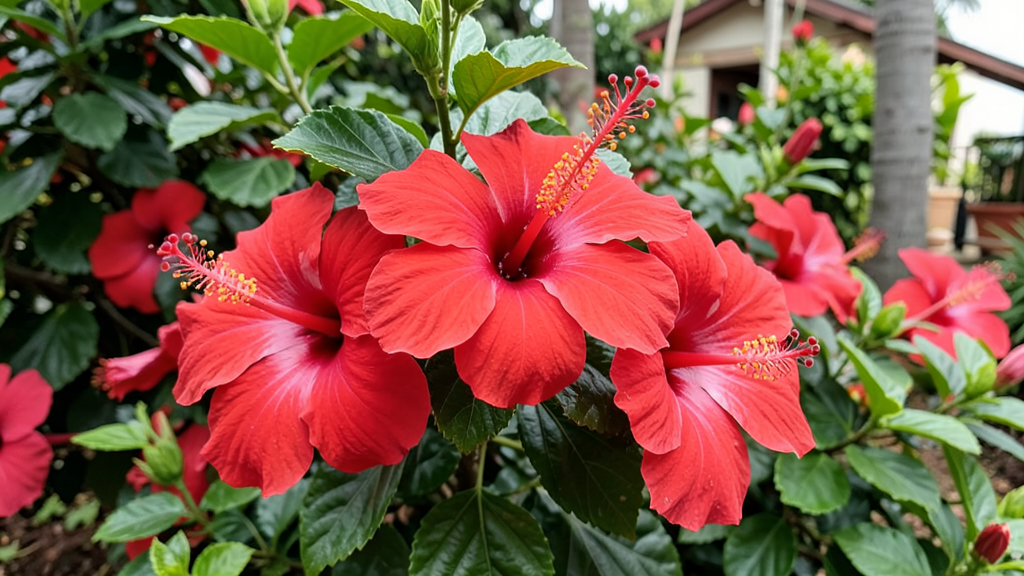
When I first got interested in hibiscus, I cared more about the flowers. Red? Pink? Huge, almost the size of a dinner plate? I’m in!
But I quickly learned that the type of hibiscus matters more than the color of the petals. Some can stay in the garden through winter, others grow as shrubs, while tropical varieties need to be brought indoors when frost arrives.
So before buying one, I always check what type of plant it is and which hardiness zone it’s suited for.
For cold winters
If you live in zones 4–9, take a look at hardy hibiscus — Hibiscus moscheutos and hybrids based on it.
It’s an herbaceous perennial. The above-ground growth dies back in fall, and new shoots come up from the base in spring. Some varieties produce flowers that are 6–12 inches (15–30 cm) across.
This is a good choice if you want to grow hibiscus right in a flower bed without carrying it indoors every fall.
And one thing to remember — these plants can start growing pretty late in spring. Lindy and I have looked at an empty spot in the garden more than once and thought the plant hadn’t made it through winter. Then the new shoots appeared. So don’t be too quick to dig up the old plant.
For zones 5–9
Another cold-hardy option is rose of Sharon — Hibiscus syriacus. But it looks and grows completely differently. This one is a deciduous shrub, not a perennial that sends up new stems from the ground every spring. A mature plant can reach around 8–12 feet (2.4–3.7 m) tall.
It’s worth choosing if you want a tall flowering shrub for the garden, a hedge, or a planting along a fence.
So in zones 5–9, you already have two very different options. Hardy hibiscus works well in a flower bed, while rose of Sharon is the better choice if you want a permanent woody shrub.
For warm climates and containers
Chinese hibiscus — Hibiscus rosa-sinensis — is a tropical plant. This is the one that often has those large, bright red, yellow, orange, or pink flowers paired with glossy leaves.
Outdoors, it’s best suited for zones 9–11. In colder regions, it’s usually grown in a container and moved indoors before frost.
If your area gets freezing temperatures, plan ahead for where that container will spend the winter. Especially if the plant is already large. Carrying a heavy planter inside on the last cold evening is not much fun.
How to choose without getting confused
Before buying, check three things.
- The hardiness zone listed for that particular plant.
- The botanical name, because very different plants are sold under the general name “hibiscus.”
- The plant type — perennial, shrub, or tropical container plant.
Only then choose the color. That way, you’re not just buying a beautiful hibiscus from a picture. You’re getting a plant that actually fits your climate and won’t need to be rescued from the wrong conditions every season.
2. Understanding sunlight needs and ideal placement
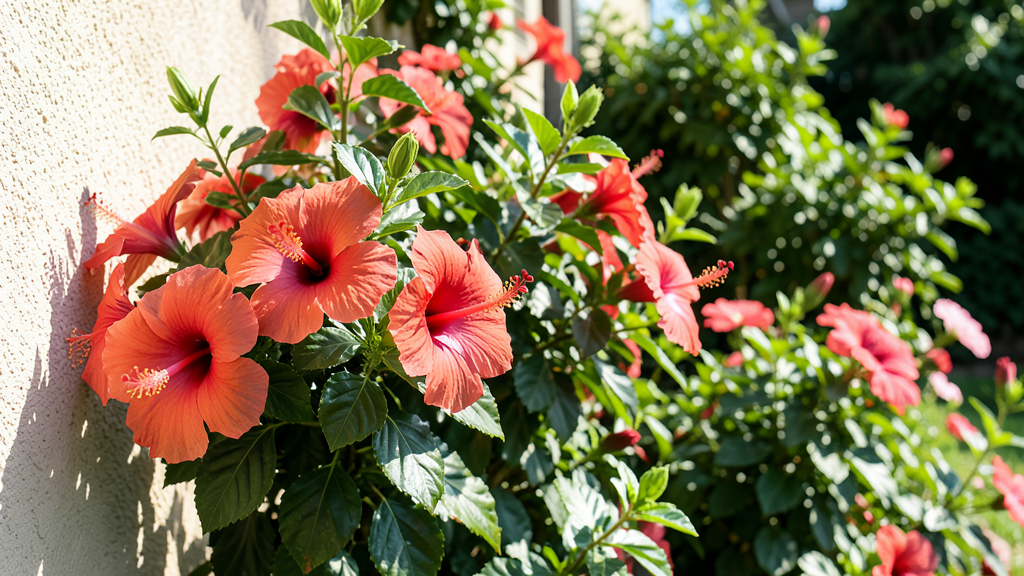
It makes sense to plant hibiscus where the flowers will look good, like near a wall, by the porch, or in an open spot in a flower bed. But you still need to watch that area and see how much sunlight it actually gets throughout the day. Hibiscus can grow with a little shade, but it needs plenty of light to bloom well.
Choose sun for hardy hibiscus
Hardy hibiscus grows best in full sun. A little afternoon shade is fine, but with heavier shade, the plant usually grows and blooms less well.
So don’t give hibiscus a spot under a large tree canopy just because there happens to be some empty space there. A more open area is usually a better choice.
Experts at Clemson University recommend growing hardy hibiscus in full sun, although it can also tolerate some afternoon shade.
With taller varieties, stems carrying large flowers can be damaged by strong wind. So a sunny spot doesn’t necessarily have to be the most exposed place in the yard. A fence, the house, or nearby plantings can offer some protection from strong gusts without blocking the light. Keep that in mind when choosing a location.
Tropical hibiscus
Chinese hibiscus also needs very bright light. If you keep it indoors, a bright south- or west-facing window works well. Experts recommend giving indoor hibiscus at least 4–5 hours of bright direct sunlight a day.
After winter, though, I never move the container straight from indoors into the strongest sun. The plant needs time to adjust.
You can do it like this.
- First, move the hibiscus to a protected porch or covered patio.
- Then keep it for a few days somewhere with partially filtered light.
- After that, gradually move it into a sunnier spot.
This gives the leaves time to adjust to much brighter outdoor light.
Check the spot throughout the day
I always step outside a few times during the day and look at how many hours of sun a particular spot actually gets. It’s a simple habit, but it really helps.
For example, an area next to the house may look perfectly sunny in the morning and then end up completely shaded by a wall, fence, or large tree after noon. The opposite can happen too — a place may look fairly shaded in the morning and then get several hours of direct sun later.
So it’s better to check the area in the morning, around midday, and again in the afternoon. That gives you a much better idea of whether the hibiscus will actually get enough light instead of judging the spot from one quick look.
If I had to choose between the prettier location and the sunnier one, I’d choose the sunnier spot. You can always build a nice planting around the hibiscus later. Getting it to bloom heavily in deep shade is a much harder job, don’t you think?
3. The perfect watering schedule for tropical hibiscus
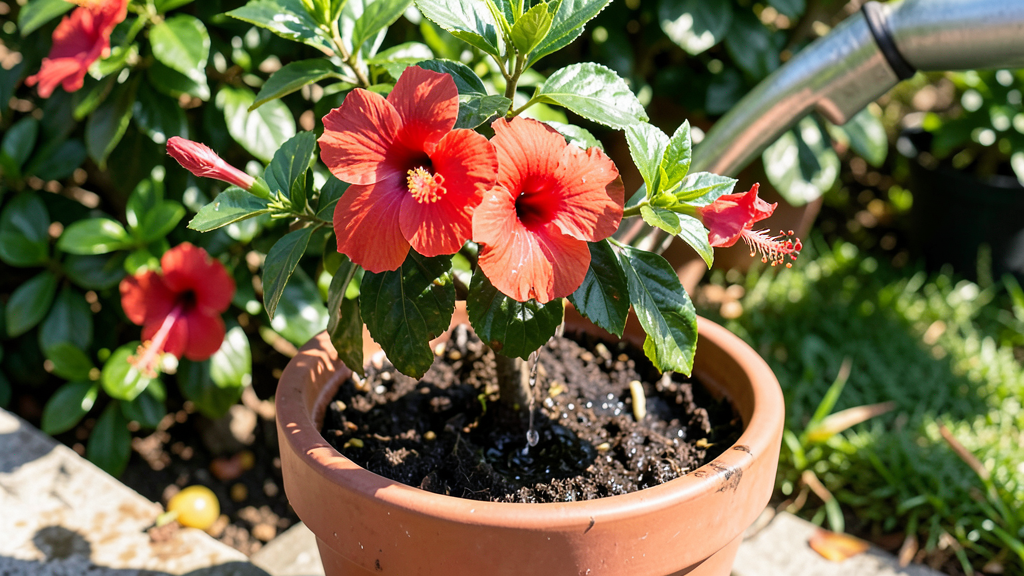
As a rule, I don’t water tropical hibiscus on a strict schedule. Monday, Wednesday, and Friday may sound convenient to us, but the plant doesn’t care what day it is. It has completely different signals.
In hot, sunny weather, the soil in a container can dry out very quickly. In cooler spring or fall weather, that same pot may stay moist much longer. So the best watering schedule is based on the condition of the soil, not the day of the week.
Check the soil before every watering
Tropical hibiscus likes evenly moist soil, but not constantly soggy soil. You don’t want to wait until the plant is badly wilted, but there’s also no reason to water soil that’s still moist just because “it’s time.”
I usually check the soil with my finger first. If the top layer has started to dry out, I take a closer look at the container and water if needed. If the soil still feels clearly moist, I leave the plant alone.
In summer, containers are worth checking every day. This is especially important in hotter parts of the U.S., where daytime temperatures regularly climb above 90°F (32°C).
Climate matters too. In hot, dry Arizona, a container can lose moisture much faster than in warm, humid Florida. So two identical hibiscus plants in different states may need completely different watering routines.
Water deeply, not a little at a time
When I water hibiscus, I don’t pour a token cup of water over the top. You want to soak the entire root ball.
For a container-grown plant, this works well.
- Slowly pour water over the surface of the soil.
- Keep going until water starts coming out through the drainage holes.
- Let the excess water drain completely.
- Don’t leave the pot sitting in a saucer full of water for long.
This way, the water reaches the lower part of the root system instead of just wetting the top couple of inches of soil.
And don’t forget about drainage. Roots need access to air as well as water. If a pot stays constantly wet, problems can start pretty quickly. That’s why I wouldn’t use a container for hibiscus unless it has proper drainage holes.
Summer and winter watering
This is why I don’t like advice like “water your hibiscus twice a week.” For one plant, that may not be enough. For another, it may already be too much.
Outdoors in summer, I check the soil every day, especially during hot weather. A large hibiscus in a relatively small container can use water very quickly in July.
In spring and fall, temperatures are lower and the days are shorter, so the soil usually dries more slowly and the time between waterings gets longer.
Indoors in winter, the plant needs even less water. This is especially noticeable if the hibiscus is overwintering in a cooler room and getting less sunlight. During this period, I let the top layer of soil dry out a little more before watering again.
And don’t forget about central heating. Indoor air can get very dry, so I still check the container regularly, especially if the plant sits near a sunny window.
Lindy and I stopped trying to remember how many days it had been since the last watering a long time ago. It’s much easier to look at the plant and feel the soil. After a while, you start to understand the rhythm of each container pretty quickly.
And if a hibiscus suddenly starts to wilt, I check the soil first instead of immediately reaching for the watering can. Similar drooping leaves can show up from both too little and too much water, so the condition of the soil tells you much more than one visible symptom.
4. Fertilizers that encourage continuous blooming
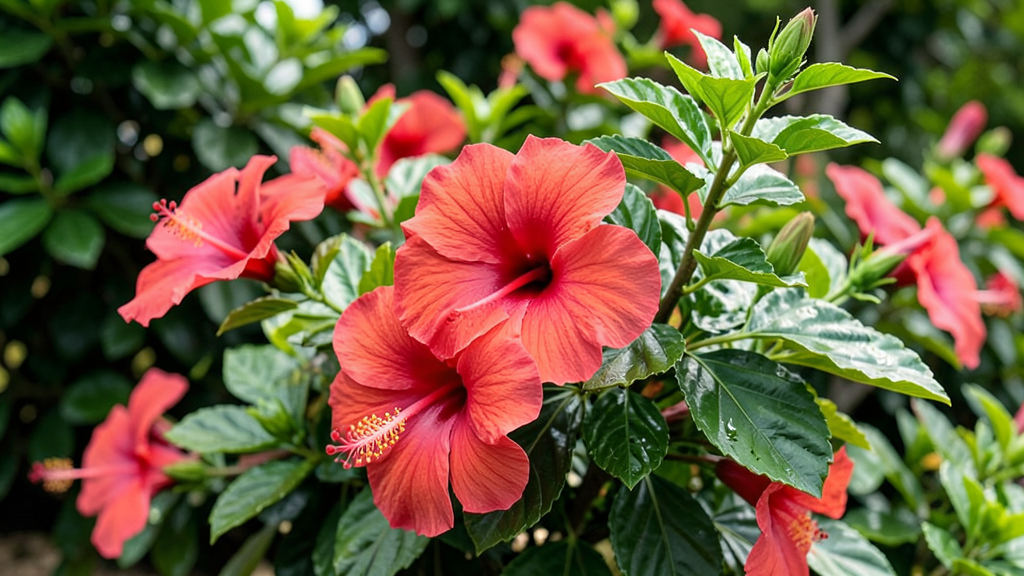
Tropical hibiscus can bloom almost continuously from late spring through fall, but that takes a lot of energy. So during active growth, it really does need regular feeding. The key is not to overdo it.
I used to think about fertilizer pretty simply. If the plant looks good, why not feed it a little more? But with hibiscus, more fertilizer does not mean more flowers. Sometimes it does the exact opposite.
Don’t chase “bloom booster” fertilizers
Packages often promise more buds because they contain a lot of phosphorus. Personally, I don’t choose fertilizer based on that alone.
For tropical hibiscus, balanced fertilizers with ratios like 10-10-10 or 20-20-20 work well. Those three numbers show the amounts of nitrogen, phosphorus, and potassium.
In summer, when hibiscus is actively growing and blooming, you can use this kind of fertilizer about every 2–3 weeks, diluted to half the strength recommended by the manufacturer.
So instead of pushing a high dose, we’re aiming for regular, moderate feeding.
Nitrogen helps the plant grow leaves and new shoots, phosphorus supports root development and flowering, and potassium is involved in many processes inside the plant. But if you keep giving too much fertilizer, you can end up with a big green bush and far fewer flowers than you expected.
Two ways to fertilize
For container-grown hibiscus, there are usually two types of fertilizer you can use.
- Slow-release fertilizer goes in at the beginning of the season. It gradually releases nutrients over several weeks.
- Liquid fertilizer is used during active growth and blooming, when the plant needs extra feeding.
I usually don’t use both methods at full strength at the same time. If the soil already contains slow-release fertilizer, I add liquid fertilizer carefully and only when needed.
If I use a liquid fertilizer regularly, I prefer a lower concentration instead of occasional heavy feeding.
And I always check the dosage on the specific package. With fertilizer, the idea that “a little more won’t hurt” can definitely backfire.
Watch the plant
Hibiscus does a pretty good job of showing where its energy is going. If it’s producing lots of large, dark green leaves but hardly any flowers, don’t immediately add more fertilizer. First, check the light, watering, and how much fertilizer you’ve already used.
Too much fertilizer can encourage leafy growth at the expense of flowering.
There’s one more thing with hibiscus growing outdoors in a container. Frequent watering gradually washes some soluble nutrients out of the soil. That’s why feeding needs to be repeated during summer, especially during active growth and blooming.
Fertilizing in winter
When tropical hibiscus comes indoors and growth slows down, I cut back on fertilizer along with watering.
In spring and summer, an indoor hibiscus can be fed about once a month with a weak solution, while in winter, much less often. A plant that’s barely growing doesn’t need the same feeding routine it had in summer.
I watch the plant itself. As long as the hibiscus is actively growing and producing new buds, it needs regular feeding. When growth slows down, the amount of fertilizer should go down too.
I like this approach much more than trying to find one “perfect” fertilizer that supposedly keeps hibiscus blooming nonstop. Fertilizer definitely helps, but only together with sunlight, water, and a healthy root system.
5. Winter care secrets for dormant hibiscus plants
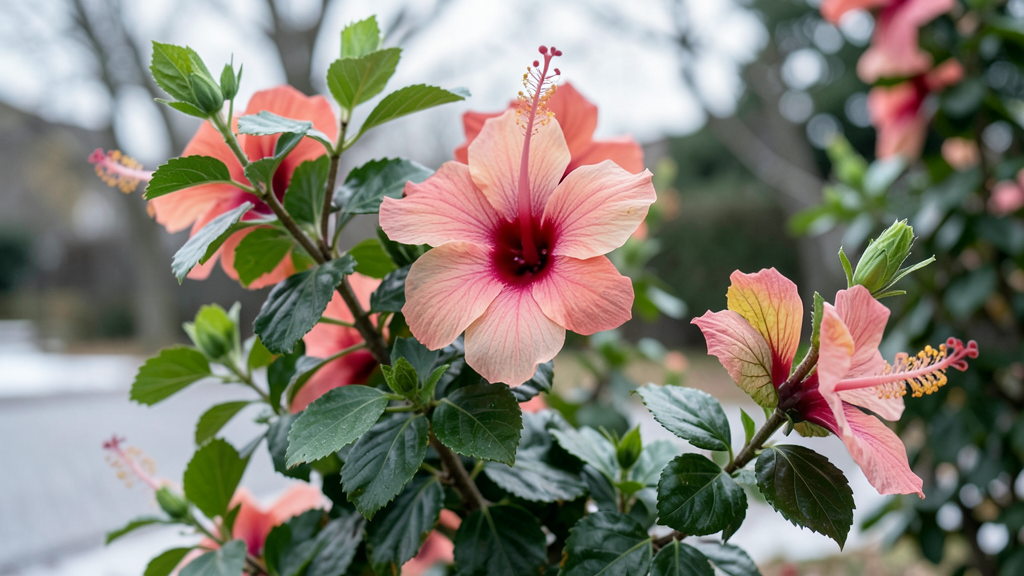
It’s easy to do too much with hibiscus in winter. You see bare branches, fallen leaves, or growth that has almost stopped, and immediately want to fix something. Water more, fertilize, prune…
But in winter, the plant often needs the exact opposite — less interference.
First, it’s important to know what kind of hibiscus you’re growing. Hardy perennial types really do go dormant, while tropical hibiscus simply slows down a lot when there’s less light and cooler temperatures.
Hardy hibiscus
With hardy hibiscus, the above-ground growth gradually dies back in fall. That’s a normal part of its life cycle, not a sign that the plant is dead. The root system stays alive underground and sends up new shoots in spring.
In winter, all that may be left is dry top growth or an almost empty spot in the flower bed. That’s normal. The main thing is to remember where it’s planted and not rush to dig it up in spring. New shoots on hardy hibiscus can appear pretty late.
After a hard freeze, I also don’t rush to cut off every damaged part. It’s better to wait until the weather has warmed up consistently, because pruning too early can remove wood that’s still alive and encourage tender new growth before another cold spell.
Bring tropical hibiscus indoors before frost
Tropical hibiscus is different. It isn’t frost-hardy, so I bring container plants indoors ahead of time instead of waiting until the first freezing morning.
Once indoors, it may drop some leaves. It doesn’t look great, but don’t panic. A sudden change in light and humidity can easily cause that. Even a healthy tropical plant can react this way after being moved.
Before bringing the pot indoors, I do three things.
- Check both sides of the leaves and inspect the stems for pests.
- Remove fallen leaves and plant debris from the soil surface.
- Put the hibiscus in the brightest spot I can give it.
It’s better not to place it next to an entry door, a cold window, or directly beside a radiator. Hibiscus doesn’t handle sudden temperature swings well. Indoors, it does best at around 65–75°F (18–24°C).
Winter watering
In winter, hibiscus grows more slowly, which means it uses less water. This is when a normal summer watering routine can become a problem. If the soil stays wet longer but you keep watering just as often, the roots may sit in soggy soil.
So I check the soil before every watering and let the top layer dry out a little more than I would in summer.
The same goes for fertilizer. If the plant is barely growing and not blooming, there’s no reason to keep feeding it heavily.
Winter blooming
Sometimes tropical hibiscus keeps producing a few flowers in a very bright, warm room, and that’s great. But I don’t see winter blooming as something the plant has to do.
Shorter days, weaker sunlight, and the move from outdoors to indoors are already a lot of changes. If the plant simply keeps healthy branches and roots through winter, that’s enough for me.
Then in spring, when the days start getting longer, I gradually return to more frequent watering and feeding. I only move the container back outside after the danger of frost has passed, slowly getting the leaves used to brighter sunlight again.
So the winter goal is pretty simple — don’t make your hibiscus live on a summer routine. Very often, that’s what helps it start the next season well.
6. How to prune without harming new growth
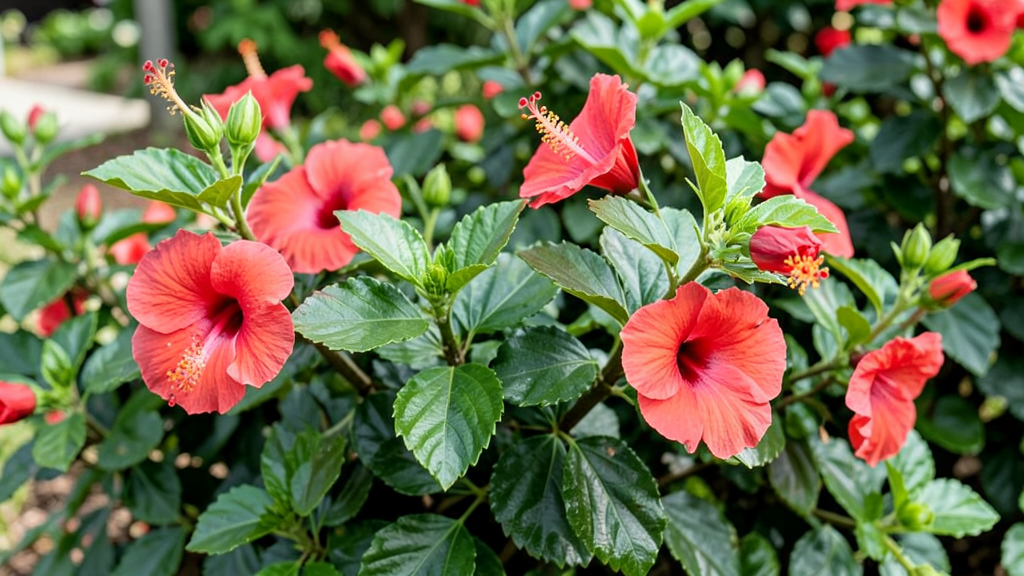
It’s easy to overdo pruning, and hibiscus is no exception. Especially in spring, when you want to cut off everything dry, shorten long branches, and immediately give the shrub a neat shape.
But what matters more here isn’t how many branches you cut, but the right timing and knowing which type of hibiscus you’re dealing with.
When to prune
For all three main types of hibiscus, the main pruning period falls around the same time — late winter or early spring, before active growth begins. But each type is pruned differently.
Hardy hibiscus dies back almost to ground level in winter. Its old dry stems can be cut back in late winter to about 3–6 inches (8–15 cm) above the ground. I don’t cut them completely to the base. Those short stems still show where the plant is until new shoots appear in spring.
Rose of Sharon grows differently. It’s a woody shrub, so it doesn’t start over from the ground every year. It blooms on new growth from the current season, which is why late winter or early spring is a good time to shape it.
I first remove dry and damaged branches completely, then branches that cross each other or grow toward the center of the shrub. If I need to reduce the plant’s size, I shorten individual long branches back to a healthy side branch or bud. There’s no need to trim the whole shrub to the same height — that can easily create a dense top and an unnatural shape.
For tropical hibiscus, major shaping is also best done in late winter, before active new growth begins. You can prune it fairly hard, but keep in mind that along with the branches, you’re also removing some future flower buds. So after heavy pruning, the plant will need more time before it blooms again.
Where to make the cut
For rose of Sharon and tropical hibiscus, I first find a node or bud where a new shoot can grow.
I make the cut just above it. When I have a choice, I leave a bud that points outward from the center of the shrub. That way, the new shoot is more likely to grow outward instead of toward the center or across neighboring branches.
I usually go in this order.
- Remove dry, broken, and damaged branches.
- Remove branches that cross and rub against each other.
- Thin out growth that points toward the center of the shrub.
- Only then shorten healthy branches that have grown too long.
This makes it much easier to see the plant’s natural shape and avoid cutting off too much.
Making tropical hibiscus fuller
If tropical hibiscus has become leggy and sparse, you can shorten the long shoots to encourage side branching. For light shaping, I don’t try to remove a large part of the plant all at once. It’s not recommended to cut stretched shoots back to the level of the rest of the canopy in late winter.
Hibiscus can handle fairly heavy pruning, but the more you remove, the longer you’ll have to wait for new flowers.
So if the plant is healthy overall but has simply lost its shape, I prefer to remove the longest shoots first and see how the shrub responds.
Tools
For most hibiscus branches, a pair of sharp pruning shears is enough to make a clean cut without crushing the stem. If a branch is already too thick and you have to use force, it’s better to switch to loppers.
After cutting diseased or damaged branches, wipe the blades with 70% isopropyl alcohol before moving on to healthy parts of the plant.
After pruning, the shrub may not look very attractive for a while. Sometimes it can look pretty bare for a few weeks — and that’s normal. The important thing is that we’ve kept healthy buds and growing points that can produce new shoots.
7. Natural pest control methods that actually work
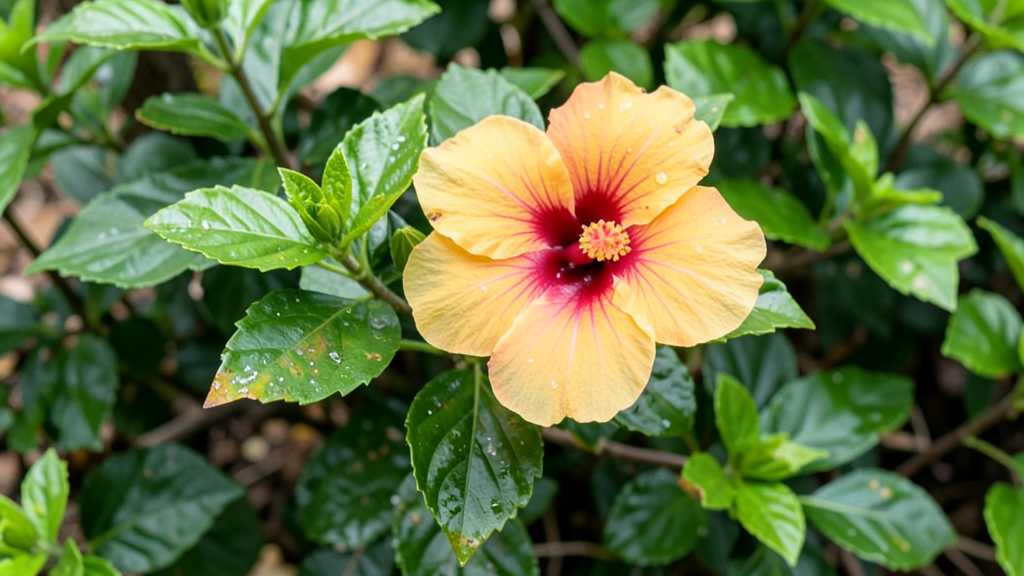
Hibiscus has a few pretty common pests — aphids, whiteflies, spider mites, and mealybugs. I usually notice them not because I’m actively looking for insects, but because of what’s happening to the plant. The leaves get sticky, start curling, turn yellow, or develop tiny pale spots.
On our property, Lindy and I try to start with the simplest, most targeted approach before moving on to treatments. It fits well with the way we garden in general — we don’t want to wipe out everything around one plant because of a few pests.
Wash off what you can
If there’s a small colony of aphids or spider mites, the first thing I do is rinse the plant with a strong stream of water. I pay extra attention to the undersides of the leaves and young shoots. That’s often where pests gather first.
After that, it’s worth checking the plant for the next few days. One rinse may not be enough, but at an early stage it can noticeably reduce the number of pests without using any treatment at all.
Insecticidal soap
If water isn’t enough, the next option is ready-made insecticidal soap. It works against aphids, whiteflies, mealybugs, and spider mites.
The ready-made part matters. I don’t mix dish soap and water using some random recipe from the internet. Household detergents can damage the leaves.
Insecticidal soap only works through direct contact with the pest, so lightly spraying the top of the plant isn’t enough. You need to cover the stems and both sides of the leaves well.
Once it dries, the product mostly stops working, so repeat the treatment if needed according to the label directions. The University of Florida also recommends using proper insecticidal soaps rather than homemade mixes.
Horticultural oil
You can use horticultural oil against aphids, whiteflies, young scale insects, mealybugs, and mites. The idea is similar — the product needs to coat the pest itself. So once again, don’t skip the undersides of the leaves.
There is one important limitation with oils. They shouldn’t be applied during extreme heat. At temperatures above about 90°F (32°C), the risk of leaf damage goes up. Always check the directions for the specific product you’re using.
Beneficial insects
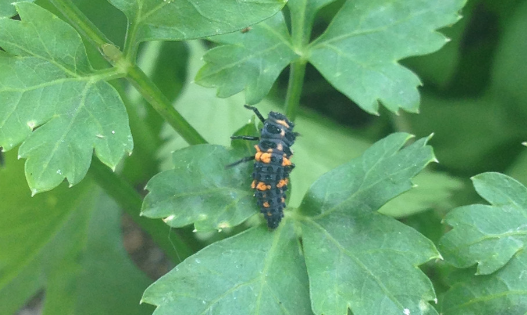
There’s a reason I don’t like reaching for a strong insecticide right away. Our property is home to ladybugs, lacewings, and other predatory insects that naturally feed on aphids and some other pests. If you spray the whole garden with a broad-spectrum product, you can remove not only the problem, but also the insects helping keep it under control.
In our garden, which we’re building around permaculture principles, Lindy and I try to grow a variety of flowering plants that attract ladybugs, lacewings, and other beneficial insects. So when I spot the first few aphids, I don’t rush to treat the entire plant. Sometimes it’s enough to watch for a little while — natural predators may already be nearby and start reducing the colony on their own.
That doesn’t mean pests should be ignored. I just look at the scale of the problem first.
- A small colony on a few leaves — rinse it off with water or remove the affected leaf.
- Pests keep spreading — use insecticidal soap or horticultural oil.
- Heavily infested parts of the plant — remove them so they don’t keep acting as a source of spread.
Check new plants
A lot of pest problems are much easier to avoid bringing home in the first place. Before placing a new pot next to other plants, I check the undersides of the leaves, young shoots, and the spots where leaves meet the stems. If something looks suspicious, I keep the plant separate for a few days.
This is especially important in fall, when containers start moving from outdoors to indoors. One unnoticed whitefly or a few mites in a warm room can quickly turn into a much bigger problem.
That’s why my favorite pest-control method is pretty boring — look at your plants more often. But strangely enough, it works. It’s much easier to deal with a small aphid colony than to rescue the whole hibiscus a month later.
8. Reviving a drooping or unhappy hibiscus
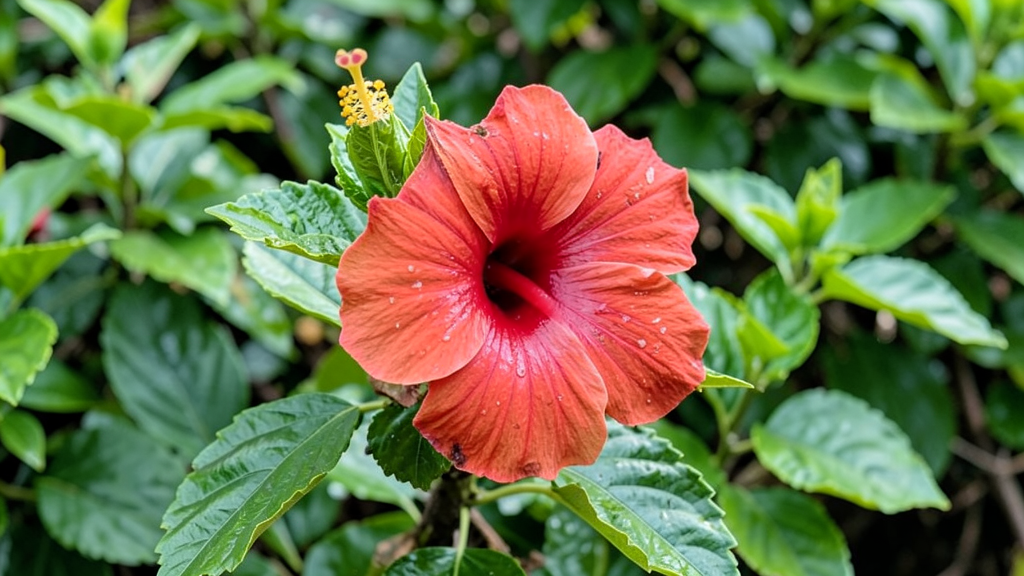
When a hibiscus starts drooping, the first instinct is to water it. But I stopped doing that automatically a long time ago. Wilted leaves can mean either too little water or too much, and sometimes the plant is simply overheated from the sun. So first, figure out the cause, then fix it.
Check the soil
I start with the simplest thing — I push my finger into the top 1–2 inches (2.5–5 cm) of soil. If the soil feels dry and light and the leaves are hanging softly, the hibiscus probably really does need water. In that case, I water the entire root ball thoroughly until water starts coming out through the drainage holes.
If the soil is still moist or soggy, adding more water will only make things worse.
Constantly wet soil leaves too little air around the roots. As a result, the plant can look like it needs water even though there’s actually too much around the roots. Overwatering and poor drainage are common causes of wilting in houseplants.
Wet soil
First, I check the drainage holes and empty any water sitting in the saucer or decorative planter. If the soil stays wet for a long time and the leaves keep turning yellow and dropping, it’s worth carefully checking the roots. Healthy roots feel firm, while roots damaged by rot become dark and soft.
In that case, it’s better to repot the plant into fresh, well-draining soil and remove any clearly dead roots.
And hold off on fertilizer for now. A weakened root system definitely doesn’t need the extra stress.
Heat
Sometimes something else is going on. The hibiscus looks great in the morning, but by the middle of a hot day, the leaves are drooping even though the soil is still moist.
This can be a reaction to heat and rapid water loss through the leaves. On an especially hot day, the plant can lose moisture faster than the roots can replace it.
In that case, I don’t start soaking the pot every couple of hours. First, I check the soil and see whether the plant recovers later in the evening.
One advantage of container-grown hibiscus is that you can temporarily move it somewhere protected from the harshest afternoon sun.
Check what changed
If watering seems fine, I go over any recent changes.
- Was the pot recently moved to a different spot?
- Was the plant just moved from indoors to outdoors?
- Did the temperature change suddenly?
- Are there aphids, mites, or whiteflies on the undersides of the leaves?
- Have the roots completely filled the container?
Hibiscus can be pretty sensitive to sudden changes in conditions. Lindy and I try not to change everything at once — location, watering, feeding, and the pot. Otherwise, it becomes almost impossible to tell what the plant is reacting to.
Give the plant time to recover
Once you’ve found the cause, don’t try to speed up recovery with extra fertilizer or by moving the plant around every day. Fix one main problem and watch the plant for a few days.
If the issue was dry soil, the leaves may perk up fairly quickly. Recovery after overwatering or root problems will take longer.
I pay more attention to new growth than to older damaged leaves. If healthy leaves and shoots start appearing, the plant is moving in the right direction and I know I’m doing the right thing.
9. Best soil mixes for container-grown hibiscus
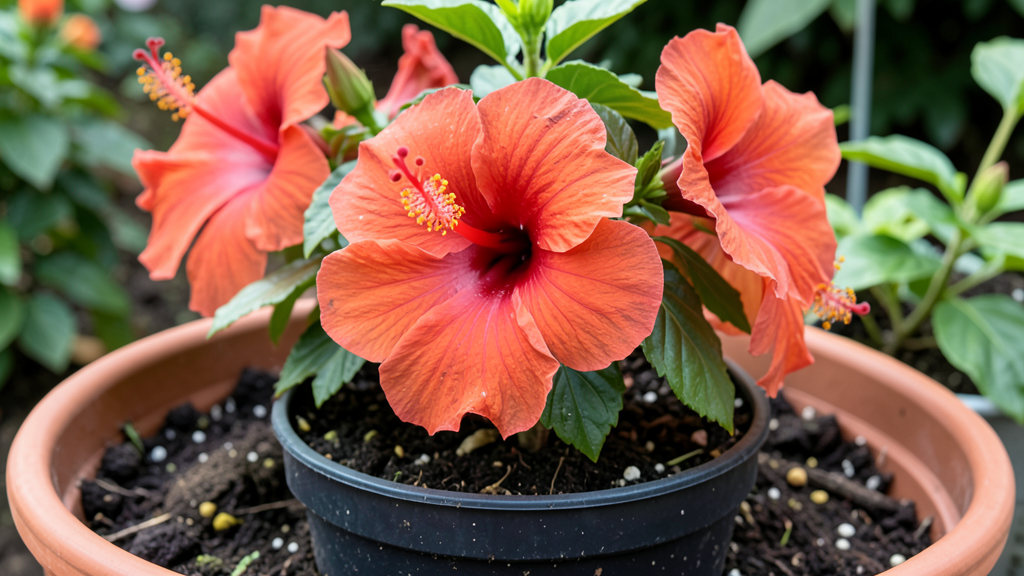
For hibiscus in a container, I look for soil that can do two things at once — hold enough moisture and drain the excess quickly.
Heavy garden soil doesn’t work well for this. In a pot, it compacts easily, stays wet longer, and leaves less air around the roots. For containers, it’s better to use a potting mix or make your own.
Basic mix
If I mix the soil myself, I use roughly this combination for tropical hibiscus:
- 2 parts potting mix
- 2 parts peat moss
- 1 part perlite or vermiculite
Each part has a job. Potting mix gives you the base, peat moss helps hold moisture between waterings, and perlite or vermiculite keeps the mix looser and improves drainage.
The result stays moist enough for hibiscus without turning into a heavy, soggy mass after watering.
But you definitely don’t have to mix your own soil. A good-quality container potting mix works too, as long as it holds moisture while still letting excess water drain freely.
Garden soil
It seems like the easiest option — scoop up some nice dark soil from the yard and fill the pot.
But garden soil and container soil behave differently. In a limited space, garden soil compacts faster and can stay saturated for too long after watering. It can also bring weed seeds, pests, or disease organisms into the container.
So even on our homestead, where we have soil and compost all around us, I still make a separate mix for container plants.
Check the mix after watering
I care less about the ingredient list on the bag and more about how the soil behaves after watering.
After a thorough watering, water should start coming out of the drainage holes fairly quickly. The soil should stay moist, but the top should gradually begin to dry over the next few days.
If the pot stays heavy and wet for a long time, the mix is too dense. Next time, I’d add more perlite or fine composted bark.
If water runs straight through the pot and the soil is dry again within a few hours, the mix may need something that holds moisture better.
Good container soil usually doesn’t call attention to itself — and that’s probably the best sign. You water the plant, the excess drains properly, the roots aren’t sitting in soggy soil, and the hibiscus just keeps growing and blooming. That’s what I always aim for.
10. Common mistakes that prevent flowering
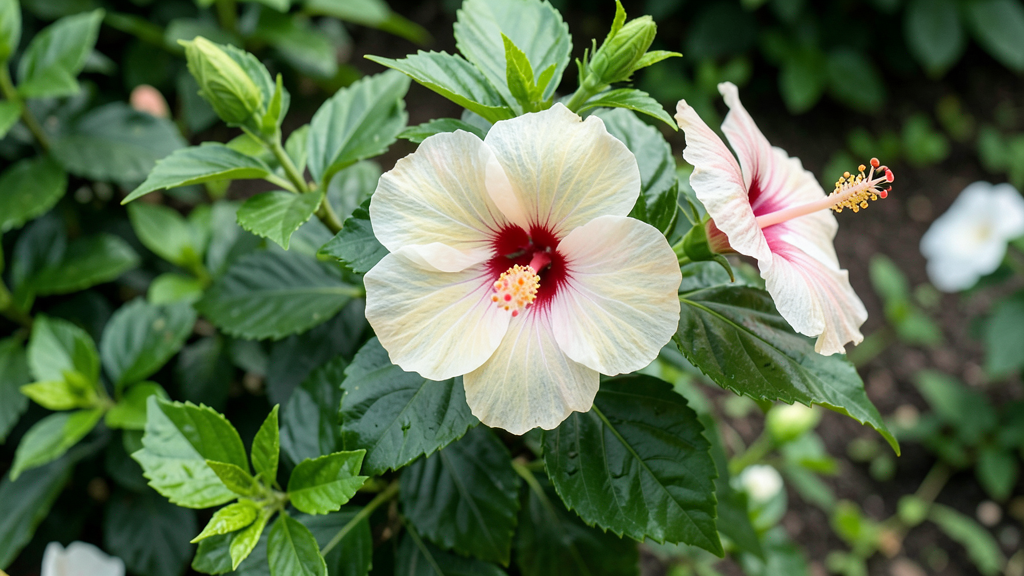
Sometimes hibiscus looks perfectly healthy. The leaves are green, new shoots are coming in, there are no obvious pests — but there are barely any flowers.
In cases like this, I don’t look for one “secret to blooming.” The reason is usually much more practical. These are the mistakes I check first.
- Too little sun. Hibiscus can look perfectly fine in partial shade, but it needs plenty of bright light for heavy blooming. Sometimes the problem develops slowly — for example, a nearby shrub or tree grows larger and starts shading the spot more than it did a few years ago.
- Too much nitrogen. If a fertilizer contains a lot of nitrogen, the plant may produce lots of big green leaves and long shoots but fewer flowers. If the shrub looks extremely lush but has hardly any buds, I first check what I’ve been feeding it and how often.
- Inconsistent watering. Hibiscus doesn’t handle constant swings between very dry soil and overly wet soil very well. This is especially noticeable with container plants in summer. I try to keep the soil evenly moist, but not soggy.
- Pruning too hard or too late. After pruning, the plant first needs to grow new shoots before it can start forming buds. If you cut the shrub back hard in the middle of the season, you’ll have to wait longer for the next round of flowers.
- A container that’s too large. A huge pot isn’t always better for the plant. A large amount of soil around a relatively small root system holds moisture longer, which increases the risk of overwatering. I prefer to move up in container size gradually as the plant grows.
- Too many changes at once. Moving the hibiscus, repotting it, pruning it, changing the watering routine, and adding fertilizer all at once is a lot of stress in a short period. Lindy and I try to change conditions gradually and give plants time to adjust.
- Ignoring pests. Aphids, whiteflies, spider mites, and other pests can weaken the plant before the damage becomes really obvious. If there are very few buds or they start dropping, I always check the young shoots and the undersides of the leaves.
- Trying to fix the problem with more fertilizer. If a hibiscus isn’t blooming, feeding it isn’t always the answer. The issue may be light, water, roots, or recent pruning. It’s better to find the cause first and only then add anything.
I usually go through these points one by one and change only one thing at a time. That makes it much easier to see what the plant actually responds to instead of changing half the care routine at once and then guessing what helped.
How is your hibiscus doing?
I don’t believe in one “perfect” trick. With hibiscus, you usually just need to pay attention to what’s happening around the plant. Light, water, soil, feeding, and pruning — the reason is usually somewhere among those things.
And don’t change everything at once. Check the soil, look at the light, think about when you last fertilized or pruned, and change one thing. That’s how Lindy and I handle most things in the garden. We change something, watch, and sometimes get it wrong.
And there’s so much joy when that first big bud finally appears…
How is your hibiscus doing? What has been the hardest part — blooming, watering, overwintering, or pests? Tell me in the comments, especially if you have a trick that genuinely worked for you.