One cold winter day, I walked into my shed where I stored bags of compost. And as anyone who’s worked with compost knows, it’s a repetitive task, not exactly fun. Standing there, I wondered: is there a way to simplify this process? While AI is making life easier for people in many areas, composting is likely not something it will tackle anytime soon.
However, during these thoughts, I remembered vermicomposting – a process where the work is handed over to… worms. This isn’t artificial intelligence, but very much living intelligence! Worm intelligence! 😅 This idea fascinated me so much that I decided to experiment and compare the two methods – traditional composting and vermicomposting over the next four months. Here’s what I learned in the process.
What is Traditional Composting?
Traditional composting is a time-tested method of recycling organic waste. You collect kitchen scraps, leaves, and grass clippings, pile them up or put them in a special bin, and let microorganisms break these materials down into nutrient-rich compost. This process can take several months, but the result is always the same – an excellent natural fertilizer for your garden.
What is Vermicomposting?
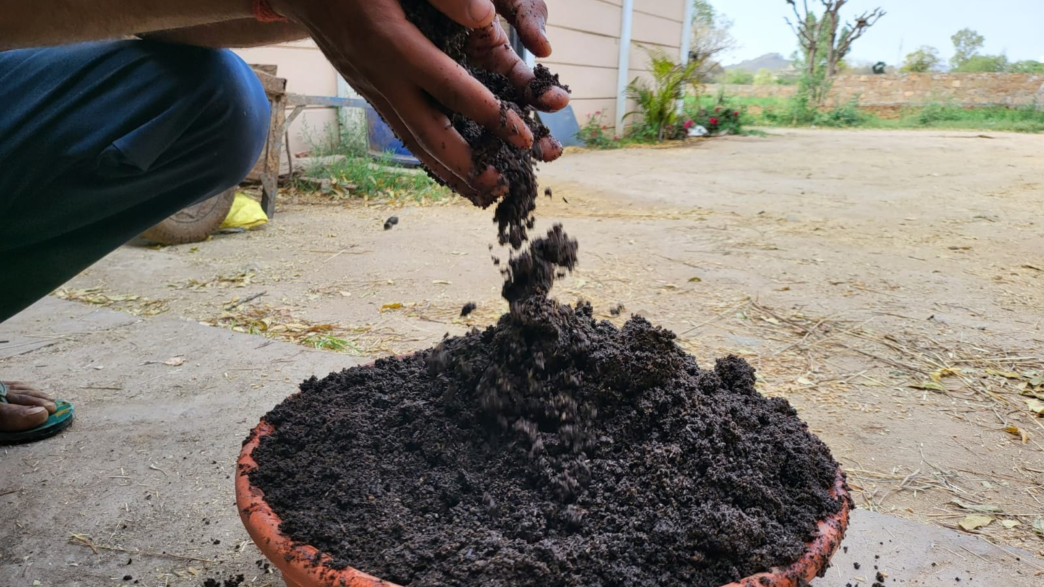
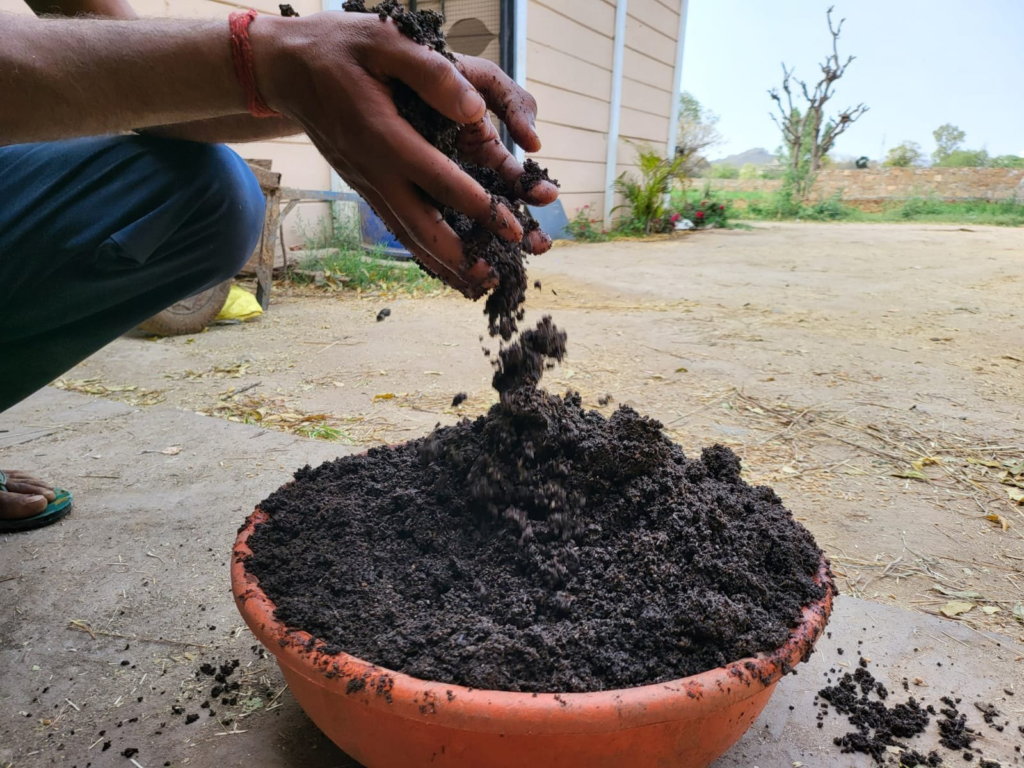
Vermicomposting is a process where organic waste is recycled with the help of worms, primarily red wigglers. They consume organic matter and produce vermicast – nutrient-rich compost that improves soil structure and stimulates plant growth. This process is faster than traditional composting and requires less space.
You can learn more about vermicomposting from the book “Sustainable Development and Pathways for Food Ecosystems” – it personally helped me a lot in setting up my garden’s ecosystem.
Advantages and Disadvantages of Vermicomposting
Since I started vermicomposting in 2019, I’ve noticed several important pros and cons of this method.
Advantages:
- Fast Decomposition: worms process organic matter faster than microorganisms in traditional compost, allowing you to get ready-to-use fertilizer quicker.
- Compact: vermicomposting can be set up in small spaces, including apartments.
- High-Quality Compost: vermicast contains more micronutrients and beneficial bacteria compared to traditional compost.
- Less Odor: unlike traditional composting, vermicomposting has little to no odor when done correctly.
- Year-Round Use: vermicomposting can be done indoors year-round, which is especially important in winter.
Disadvantages:
- Temperature Sensitivity: Worms are sensitive to temperature changes, and their care requires controlling the environment’s temperature.
- Waste Type Limitations: Worms cannot process all types of organic matter, such as citrus or meat scraps.
- Maintenance Costs: You need to regularly monitor moisture and temperature levels and add new food portions.
- Oxygen Requirement: The vermicomposting bin must be well-ventilated to prevent the substrate from becoming acidic.
- Risk of Worm Loss: If conditions for the worms are not maintained properly, they may die, and the process will need to start over.
Compost Pile vs. Vermicomposting Comparison
| Characteristic | Compost Pile | Vermicomposting | Compost Quality | Temperature Dependence |
|---|---|---|---|---|
| Decomposition Speed | Slow | Fast | Average | High |
| Space Requirement | Requires large space | Compact, suitable for home use | High nutrient content | Low |
| Maintenance | Low, requires occasional turning | High, requires consistent condition maintenance | Excellent | Requires monitoring |
| Year-Round Use | Depends on climate | Can be done year-round indoors | Excellent, highly nutritious | Condition-dependent |
Vermicomposting for Plants: Step-by-Step Guide
So, you’ve decided to get into vermicomposting for plants. Here’s a step-by-step guide to help you get started.
[mv_create key=”24″ type=”diy” title=”Vermicompost for Plants: Step-by-Step Guide” thumbnail=”https://rootedrevival.com/wp-content/uploads/2024/08/image-39.png”]
What Does Science Say?
Research shows that vermicomposting can significantly increase the presence of beneficial microorganisms in the soil, improving plant growth and health (see research in Bioresource Technology). Vermicompost also reduces soil acidity and increases its water-holding capacity, making it an excellent choice for gardeners – exactly what we all aim for.
Vermicompost Tea to Your Plants’ Table
This is not for drinking by humans but your plants gonna love it! Vermicompost tea is a nutrient-rich liquid fertilizer made by steeping vermicompost in water. This tea contains beneficial microbes and nutrients that promote plant growth, improve soil health, and help plants resist diseases! To make vermicompost tea, simply add a few cups of vermicompost to a bucket of water, let it steep for 24-48 hours, then strain and use the liquid to water your plants or as a foliar spray. This tea is an excellent way to boost the health and productivity of your garden!

Vermicomposting Toilets Are Also Real
What I can say: I was impressed by how the worms handled waste quickly, keeping odors at bay. The maintenance of such toilets is surprisingly low—emptying the compost bin became a less frequent chore for me and kids as well. Plus, I’m feeling good knowing that I was conserving water and avoiding harmful chemicals. Recently, I wrote about how my wife and I prioritize avoiding chemicals in our homestead while creating a year-round herb garden. These toilets are perfect for off-grid living or eco-friendly homes. The compost produced can nourish non-food plants in my garden, truly closing the loop in sustainable living!
Let’s Summarize What You Get with Vermicomposting:
- Vermicompost is like a soil makeover, breaking down organic matter to make your soil fluffier and more fertile.
- When you use vermicompost, your plants reward you with bigger and better yields.
- It speeds up root and stem growth, giving your plants a boost to grow strong and fast.
- It is environmentally friendly, improving the quality of your soil and water instead of harming it.
- With vermicompost, your plants toughen up, handling droughts and temperature changes like pros.
In the end, the choice between traditional composting and vermicomposting depends on your goals and preferences. Personally, I find vermicomposting an excellent method for those who want a fast and high-quality fertilizer with fewer odors and less space. On the other hand, traditional composting may be more suitable for those with larger outdoor spaces and less time to maintain their compost. By understanding the benefits and limitations of each method, you can make the best choice for your garden’s needs.