Apple cider vinegar is a natural health staple in our house! But did you know that you can easily make your own ACV using apple peels and scraps?! Here’s how!
Apple season is just starting to come to a close here in the Northwest. It’s one of my favorite times of year – there is something so magical and exciting about harvesting basketfuls of beautiful apples.
I’m very happy that our new home has a mature apple tree that we will be able to harvest from next year. Unfortunately, it was filled with pests this year and it was too late to get control of them by the time we moved in. So, we headed off to our favorite organic orchard instead!
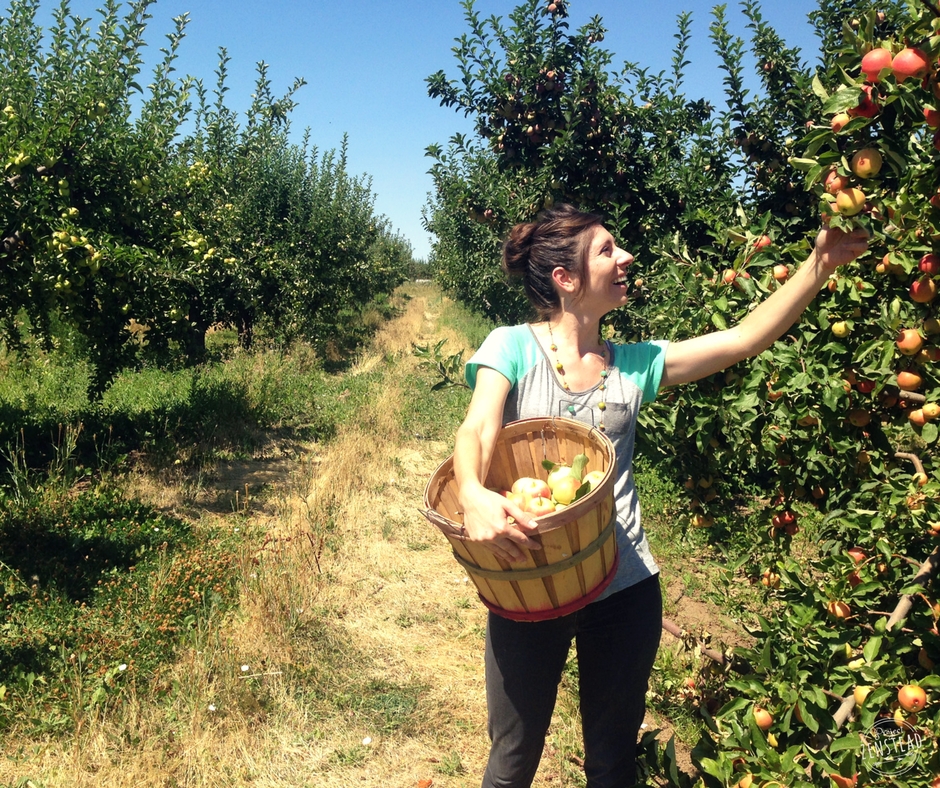
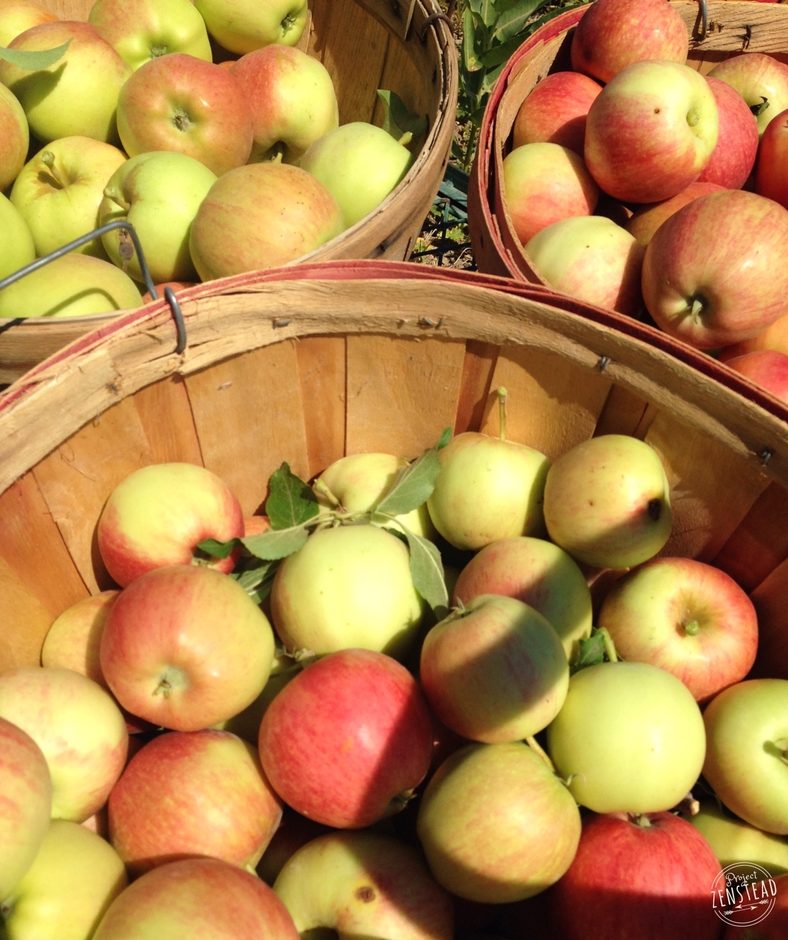
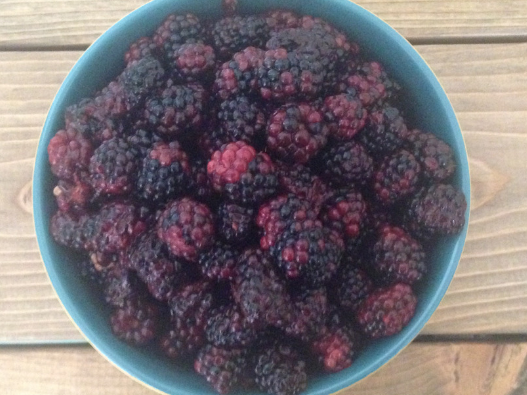
It’s become a fall tradition for us to visit the orchard each year and pick our weight in apples! Yeah, we may have gone a bit over the top this year… not only did we pick a ton of apples, but also about ten pounds of ripe, juicy blackberries!
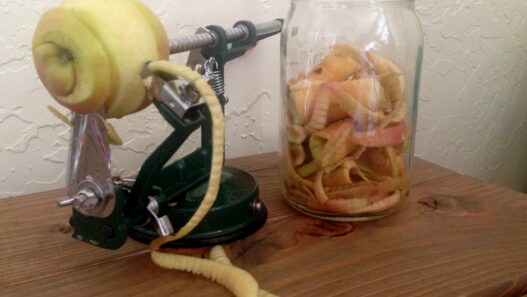
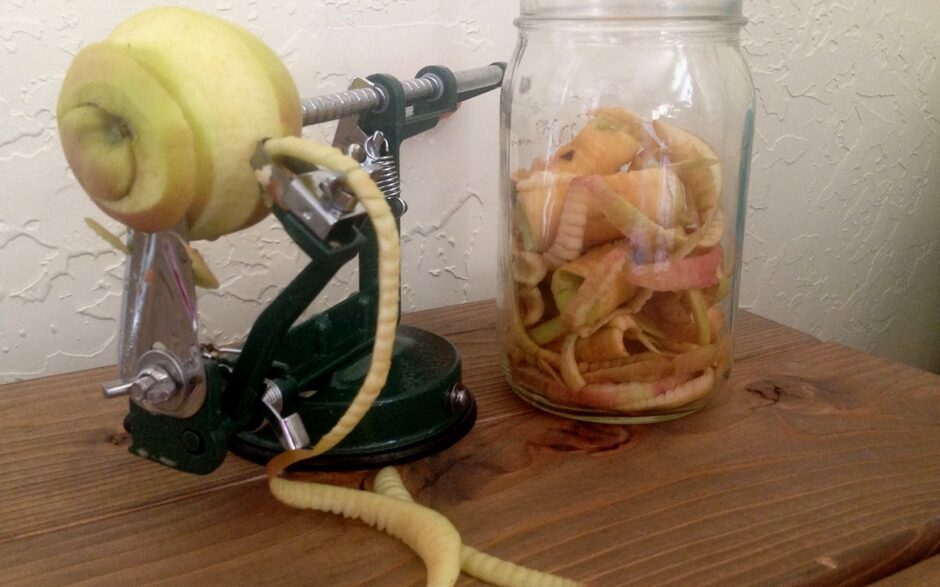
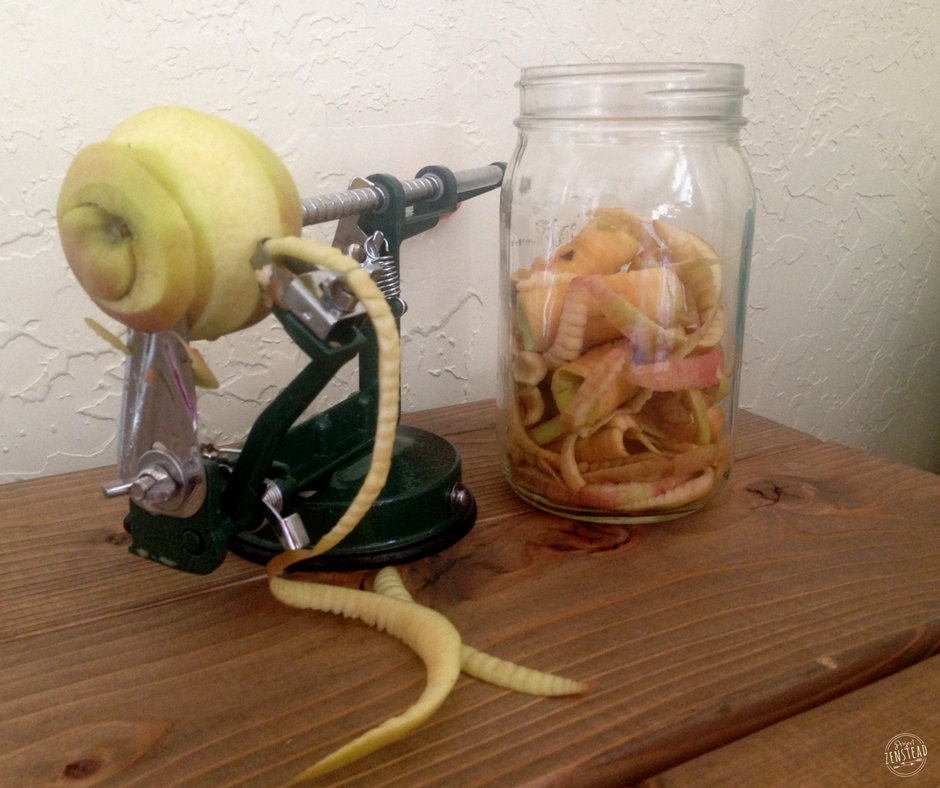
I spent the next few weeks making apple everything! Seriously, it was like Forest Gump, but with apples instead of shrimp. But, here is the best part: I didn’t have to waste a single piece of those beautiful apples! Instead of discarding the peels and cores, I used them to make fresh, delicious apple cider vinegar!
This was the first time I have ever made my own apple cider vinegar (ACV) and it really couldn’t have been easier! It took about ten minutes to make three big jars. Once you get everything combined, you just let the jars sit and the apples will do their thing! It’s really that easy!
I have very little experience with fermenting foods (something that will be changing soon!), so this was a great way to start. It was so simple, and not intimidating at all. When I was done, I kept thinking, “Seriously?? It’s that easy?! I am never buying ACV again!”
The reality is, that you truly don’t ever have to spend money on apple cider vinegar if you use apples and have apple scraps laying around. Store-bought raw, unfiltered ACV costs somewhere between four to five dollars a bottle! Making your own is completely free and it utilizes food scraps that would otherwise go to waste!
I was also surprised by how delicious homemade apple cider vinegar is! The flavor of homemade ACV is much smoother than its store-bought counterpart and I also found that hints of the apple flavors came through very well. We regularly drink store-bought ACV in our detox teas, but I usually have to dilute out the “vinegar-ness” with honey, cinnamon and strong teas. But, the homemade ACV is so good, that I just mix it with warm water and a little honey! It’s delicious!
Ready to make your own and put those apple scraps to good use? Here’s the super simple process that I followed to make homemade apple cider vinegar:
Make your own Apple Cider Vinegar!
You will need:
**This post contains affiliate links for awesome products. We may receive a commission at no expense to you if you choose to purchase items using these links. See our full affiliate disclosure here. Thanks for helping support this blog! **
- Apple peels and cores (I only use organic or no-spray apples. Using pesticide-soaked apple skins to make my vinegar is not appealing to me!)
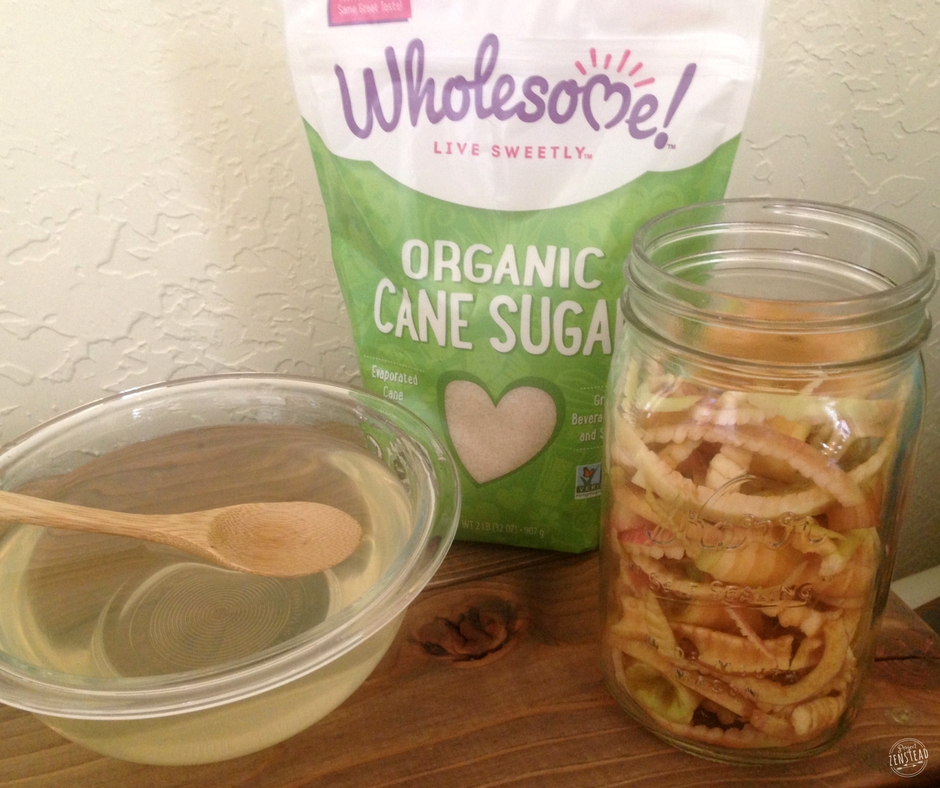
- Organic, non-GMO sugar (I used Wholesome brand organic cane sugar)
- Water
- Coffee Filters or cheesecloth
- Clean glass jar(s)
Directions:
- Place the apple peels and cores into the glass jar. I used a quart-sized Mason jar and filled it to just below the neck of the jar with peels and cores.
- In a separate bowl, combine sugar and water at the ratio of 1 tablespoon of sugar to every 1 cup of warm water. Stir to dissolve the sugar completely. You will want enough of the water-sugar solution to completely cover the apple peels and cores.
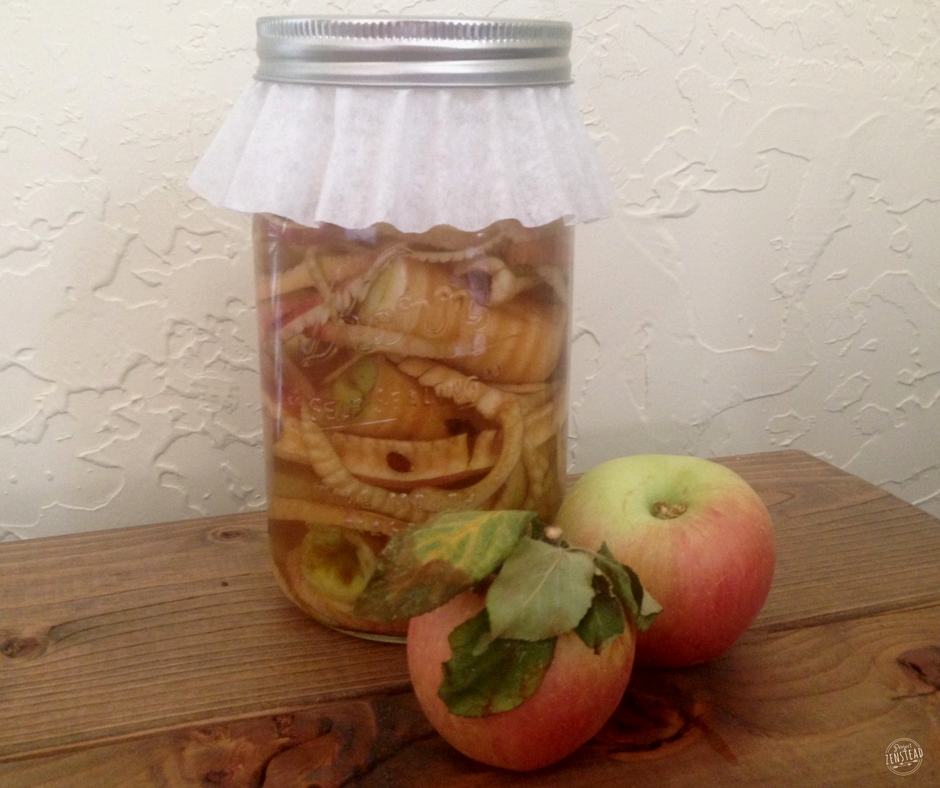
- Pour the water-sugar solution over the apple peels and cores. Be sure that the apple pieces are completely covered by the solution and that there is about an inch of headroom left in the jar after combining the solution with the apples.
- Cover the jar with a coffee filter or cheesecloth. Secure with a rubber band or metal canning band.
- Set the jar in a cool dark place for 2-4 weeks. You can stir the mixture a couple times a week. It is important that your apple pieces don’t float to the top and pop out of the water. You may want to use a fermenting weight to keep them submerged in the water-sugar solution. I checked on the apples daily and used a wooden spoon to push the apple pieces back down into the solution as needed. During this time, you will see small bubbles forming, which is a sign that the apples are beginning to ferment. You may also see white scum forming on the top. If this happens, don’t panic! This is a good thing and a normal part of the process. This scum is what is often referred to as “the mother”. It’s basically a glob of enzymes and good bacteria that forms through the fermentation process. Yes, that’s my totally scientific explanation for it (if you want a more “science-y” explanation, you can read more about it here!). If you see mold or any crazy colored bacteria start to form, you will want to toss everything out and start again with a new batch and a new clean jar.
- After the 2-4 weeks has passed, use a strainer to separate the liquid from the apple pieces. Pour the liquid back into the jar and discard the apple pieces (they are excellent for your compost!). You can give your vinegar a taste at this point, but it will probably be fairly sweet and missing that distinct vinegar flavor. Place the coffee filter/cheesecloth back on the jar and let it sit for another 2-4 weeks until it develops that distinctive vinegar flavor and smell.
- Once your apple cider vinegar has reached the desired flavor, place a lid on the jar and store it in your fridge (this will stop the fermentation process). Use your delicious apple cider vinegar for teas, backing, salad dressings, etc!
Some additional notes from my experience:
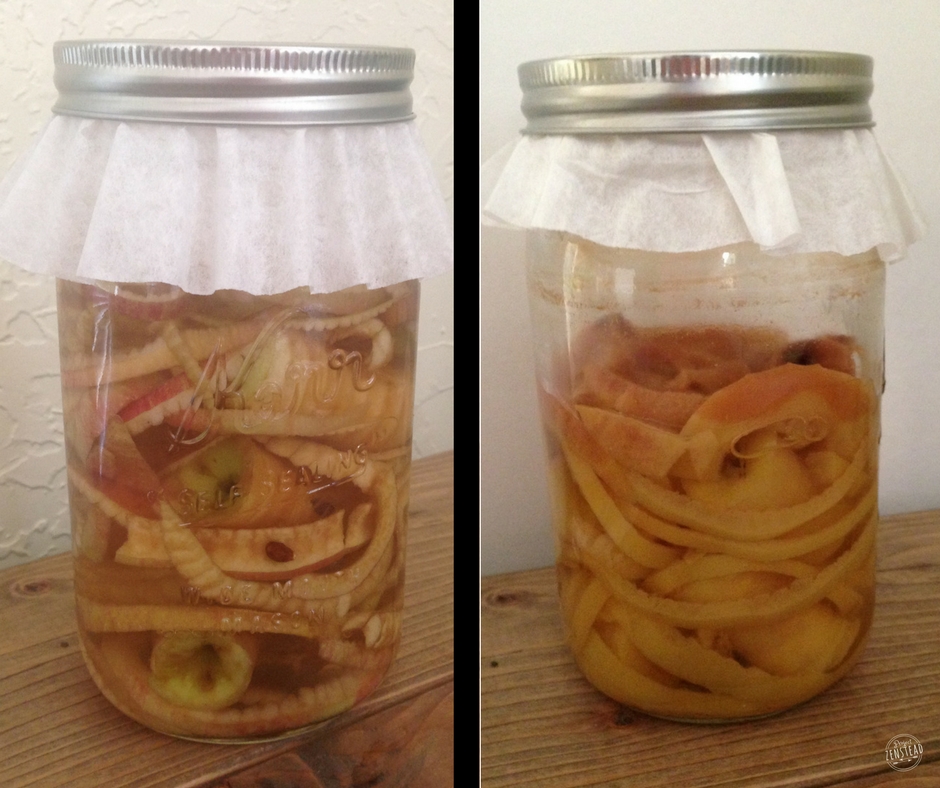
- I noticed the liquid volume was reduced during the fermentation process. Below is a picture of the jar immediately after I filled it with the apples and water-sugar solution and then a picture of the same jar about four weeks later (before I strained out the apple pieces). Notice also that in the second picture, some of my peels are popping out of the liquid – this is why it’s important to use a fermentation weight or to push the apple pieces back into the water regularly.
- I didn’t get “the mother” to develop on my jars, which is just fine (maybe next time!). But if you do see the white scummy stuff floating at the top of your jar, don’t throw it away when you strain the apples. You can leave it in the jar with the liquid or move it to a new batch of ACV to help jump-start the fermentation process.
- The longer your ACV sits, the stronger the vinegar flavor will become. If you aren’t a fan of strong vinegar, you may want to taste-test your ACV once in a while during its second round of fermentation (after the peels are discarded). All in all, mine ended up fermenting for about two months until I deemed it ready to use. An added benefit of making your own ACV is being able to get the flavor exactly the way you like it!
Have you made your own apple cider vinegar before? Share your experience and tips in the comments below!
Like it? Pin it!


Loved the detailed instructions I’m on my second batch wondering why the acidic level is a 5.5 but it seemed weak. Love the flavor tho. and you exsplained thanks and I did get the white scummy its called a scoby. I have several in my gallon jar. NICE
Hey Kathy! I’m glad you enjoyed making it! I agree – the flavor is wonderful! 🙂 I’m learning that each batch is a little different depending on the type of apple used and how long it sits, etc. It’s a lot of fun to see how they will turn out! Enjoy!
Can this ACV be pressure canned for long-term storage? I’m a total newby to all things canning and homesteading. So much information, I sometimes feel so overwhelmed. Your Site is amazing, I’m so glad that I stumbled across it.
I have never heard of canning ACV. Honestly, it lasts quite a long time in the fridge or in a cool place (like a root cellar or basement). Vinegar will continue to ferment at a slow rate over time (even after you remove the apples) because of the mother culture in it. This is what keeps the product safe for use for long periods of time. So it’s hard to know just exactly how long it can last, but it definitely can last a long time if stored properly in a cool place away from heat and light. I make big batches of fire cider using ACV as a base and they last a year or more in our fridge without any issues. I’m sure they could last longer if we didn’t use them up! 🙂
Hope this helps! Thank you for stopping by! Let me know if there’s ever anything I can help you with!