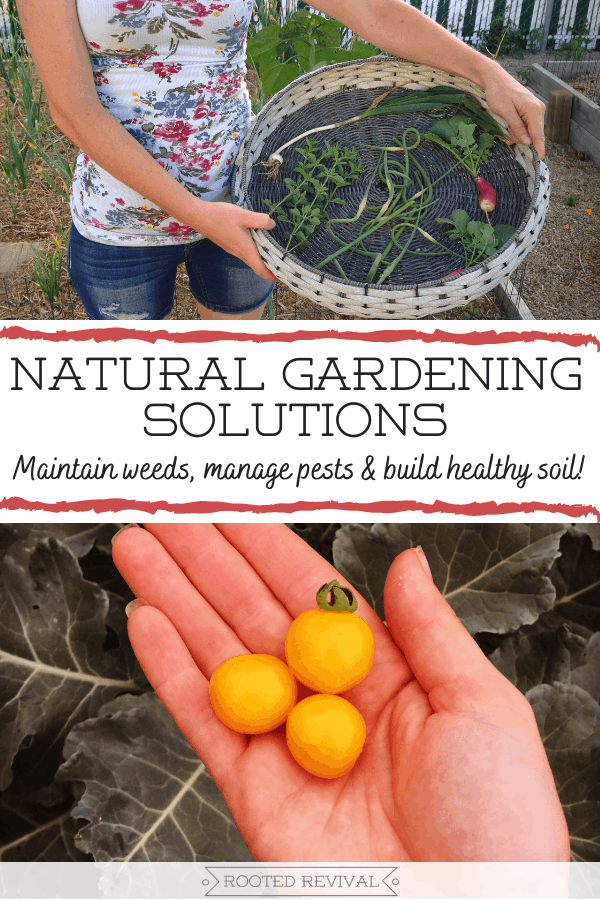
I’m sharing the most important natural gardening solutions that every new gardener should know, including effective solutions to manage pests, maintain weeds and build healthy garden soil!
Welcome to the wonderful world of natural gardening!
I am so excited that you are here and that you are ready to pump out the most awesome organic garden ever! But, real quick, I want to offer a little bit of advice.
You see, I was once a newbie gardener myself. I made every gardening mistake in the book! I made so many mistakes, in fact, that I swore off gardening all together for many years! Seriously, I could have been in the Bad Gardener Hall of Fame.
We all want to be successful at our endeavors and that includes our gardening endeavors. But gardening isn’t one of those things that you can instantly be successful at. I’m sorry to the bearer of bad news, but it’s true!
The good news is though, that every single skill you need to be successful at gardening boils down to just 3 things: creativity, adaptability and a willingness to learn. And those are skills that every person is capable of cultivating! Which means, that every person is capable of becoming a good gardener.
But, it’s just not going to happen overnight. There’s a lot to learn. And the best way to learn anything is by doing it wrong! But, hopefully you don’t need to make all the same mistakes I did to become a good gardener!
Today, I want to offer you some natural gardening solutions to help start your garden off on the right foot!
Natural Gardening Solutions Every New Gardener Should Know!
Most of the mistakes I see new gardeners make boil down to just three main areas: cultivating healthy soil, managing pests and maintaining weeds.
Paying a bit of attention to these three areas during your first years of gardening will make a world of difference and save you a lot of frustration! And hopefully it will also keep you from swearing off gardening like I did many years ago! Consider this post a jumping off post for further education as you grow as a gardener.
** I may receive a commission at no additional cost to you from purchases made through links in this article. Full Disclosure Link **
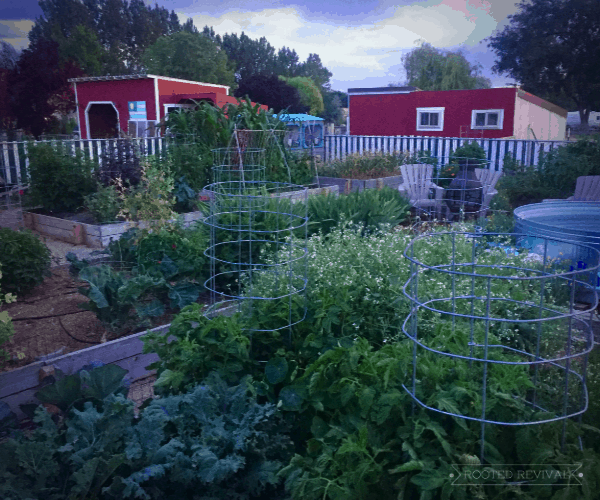
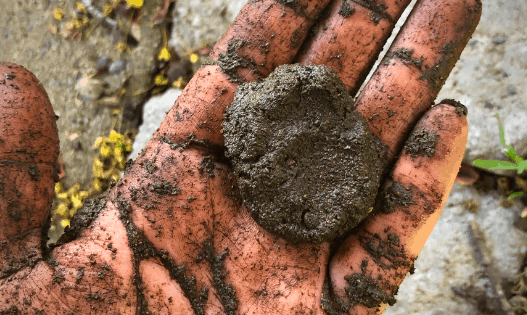
1. Focus on establishing healthy, living soil (which is the key to a productive garden):
Good soil isn’t born overnight! In fact, it can take years to establish a healthy living soil ecosystem. And, healthy soil is the number one factor that will make or break a garden!
Honestly, you should start to think about growing healthy soil rather than growing healthy produce. In fact, many plant diseases and fungal infections occur because of poor soil. Healthy produce is just a byproduct of healthy soils!
As you start learning more about gardening, make sure to take a deep dive into soil management. I highly recommend the book Teaming with Microbes: The Organic Gardener’s Guide to the Soil Food Web. It goes pretty in-depth but it will give you a clear understanding of how to create healthy soil ecosystems using natural methods.
Natural Gardening Solutions to Help Build Healthy Soil:
- Start with quality soil: Purchase high quality garden soil to fill raised beds or to till into your garden plot. This will help amend your native soil and give your plants a good start! You can also learn more about your native soil with this at home soil texture test.
- Mulch: Don’t ever leave that soil naked! Mulch, mulch, mulch! Use at least 3-4 inches of mulch to help prevent weed growth, protect your topsoil, and maintain consistent moisture levels. The mulch will break down over time to feed soil microorganisms and build soil levels. Just remember to pull the mulch back from the base of your plants to give them some breathing room. And stick with organic materials from sources you trust for your mulch. That could be old hay or animal bedding, arborist mulch, mulched leaves, grass clippings, etc.
- Amend in the Fall: Every fall (or in the early winter depending on your climate), top your soil with organic compost and organic matter. Mulched leaves are great for this. Stick with organic compost from a source you can trust. Don’t risk contaminating your soil with residual agrochemicals. Check out this post to learn more about how to care of your garden once the growing season ends.
- Don’t compact it: Avoid compacting the soil as much as possible. Establish designated pathways so that you don’t walk where you grow.
- Don’t disturb it: Avoid tilling after your initial garden area is prepared by using no-till gardening methods. This will help maintain the healthy soil web below the surface level.
- Don’t over-plant: Don’t overfill your beds the first year. Intensive planting methods are best saved for well-established gardens with rich soil that can support a lot of plants.
- Feed it: Use a natural compost tea or natural fertilizers (like the Epsoma organic fertilizer
line) as needed throughout the first few growing season. New soil is often nutritionally unbalanced, so plants may need some extra nutrients during the first couple years. Start learning the signs of plant nutrient deficiencies so that you can better give your plants the exact nutrients that they need.
- Cover it up: Consider sacrificing some of your growing space to grow a spring, summer or fall cover crop. If you have raised beds, consider alternating them by growing a cover crop rotationally in each bed. Cover crops, also known as green manure, are a great way to help establish healthy soils. High Mowing Organic Seeds has some great articles about cover crops for each season. Here’s one of their overview articles to get you acquainted with the benefits of cover cropping.
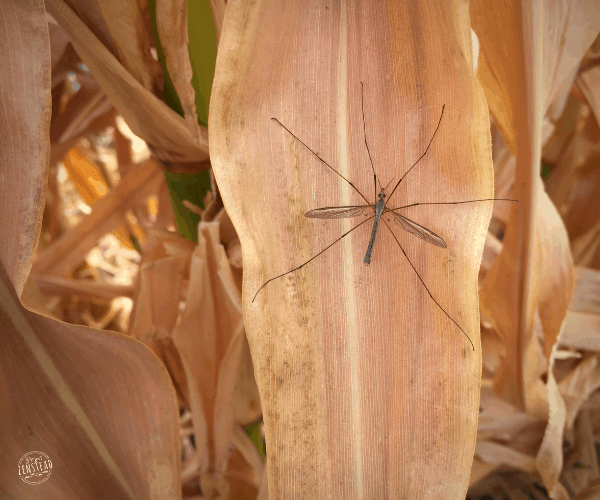
2. Realize that pests are normal & commit to using natural control methods
There’s a saying in the gardening community that says “If something isn’t eating your plants, then your garden isn’t part of an ecosystem”. And, since healthy garden ecosystems are our goal, it only make sense that nature would choose to visit our gardens in the form of little insects.
It’s important to realize that not all insects are bad either. For instance, earwigs and pillbugs can totally decimate a crop of new seedlings if their numbers get out of control. But, they are also important garden decomposers. They work hard to break down organic matter. This helps to condition the soil and makes the nutrients more bioavailable to plants and microorganisms.
Remember, ecosystems are always trying to return to balance. So, if you have a large amount of a certain kind of insect, it’s most likely a natural response to an imbalance. Pests generally move into an area en force to try to correct whatever is out of balance. Killing off the insects (especially using chemical methods, whether organic approved or not), is going to further put the ecosystem out of balance. And many pesticides are non-discriminate, meaning that they may also harm the good beneficial insects in your garden.
Natural Gardening Solutions to Help Control Pests:
- Only intervene when necessary: Pest damage is normal. A healthy, established plant can usually sustain a good deal of pest damage and still thrive. There are exceptions, however, like squash bugs which should be dealt with as quickly as possible by hand-picking. However, seeing some nibbles on most plants is not a cause for alarm. Monitor the situation to see if you need to intervene or not.
- Use companion planting: Interplanting with different species helps to confuse garden pests. It is also much harder for them to decimate an entire crop when it is spread throughout the garden rather than planted in a single row. Check out my Complete Guide Companion PlantingLINK for even more info!
- Rotate your crops: Don’t plant the same thing in the same spot each year. Depending on your climate, it can be very easy for insects to overwinter in garden soil. Rotating your crops will help reduce the amount of food available to them in the larvae stage.
- Use mechanical control methods: Mechanical controls should always be used before chemical control methods. Mechanical control are manual methods used to control pests. They include hand-picking, using floating row covers and using natural traps. Here’s some more great info on how to use mechanical controls and which ones to use for the type of pest you are dealing with.
3. Weeds will grow… but you can maintain them naturally!
Just like pests, weeds are going to be a normal part of your garden life. The good news is that not all weeds are bad! Many are even edible or medicinal! And, just like pests, weeds usually serve a unique purpose in helping to return an out-of-balance ecosystem back to equilibrium. Check out my other post to read more about the benefits of weeds.
Of course, there are some weeds that go a bit crazy and threaten to overtake our gardens. Luckily, there are a lot of natural ways to control weeds! In addition to the tips listed below, I also have an entire post all about how we control weeds naturally on our homestead.

Natural Gardening Solutions to Help Control Weeds:
- Mulch! Mulch is your first defense in the battle against the weeds. Three to six inches of mulch (bark, organic hay/straw, leaf mulch, etc.) can form a very effective weed barrier. This is one more great reason to never leave your soil naked. If you don’t cover it up – nature will!
- Sheet Mulch: If you have extra stubborn weeds, or if you are developing a new garden area, consider using a sheet mulch method. Cut weeds/plants low and then lay flattened cardboard boxes over the area. Cover the boxes with mulch or garden soil. Over time, the boxes will kill the weed growth as they break down. Plus, earthworms love to feed off of cardboard!
- Solarize: Solarizing is an effective way to prepare an extra weedy area in advance of gardening. Solarizing involves covering the soil and weeds with a membrane such as black plastic or a tarp and leaving it in place for a few days to a few weeks until the plants are dead.
- Hand Pulling: For garden beds, hand pulling weeds as often as possible is usually the best and least disruptive solution. I prefer to pull weeds when they are very young. Since they haven’t formed flowers or seeds yet, I just drop them back into the mulch where they will break down to nourish the soil.
- Get familiar with them: Learn the basics of plant identification so that you can start identifying the weeds you most often deal with. Understanding more about the weeds will help you better know how to manage them. If you are unsure of a plant, you can use a free plant ID app like Leaf Snap, which is my favorite! Just be sure to do further homework to make sure you identify the plant correctly as there are many look-alikes!
- Realize it takes time to break the cycle: Breaking the cycle of an established weed crop can sometimes take years, depending on the plant and the way that it spreads. Consistency is the absolute key to success!
Pin it to save it for later!


So any suggestions on cucumbers trellises ?? I have raised beds in back yard and seems either too big or too small or they don’t use the actually designed guides for then to grow …
I love to make trellises using old tree branches. I generally support them with t-posts. They have a great natural look and last a year or two. I also have made a few using metal fencing panels (like hog panels) and supported them with t-posts. They hold up very well and can be used over and over!
We most definitely need to work on the health of our soil. We have limited areas to garden and I think they’re just overworked. Thanks for the great tips.
Taking care of that soil is key – especially in small garden spaces because there isn’t as much opportunity to let it rest or to rotate garden spaces. You definitely won’t regret investing in it!