The harvest is the result of our hard work almost all year long. It’s a shame when you don’t get to eat it all! This is where harvest preservation techniques come to our aid, which, believe me, I have devoted a good third of my life as a homesteader to. How to preserve the harvest? What do I pay attention to? Which method is right for you? In this article I will try to answer all these questions. I will try to combine my personal experience and what I have learned from books and profile magazines!
Canning: A Time-Honored Preservation Method
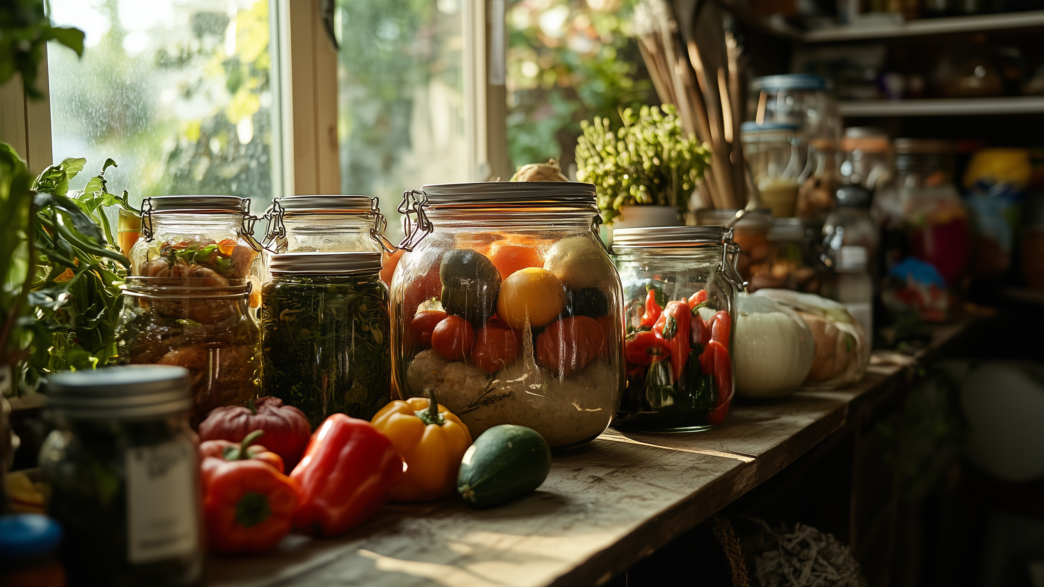
If you’ve ever wished you could taste summer in the dead of winter, canning might just be your new best friend. This method has been passed down through generations, and for good reason—it’s a fantastic way to preserve your garden’s produce.
Start by choosing the freshest, highest-quality fruits and veggies. Trust me, you’ll want to avoid anything that’s bruised or overly ripe, as it can spoil more easily. For beginners, tomatoes and jams are a great place to start, especially with water bath canning, which works well because of their high acidity. For low-acid veggies, though, you’ll need to go with pressure canning.
Here’s a tip: proper preparation, pay attention to it! Make sure you sterilize your jars (here is the guide how to vacuum seal them) to avoid contamination, and always ensure a good seal to lock in freshness. And there’s nothing quite like the satisfaction of hearing that “pop” when the lids seal—it’s like a little victory dance in the kitchen! Following these steps will keep your canned goods safe and delicious.
Freeze-Drying: The Ultimate in Long-Term Preservation
Freeze-drying, a process that sounds fancy but is actually quite straightforward. We are removing moisture through sublimation—turning ice directly into vapor. This method keeps the cellular structure of your produce intact, resulting in light, crisp, and shelf-stable goodies.
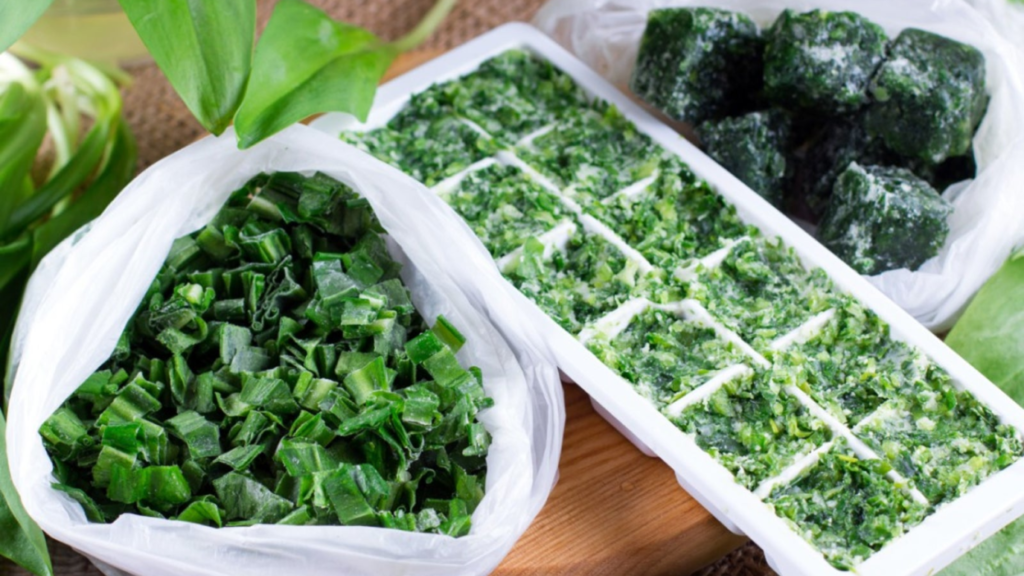
Find freeze dryers for sale to start preserving your harvest. I absolutely love this method because it’s so versatile. I’m talking from a real experience. Whether you’re working with strawberries, green beans, or anything in between, the results are always impressive. Once the moisture is out, you can store your produce in vacuum-sealed bags or jars, where it’ll last for decades without losing its quality. And when you’re ready to use it, just rehydrate it and enjoy that original texture and flavor!
While getting a home freeze-dryer might seem like a big investment, the long-term benefits are definitely worth it. You’ll be able to preserve a wide variety of foods, reduce waste, and always have something delicious on hand. Plus, if you shop around, you can find affordable options that don’t skimp on quality.
Fermentation: The Probiotic Boost
If you’re looking for a way to add a little zing to your preserved foods, fermentation is the way to go. I know, it sounds a bit intimidating at first, but trust me—it’s easier than you think, and the results are both tasty and good for your gut health.
Here’s how I do it: I start by chopping my fruits or veggies into bite-sized pieces. It makes them easier to eat and store. Then, I mix them with salt, which is the secret ingredient that draws out their natural juices. Pack everything tightly into a jar, let it sit, and let nature do its thing. Over the next few days, beneficial bacteria work their magic, turning your produce into crunchy, flavorful bites that are rich in probiotics.
What’s great about fermentation is how customizable it is. You can play around with different vegetables, spices, and even fruits to create flavors that are uniquely yours. Whether you’re into the tang of sauerkraut or the bold flavors of kimchi, the sky’s the limit.
Dehydrating: Concentrate the Flavor
Dehydrating is another method that’s both simple and effective. If you’ve got a dehydrator (and if you don’t, I highly recommend getting one), it can become your best friend in the kitchen.
I often make dehydrated apple slices—they’re a healthy, crunchy snack that everyone loves. And if you’re like me and enjoy entertaining, dehydrated oranges and lemons are fantastic additions to both cocktails and mocktails. I also love drying fresh herbs like oregano, sage, and thyme—nothing beats having your own homegrown herbs on hand year-round!
This method is great if you’re looking to keep things low-tech and straightforward. You don’t need any fancy equipment, and the process is easy to master, even if you’re new to it. It does take a few hours, but the wait is totally worth it!
And the best part? Dehydrating concentrates the flavors, making everything taste more intense and delicious. Whether you’re tossing dried tomatoes into pasta or adding dehydrated strawberries to your morning oatmeal, you’re in for a flavor explosion!
Root Cellaring: Nature’s Refrigerator
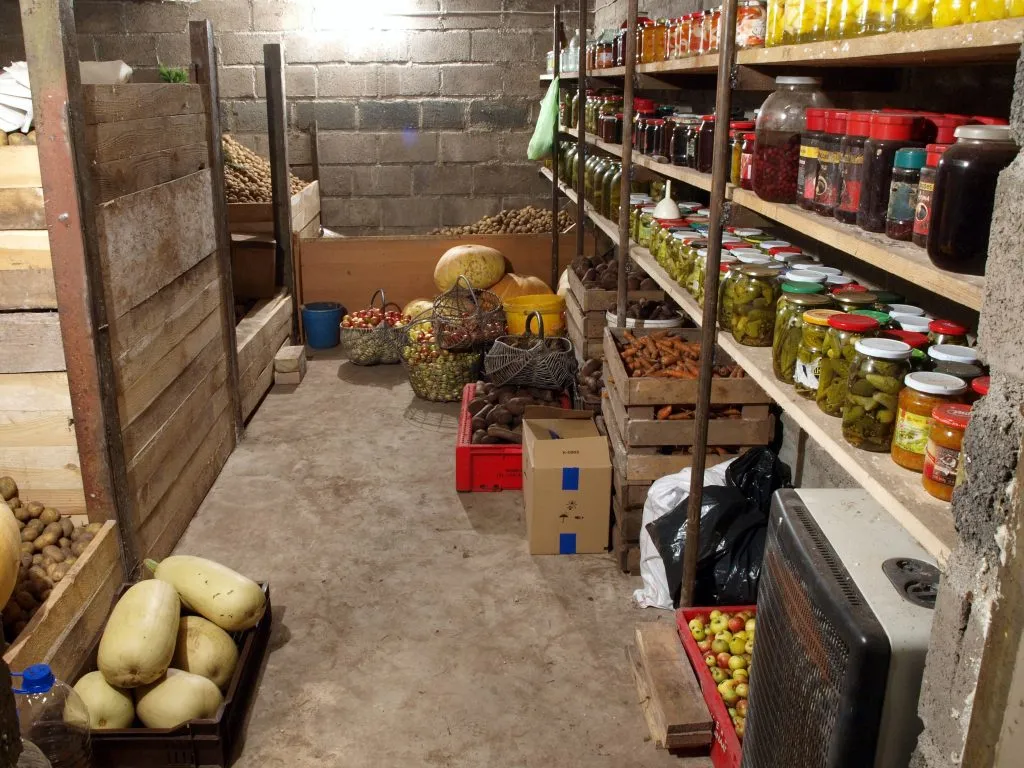
If you’ve never tried root cellaring, you’re in for a treat. This old-school method is as simple as it gets, yet it’s incredibly effective. The idea is to store your fresh produce somewhere dark, cool, and humid—basically, letting the Earth do the work for you.
You don’t need a fancy setup. A cool corner of your basement, a spot in the garage, or even a buried barrel can work wonders. Once everything is stored, there’s not much left to do—just check in occasionally and grab what you need for dinner.
Let’s get a bit technical for a moment. The ideal temperature for your makeshift cellar is about 32 to 40 degrees Fahrenheit, with humidity levels around 85 to 95%. However, you might need to tweak these conditions depending on the crops you’re working with.
So, what should you store in your root cellar? My go-tos are potatoes, carrots, beets, onions, garlic, cabbage, and turnips. They’re great as side dishes, and I also love adding them to salads, soups, and pies. Trust me, once you start root cellaring, you’ll wonder why you didn’t do it sooner.
Try It Yourself. Become Preserver.
Don’t let all that hard work in the garden go to waste! And you don’t have to rush to eat everything or give it all away. With the right preservation methods, you can keep your harvest fresh for months—even years! From freeze-dried berries to home-canned tomatoes, there are endless possibilities.