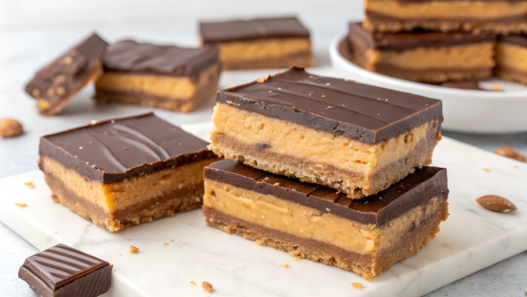
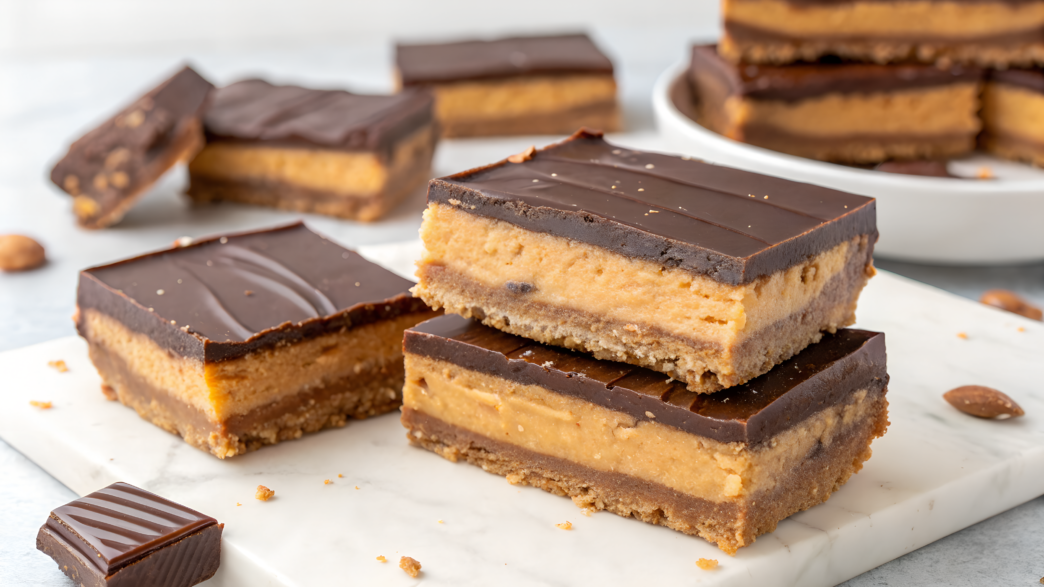
Some desserts I make once out of curiosity and then happily forget about them. With homemade Reeses cups bars, it was exactly the opposite. I kept coming back to them, changing little things, writing down the proportions that worked, and at some point I realized I had built up a whole collection of recipes.
Lindy and I like them well chilled and cut into pretty thick pieces. The peanut butter filling stays soft, there’s chocolate on top, and it’s always nice to find a container in the fridge with a couple of squares left. Although that doesn’t happen quite as often as I’d like.
In this article, I’ve put together 10 Homemade Reeses Cups Bars With Thick Layers and Clean Slices that I’ve actually made and will keep making. Not just for the sake of experimenting or putting together a long list of recipes, but because every one of them turned out delicious and deserves a spot here.
1. No bake homemade Reeses cups bars with graham cracker base
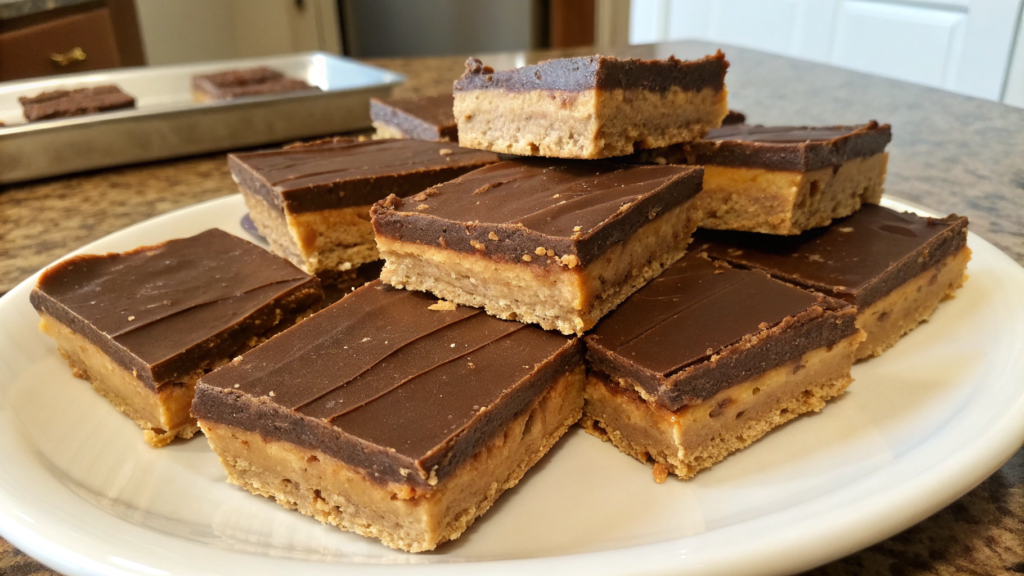
I’ve made these bars so many times that I stopped pulling out the recipe and checking it as I go a long time ago. Once chilled, I cut the whole slab into thick, neat pieces, and they don’t fall apart in your hands.
This dessert doesn’t need an oven, and a couple of small details make a noticeable difference in the texture. Especially the size of the crumbs and how firmly you press down the base.
Ingredients
For an 8 × 8-inch pan (20 × 20 cm), you’ll need:
- 1½ cups fine graham cracker crumbs (about 150 g);
- 1 cup smooth peanut butter (250 g);
- ½ cup melted butter (113 g);
- 1 cup powdered sugar (120 g);
- 1½ cups semisweet chocolate (about 255 g);
- 2 tablespoons peanut butter for the top layer.
I use regular honey graham crackers without cinnamon or any extra flavoring. For example, honey graham crackers like HONEY MAID Graham Crackers on Amazon.
How to make
- Crush the graham crackers. I try to get them almost to a sand-like texture. A few small pieces are fine, but there shouldn’t be many large ones. The more even the crumbs are, the easier it is to get clean slices later.
- Mix the base. Combine the graham cracker crumbs, 1 cup of peanut butter, melted butter, and powdered sugar. Mix until the mixture is smooth and dense.
- Press it firmly into the bottom of the pan. First, line the pan with parchment paper, leaving some overhang on the sides so you can easily lift out the whole slab later. I usually spread the mixture out with my hands first, then go over the surface a few times with the flat bottom of a measuring cup. Press the base down well. If you just spread the crumbs around the pan and press them lightly, the base will crumble when you cut it.
- Make the chocolate layer. Melt the chocolate with 2 tablespoons of peanut butter and stir until smooth. Pour it over the top and spread it all the way to the edges with a spatula.
- Chill the bars. Put the pan in the fridge for about 2 hours, until both layers are firm.
I don’t cut the slab as soon as it comes out of the fridge. I leave it on the counter for about 10 minutes, then use a large sharp knife. If filling or chocolate sticks to the blade, I simply wipe the knife before making the next cut. This keeps the slices neater and helps the chocolate on top crack less.
These bars usually don’t last very long in our house.
2. Keto homemade Reeses cups bars with almond flour crust
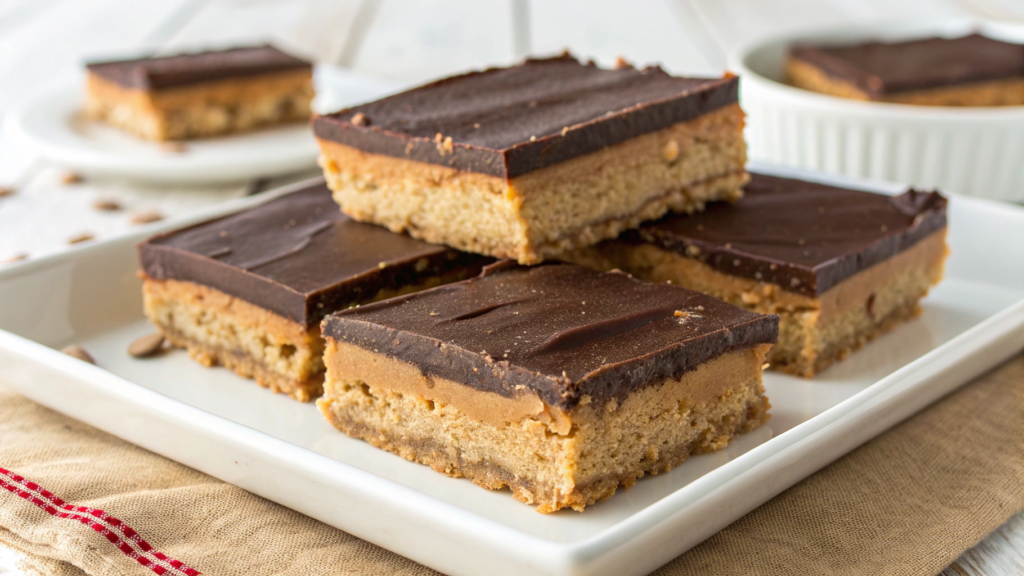
In these homemade Reeses cups bars, I build every layer with ingredients that work for a keto dessert. The base is made with almond flour, I use peanut butter with no added sugar, and the top is finished with sugar-free chocolate. The bars have a thin almond crust, a thick peanut butter layer, and chocolate on top.
It took me a little experimenting with almond flour before I found the right amount of butter. A couple of times the base turned out too oily, so now I always measure it carefully. This is one of those recipes where I don’t like to eyeball anything.
Ingredients
For an 8 × 8-inch pan (20 × 20 cm), you’ll need:
- 1½ cups finely ground blanched almond flour (about 145 g);
- ¼ cup melted butter (57 g);
- 2 tablespoons granulated keto sweetener;
- a pinch of salt;
- 1 cup smooth peanut butter with no added sugar (about 250 g);
- ⅓ cup powdered keto sweetener;
- 1 tablespoon melted butter for the peanut butter layer;
- 1 cup chocolate chips with no added sugar (about 170 g);
- 1 tablespoon coconut oil.
And for the base, I use finely ground blanched flour. For example, almond flour. A coarser grind will work too, but the crust will have a rougher texture.
How to make
- Mix the base. Combine the almond flour, ¼ cup melted butter, granulated sweetener, and a pinch of salt. The mixture should look like damp crumbs and hold together easily when you squeeze it between your fingers.
- Shape the crust. Line the pan with parchment paper and spread the mixture evenly across the bottom. Press it down well with your hands or the flat bottom of a measuring cup. I try to keep the layer thin and even all the way across.
- Make the peanut butter filling. Mix the peanut butter, powdered sweetener, and 1 tablespoon of melted butter. I add the sweetener gradually because the thickness of peanut butter can vary from one brand to another.
- Spread the filling over the crust. Add it in small portions and gently smooth it out with a spatula. You don’t need to press hard, or you may shift the almond base underneath.
- Make the chocolate layer. Melt the chocolate with the coconut oil and stir until smooth. Pour it over the top and spread it into a thin, even layer.
- Chill the bars. Put the pan in the fridge for at least 2–3 hours. Before slicing, leave it on the counter for about 5–10 minutes. This helps the crust cut more cleanly and keeps the chocolate from cracking as much.
You can really see the proportions here. The almond crust stays thin, there’s noticeably more peanut butter filling, and just a small amount of chocolate on top. Lindy prefers them this way.
I keep the finished pieces in a sealed container in the fridge for almost a week. Before serving, I leave them on the counter for a few minutes so the peanut butter layer softens slightly. And it doesn’t feel like you had to give up anything in flavor just to skip the sugar.
3. Sugar free homemade Reeses cups bars sweetened with allulose
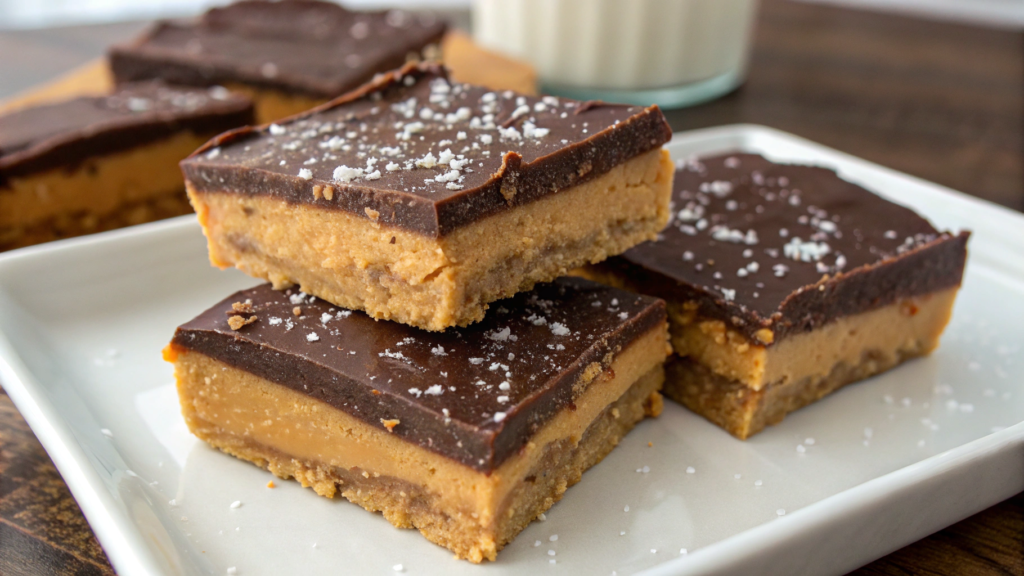
Sweeteners often make themselves noticeable with an aftertaste or little grains in the filling, and in peanut butter chocolate bars, you notice that right away. This version turned out to be much easier. Allulose mixes well with peanut butter, and the filling stays smooth after chilling.
This version has no added sugar at all. For the peanut butter layer, I use powdered allulose, and for the top, sugar-free chocolate.
Ingredients
For an 8 × 8-inch pan (20 × 20 cm), you’ll need:
- 1½ cups finely crushed graham crackers with no added sugar (about 150 g);
- ½ cup melted butter (113 g);
- 1 cup smooth peanut butter with no added sugar (about 250 g);
- ⅓ cup powdered allulose (about 55 g);
- ½ teaspoon vanilla extract;
- a pinch of salt;
- 1½ cups chocolate chips with no added sugar (about 255 g);
- 2 tablespoons peanut butter for the chocolate layer.
I prefer to buy allulose already finely powdered. That way, I don’t have to grind it at home, and there definitely won’t be any separate crystals left in the peanut butter mixture.
How to make
- Prepare the base. Mix the graham cracker crumbs with the melted butter. The mixture should become moist and hold together when pressed. Transfer it to a pan lined with parchment paper and press it firmly into the bottom.
- Make the peanut butter layer. Combine the peanut butter, vanilla, salt, and about half of the allulose first. Mix well, taste it, and only then add the rest. It really is easier to add another spoonful than to fix a filling that has already become too sweet.
- Spread the filling. Spoon the peanut butter mixture over the base and smooth it out with a spatula. If the peanut butter was very soft, you can put the pan in the fridge for about 15 minutes before adding the chocolate.
- Melt the chocolate. Add 2 tablespoons of peanut butter to the chocolate chips and heat in short intervals, stirring each time. Once the mixture is smooth, spread it over the top.
- Chill the bars. Put the pan in the fridge for about 2 hours. Before slicing, let the slab sit on the counter for 5–10 minutes and cut it with a sharp knife.
I keep the finished bars in a sealed container in the fridge for up to 7 days. You can place parchment paper between the layers if you stack the pieces on top of each other. Before serving, I leave them on the counter for about 5 minutes so the peanut butter filling softens slightly.
With allulose, the main thing I worried about was the sweetener tasting separate from the peanut butter. But after chilling, the filling stays smooth and free of any graininess, while the flavor still feels like a familiar chocolate-peanut butter dessert rather than a substitute you eat just because you’re on a diet.
4. Protein homemade Reeses cups bars with whey and peanut butter
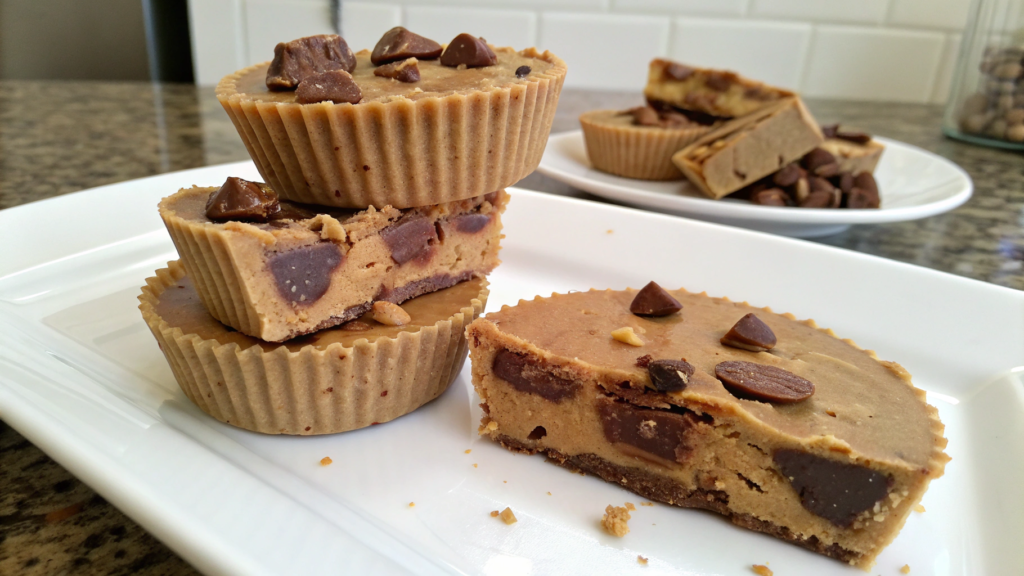
For a long time, I thought of protein bars as something very sporty and not very homemade at all. Then I thought, why not make a version with the same peanut butter and chocolate combination we already love? So we decided to do it!
In this recipe, we add extra protein while still keeping a normal dessert texture. It took a little experimenting, but eventually I found the right proportions.
Ingredients
For an 8 × 8-inch pan (20 × 20 cm), you’ll need:
- 1½ cups fine graham cracker crumbs (about 150 g);
- ½ cup melted butter (113 g);
- 1 cup smooth peanut butter (about 250 g);
- ½ cup whey protein (about 45–55 g);
- ¼ cup powdered sugar (30 g);
- 2–4 tablespoons milk;
- ½ teaspoon vanilla extract;
- a pinch of salt;
- 1½ cups semisweet chocolate (about 255 g);
- 2 tablespoons peanut butter for the top layer.
This recipe, it’s easier to use a protein powder with a short, straightforward ingredient list. For example, whey protein such as Optimum Nutrition Gold Standard 100% Whey on Amazon.
How to make
- Make the base. Mix the graham cracker crumbs with the melted butter. Transfer to a pan lined with parchment paper and press firmly into the bottom.
- Mix the peanut butter filling. Combine the peanut butter, powdered sugar, vanilla, and about three quarters of the protein powder. Mix and check the consistency. The mixture should be thick but still easy to spread with a spatula.
- Adjust the consistency. Add the remaining protein powder in small portions. If the filling becomes a little dry and starts to crumble, mix in 1 tablespoon of milk. I usually need 2–3 tablespoons, but a lot depends on the protein powder itself.
- Spread the peanut butter layer. Spoon it over the base and smooth it out. I don’t press it down as firmly as the bottom layer. Just gently go over it with a spatula and even out the surface.
- Add the chocolate. Melt the chocolate with 2 tablespoons of peanut butter and spread it over the top in a thin layer.
- Chill. Put the pan in the fridge for about 2 hours. Before slicing, let the slab sit at room temperature for 5–10 minutes.
You only need a moderate amount of whey protein here. Half a cup is enough to make the filling firmer and add more protein to the bars, while the flavor still stays like a regular peanut butter and chocolate dessert. After chilling, the filling holds its shape well and stays soft when you bite into it.
Storage. I keep the finished bars in a sealed container in the fridge for up to 5–7 days. If I stack them in two layers, I place parchment paper between them so the chocolate doesn’t stick to the neighboring pieces.
I usually cut this slab into small rectangles rather than large squares. They’re pretty filling, and one piece is enough for me with coffee after lunch. As always, Lindy prefers to grab hers straight from the fridge, while I leave mine on the counter for about five minutes so the peanut butter layer softens a little. For a protein bar, that’s exactly the texture I want.
5. PB2 homemade Reeses cups bars with fudge like texture
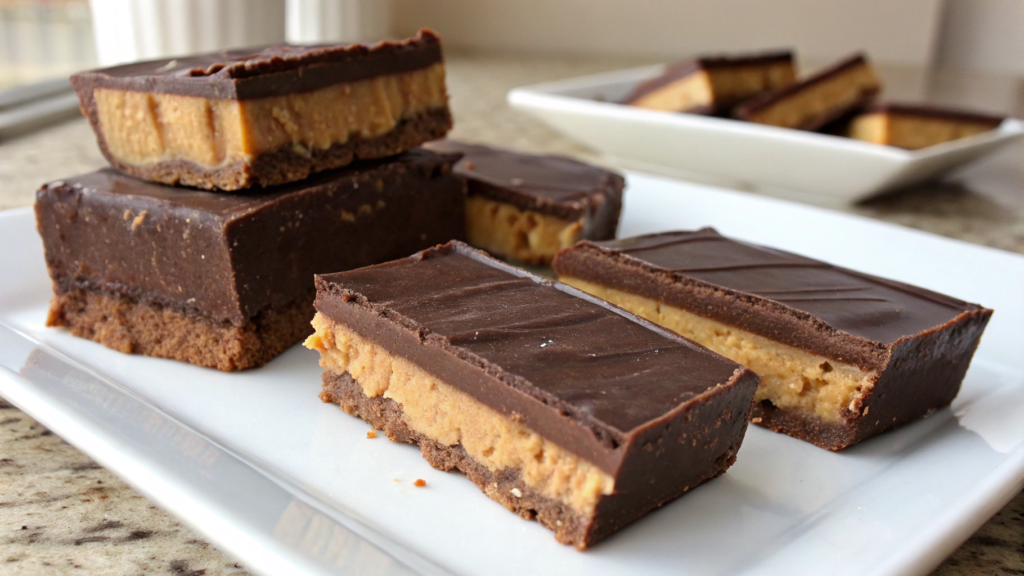
I always thought PB2 made sense in drinks and oatmeal, but I didn’t really understand why you’d need it in desserts when regular peanut butter already exists. Later I realized that PB2 makes the peanut butter layer thicker and smoother, almost like soft fudge, while the flavor still stays very familiar.
After chilling, the filling should hold its shape and slice easily while staying soft inside.
Ingredients
For an 8 × 8-inch pan (20 × 20 cm), you’ll need:
- 1½ cups fine graham cracker crumbs (about 150 g);
- ½ cup melted butter (113 g);
- ¾ cup smooth peanut butter (about 190 g);
- ½ cup PB2 (about 50 g);
- ½ cup powdered sugar (60 g);
- 3–5 tablespoons milk;
- ½ teaspoon vanilla extract;
- a pinch of salt;
- 1½ cups semisweet chocolate (about 255 g);
- 2 tablespoons peanut butter for the top layer.
How to make
- Prepare the base. Mix the graham cracker crumbs with the melted butter, transfer to a pan lined with parchment paper, and press firmly into the bottom.
- Make the peanut butter mixture. Combine the peanut butter, PB2, powdered sugar, vanilla, and salt. Start with 3 tablespoons of milk and mix well.
- Check the consistency. The mixture should be thick, smooth, and slowly slide off the spatula. If it’s too thick, add another 1–2 tablespoons of milk. Here, it’s better to go by the texture rather than an exact amount of liquid.
- Spread the layer over the base. Spoon the peanut butter mixture over the base and smooth it out with a spatula. It should form a thick, even layer without cracks on the surface.
- Add the chocolate. Melt the chocolate with 2 tablespoons of peanut butter and spread it over the top in a thin layer.
- Chill. Put the pan in the fridge for about 2–3 hours. Before slicing, leave the bars on the counter for a few minutes.
PB2 absorbs some of the moisture and oil from the peanut butter, so the filling becomes firmer and more uniform after chilling. This gives you an almost smooth cut without crumbs or loose edges.
Storage. I keep the finished bars in a sealed container in the fridge for up to 5–7 days. If I stack them in several layers, I place parchment paper between them so they keep their neat shape better.
In this version, PB2 gives the peanut butter filling that thick, smooth texture, and after chilling it turns almost like soft fudge. That’s exactly what I wanted from these bars. And it worked!
6. Homemade Reeses cups bars with no powdered sugar binding trick
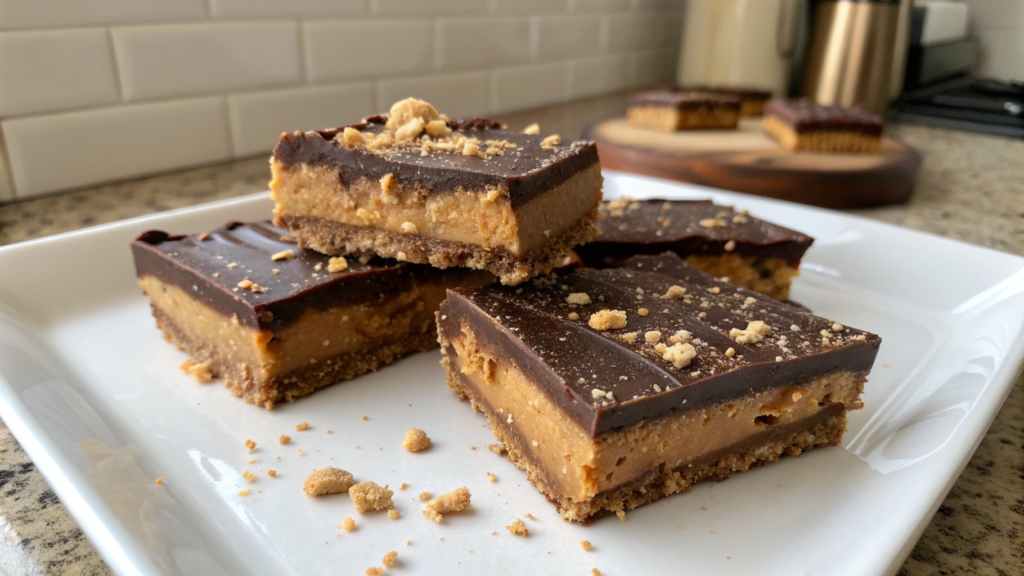
Powdered sugar adds sweetness to the peanut butter filling and helps the mixture hold its shape. I used to think it was almost essential for bars like these, but after making the filling without it a few times, I realized that you can get the same firmness another way, using a combination of peanut butter and finely crushed graham crackers.
The crumbs absorb some of the oil from the peanut butter, so the filling firms up on its own after chilling. It’s simple and doesn’t add extra sugar.
Ingredients
For an 8 × 8-inch pan (20 × 20 cm), you’ll need:
- 1½ cups fine graham cracker crumbs (about 150 g);
- ½ cup melted butter (113 g);
- 1¼ cups smooth peanut butter (about 310 g);
- ¾ cup very fine graham cracker crumbs for the peanut butter layer (about 75 g);
- 2 tablespoons maple syrup;
- ½ teaspoon vanilla extract;
- a pinch of salt;
- 1½ cups semisweet chocolate (about 255 g);
- 2 tablespoons peanut butter for the top layer.
For this filling, it’s easiest to use crackers that can be ground almost into flour, such as honey graham crackers.
How to make
- Make the base. Mix 1½ cups of graham cracker crumbs with the melted butter. The crumbs should be evenly moistened and hold together when pressed. Transfer the mixture to a pan lined with parchment paper and press it firmly into the bottom.
- Prepare the peanut butter filling. Combine the peanut butter, maple syrup, vanilla, and salt. Add ¾ cup of very fine graham cracker crumbs and mix well so there are no dry spots left.
- Let the mixture sit for 5 minutes. During this time, the crumbs will absorb some of the oil from the peanut butter, and the filling will become firmer. After that, it should spread easily with a spatula without running.
- Add the peanut butter layer. Spoon the filling over the base in small portions and gently smooth it out. This keeps the bottom layer from shifting as much and makes the thickness more even across the pan.
- Add the chocolate. Melt the chocolate with 2 tablespoons of peanut butter, stir until smooth, and spread it over the top. I try to take the chocolate all the way to the edges so every piece has chocolate on top after slicing.
- Chill and slice. Put the pan in the fridge for 2–3 hours. Then let the slab sit on the counter for a few minutes and cut it with a sharp knife. This helps the chocolate crack less and keeps the peanut butter layer looking neat.
Storage. I transfer the finished bars to a container with a tight-fitting lid and keep them in the fridge for up to 7 days. If I stack them in two layers, I put parchment paper between them so the chocolate doesn’t stick to the neighboring pieces. The filling gets firmer in the fridge, so before serving, it’s best to leave the bars on the counter for 5–10 minutes.
Lindy and I both love peanut butter desserts, and here we appreciate that the sweetness stays pretty moderate. Without powdered sugar, the peanut butter layer doesn’t taste overly sweet, and the chocolate on top is enough to keep the whole thing firmly in dessert territory. I don’t think there’s anything else I’d change here.
7. Healthy homemade Reeses cups bars with date peanut butter layer
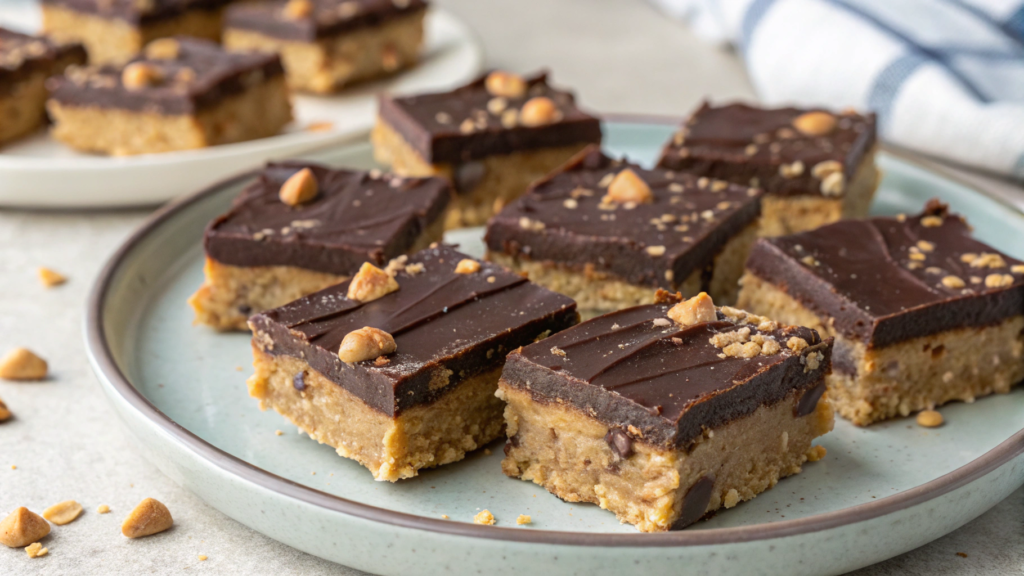
We love dates, and we almost always have some sitting somewhere in the pantry. Lindy eats them as they are, while I usually use them in desserts because once blended, they turn into a thick, almost caramel-like mixture. With peanut butter, the combination is really delicious.
I think of this version as one of the simpler homemade treats ingredient-wise. The dates provide the sweetness, while the nuts, oats, and dark chocolate add their own textures. The bars are pretty filling, so I usually cut them into small squares.
Ingredients
For an 8 × 8-inch pan (20 × 20 cm), you’ll need:
- 1 cup rolled oats (about 90 g);
- ½ cup almond flour (about 50 g);
- ¼ cup peanut butter (about 65 g) for the base;
- 2 tablespoons maple syrup;
- 10–12 soft pitted Medjool dates (about 180–200 g);
- ¾ cup smooth peanut butter (about 190 g);
- ½ teaspoon vanilla extract;
- a pinch of salt;
- 1–2 tablespoons warm water, if needed;
- 1 cup dark chocolate (about 170 g);
- 1 tablespoon coconut oil.
I always use large, soft Medjool dates for this recipe.
How to make
- Prepare the base. Grind the oats into a coarse flour and mix them with the almond flour, ¼ cup peanut butter, and maple syrup. The mixture should hold together when you press it between your fingers. Spread it in a pan lined with parchment paper and press it firmly into the bottom.
- Blend the dates. Remove the pits and put the dates in a food processor. Pulse a few times until they come together into a thick, sticky mixture. If the dates are a little dry, add a tablespoon of warm water and process again.
- Add the peanut butter. Add ¾ cup peanut butter, vanilla, and a pinch of salt to the dates. Process for about another minute, stopping once or twice to scrape down the sides. The finished mixture should be thick and easy to spread with a spatula.
- Assemble the bars. Spoon the date-peanut butter mixture over the base in small portions, then gently spread them together into one even layer. The spatula can get a little sticky, so I sometimes lightly wet it with water.
- Cover with chocolate. Melt the dark chocolate with the coconut oil and stir until smooth. Pour it over the top and spread it into a thin layer all the way to the edges.
- Chill and slice. Put the pan in the fridge for 2–3 hours. Once the layers are firm, lift the slab out by the edges of the parchment paper and cut it into small squares with a sharp knife.
If your dates are very soft, you may not need to add any water to the filling at all. Here, I just watch the mixture in the food processor. It should come together and spread easily without running across the pan.
Storage. I keep the bars in a sealed container in the fridge for about 5–7 days. The date layer stays soft even after a good chill, so you can eat the sliced bars straight from the fridge. If you want the chocolate to soften a little, just leave them on the counter for a few minutes.
This is one of our favorite desserts. Dates provide plenty of sweetness, so there’s no need to add sugar or powdered sugar to the peanut butter layer. We’ve been trying to eat less sugar lately, so this recipe works really well for us. But we still watch how many we eat!
8. Chocolate shell homemade Reeses cups bars with coconut oil snap
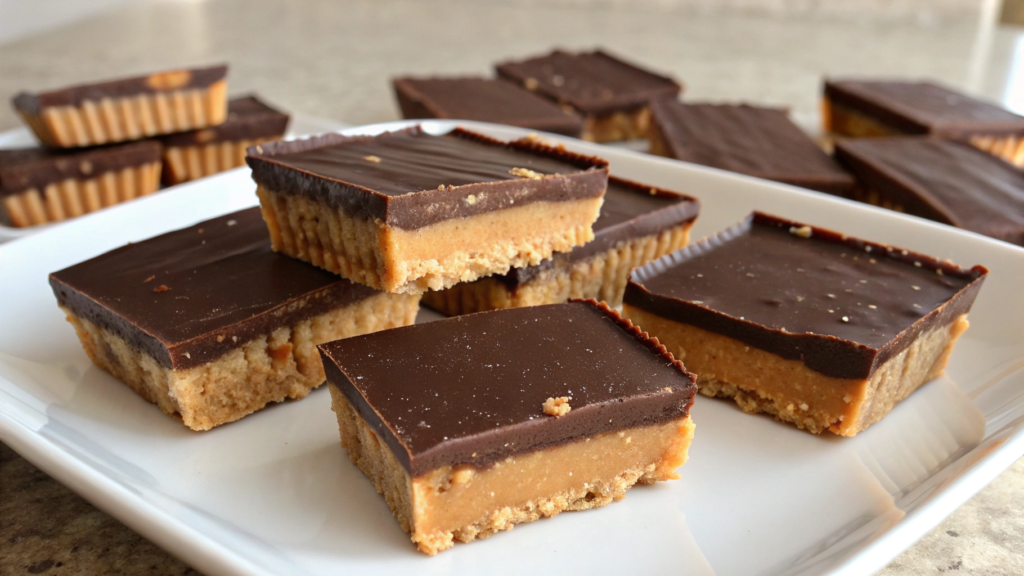
As I often mention, Lindy likes chocolate straight from the fridge, when it’s still firm and breaks with a light snap. I usually let mine warm up a little, but I make an exception for these bars. Here, that thin, crisp chocolate layer over the soft peanut butter filling is especially good.
For that texture, I add a little coconut oil to the chocolate. It firms up again with the chocolate in the fridge, so the top turns thin and crisp. You only need a small amount of oil. We want a chocolate shell, not a soft glaze.
Ingredients
For an 8 × 8-inch pan (20 × 20 cm), you’ll need:
- 1½ cups fine graham cracker crumbs (about 150 g);
- ½ cup melted butter (113 g);
- 1 cup smooth peanut butter (about 250 g);
- ¾ cup powdered sugar (about 90 g);
- ½ teaspoon vanilla extract;
- a pinch of salt;
- 1½ cups semisweet or dark chocolate (about 255 g);
- 1½ tablespoons coconut oil.
I use regular Nutiva Organic Steam Refined Coconut Oil on Amazon.
How to make
- Make the base. Mix the graham cracker crumbs with the melted butter. Once all the crumbs are evenly moistened, transfer the mixture to a pan lined with parchment paper and press it firmly into the bottom.
- Make the peanut butter layer. Combine the peanut butter, powdered sugar, vanilla, and salt. Mix until the mixture is thick and smooth. Spread it over the base and level it with a spatula.
- Chill the base and filling for about 20 minutes. The surface of the peanut butter layer should feel cool and firm. This makes it easier to spread the warm chocolate on top without mixing the two layers around the edges.
- Melt the chocolate with the coconut oil. Heat them in short intervals, stirring after each one. Once the mixture is smooth, stop heating. There’s no need to keep the chocolate in the microwave any longer.
- Make the thin shell. Pour the chocolate over the chilled peanut butter layer and quickly spread it to the edges. I try not to make the top too thick. A thin layer snaps more nicely after chilling and is easier to slice.
- Chill and slice. Put the pan in the fridge for about 2 hours. Before slicing, leave it on the counter for 5 minutes. The chocolate will still be firm, but it won’t break into large pieces as soon as the knife touches it.
A small tip. Coconut oil softens at room temperature, so the chocolate top gradually softens along with it. If you like a light snap in the chocolate shell, keep the bars in the fridge and take them out shortly before serving.
Lindy eats these bars straight from the fridge, and on this one, I completely agree with her. After chilling, the chocolate on top becomes thin and crisp, which is exactly why we added the coconut oil, while the peanut butter layer stays soft. Try making them yourself!
9. Freezer friendly homemade Reeses cups bars for meal prep snacks
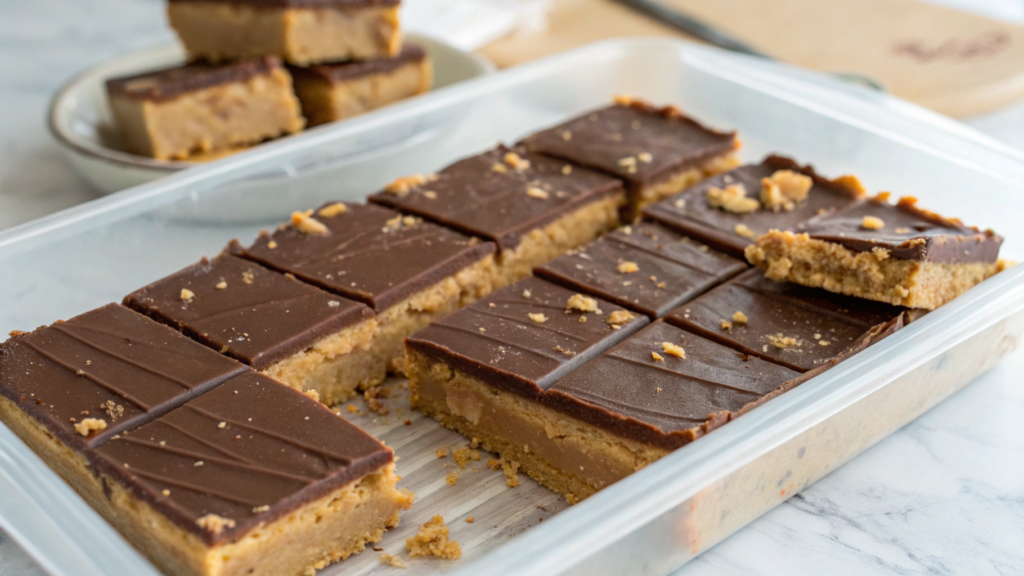
It’s convenient to have something homemade in the freezer that you can take out one piece at a time instead of defrosting a whole pan. As soon as I make these bars, I slice the whole batch, leave some for Lindy and me for the next few days, and put the rest in the freezer.
The main thing is that after thawing, the peanut butter layer shouldn’t turn watery and the chocolate shouldn’t get covered in condensation. That’s why I don’t add milk or other liquid ingredients to the filling, and I only freeze the bars once they’re completely chilled.
Ingredients
For an 8 × 8-inch pan (20 × 20 cm), you’ll need:
- 1½ cups fine graham cracker crumbs (about 150 g);
- ½ cup melted butter (113 g);
- 1 cup smooth peanut butter (about 250 g);
- ¾ cup powdered sugar (about 90 g);
- ½ teaspoon vanilla extract;
- a pinch of salt;
- 1½ cups semisweet chocolate (about 255 g);
- 2 tablespoons peanut butter for the chocolate layer.
For freezing, I use regular containers with tight-fitting lids. If the bars are going to stay in the freezer for several weeks, a good seal really does matter.
How to make
- Make the base. Mix the graham cracker crumbs with the melted butter. Transfer the mixture to a pan lined with parchment paper and press it firmly into the bottom, especially around the corners.
- Make the peanut butter layer. Combine the peanut butter, powdered sugar, vanilla, and salt. Mix until smooth, then spread it evenly over the base.
- Add the chocolate. Melt the chocolate with 2 tablespoons of peanut butter. Stir and spread it over the top, trying to keep the layer the same thickness across the whole pan.
- Chill thoroughly. Put the pan in the fridge for at least 2–3 hours. Before freezing, all the layers should be completely firm, otherwise the individual pieces may stick together.
- Slice the bars. Lift the slab out of the pan and cut it into small squares or rectangles. For the freezer, I cut them a little smaller than usual so I can take out exactly one portion later.
- Prepare for freezing. Arrange the pieces on a board or small baking sheet lined with parchment paper so they don’t touch, and put them in the freezer for about 1 hour. After that, transfer the firm bars to a container or freezer bag.
Freezing the pieces separately first is really useful here. Once they’re firm, they don’t stick together in one big block, so you can open the container and take out exactly as many as you need.
Storage. You can keep the bars in the freezer for about 2–3 months. I place parchment paper between the rows and store them in a tightly sealed container. To thaw them, I move the amount I need to the fridge for about 30–60 minutes. After that, the bars are soft enough but still hold their shape well.
In summer, Lindy and I always freeze some of the berries from the garden for fall and winter, so freezer space disappears pretty quickly. I pack the bars quite compactly into a small container and take out a few at a time. This kind of freezing is much more convenient for me than storing a whole pan of dessert.
10. Thick swirl homemade Reeses cups bars with sea salt finish
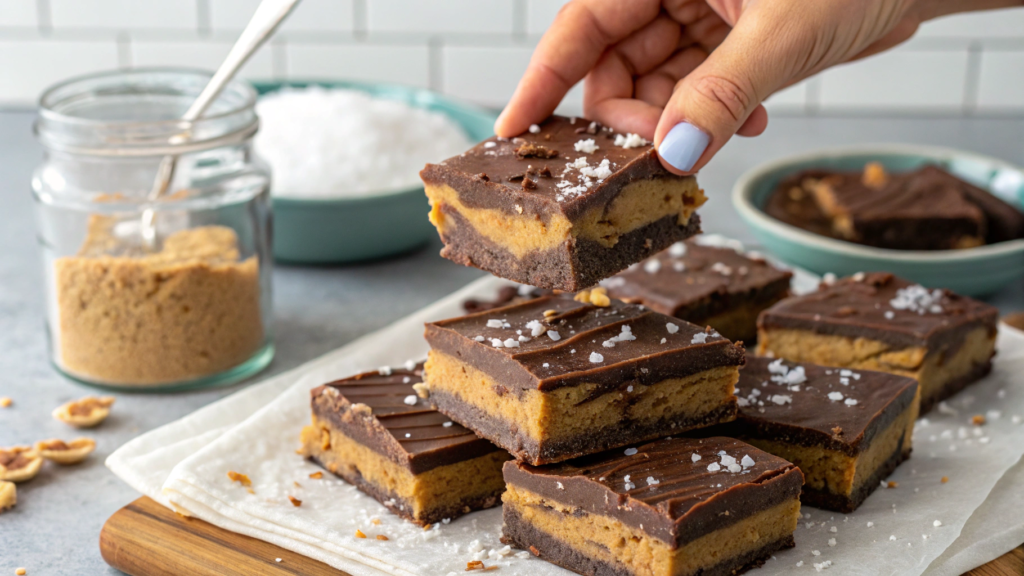
Lindy’s hand almost automatically reaches for the jar of sea salt whenever chocolate shows up in the kitchen. She knows what she’s doing, because a few large flakes on top bring out the chocolate flavor and tone down the sweetness of the peanut butter layer a little.
The thick chocolate-peanut butter swirls come out a little different every time, and I don’t try to make them perfectly even. A few flakes of sea salt on top, and they really don’t need anything else.
Ingredients
For an 8 × 8-inch pan (20 × 20 cm), you’ll need:
- 1½ cups fine graham cracker crumbs (about 150 g);
- ½ cup melted butter (113 g);
- 1 cup smooth peanut butter (about 250 g);
- ¾ cup powdered sugar (about 90 g);
- ½ teaspoon vanilla extract;
- a pinch of salt;
- 1½ cups semisweet or dark chocolate (about 255 g);
- ¼ cup peanut butter (about 65 g) for the swirls;
- ½–1 teaspoon sea salt flakes.
How to make
- Prepare the base. Mix the graham cracker crumbs with the melted butter. Transfer the mixture to a pan lined with parchment paper, spread it all the way into the corners, and press it firmly into the bottom.
- Make the peanut butter layer. Combine 1 cup of peanut butter, powdered sugar, vanilla, and a pinch of salt. Mix until smooth and spread it over the base in a fairly thick, even layer.
- Melt the chocolate. Heat it in short intervals, stirring each time. As soon as the last pieces melt, pour the chocolate over the peanut butter layer and smooth it out with a spatula.
- Add the peanut butter for the swirl. Gently warm the remaining ¼ cup of peanut butter so it becomes more fluid. Spoon it over the chocolate in several wide lines. Run the tip of a knife through both layers a few times in different directions. Two or three passes are usually enough to keep the swirls large.
- Sprinkle with sea salt. Do this right away while the chocolate is still soft. Start with about ½ teaspoon and spread the flakes across the surface. You don’t need a heavy layer of salt here.
- Chill and slice. Put the pan in the fridge for 2–3 hours. Before slicing, leave the slab at room temperature for about 5 minutes, then cut it into squares with a sharp knife.
If you keep dragging the knife through the chocolate for too long, the peanut butter will almost completely blend into it, and instead of wide swirls you’ll end up with a light brown surface. I make just a few passes and leave it alone, even if the pattern comes out a little uneven.
Storage. You can keep the bars in a sealed container in the fridge for up to 7 days. If you stack them, place parchment paper between the rows so the swirls and salt flakes don’t get damaged as much. A few minutes out of the fridge before serving is enough to let the chocolate soften slightly.
Lindy and I usually only disagree about how much salt to put on top. She would add a couple more flakes to almost every piece, while I use a little less. But we both like the combination of chocolate, peanut butter, and sea salt just the same.
Homemade Reeses cups bars with plenty of variety
By the end of this article, I’m already thinking about clearing a shelf in the fridge for another pan of bars. Desserts like these don’t stay untouched for long in our house, especially when there’s freshly brewed coffee around.
If you make one of these homemade Reeses cups bars, let me know in the comments which one you chose and how it turned out. And if you have your own way of making peanut butter chocolate bars, tell me about that too — I’m waiting for your ideas in the comments.