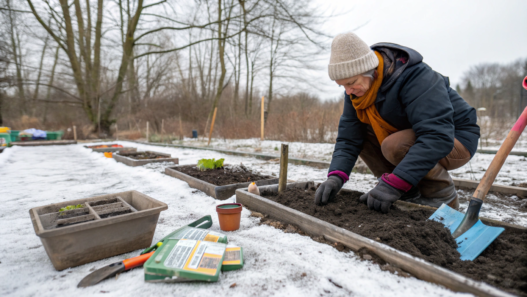
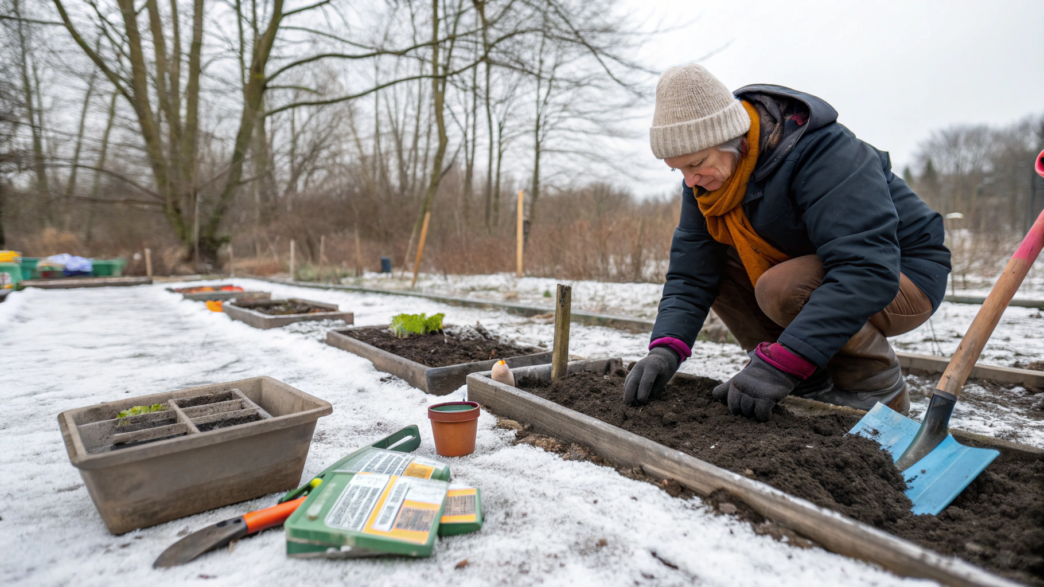
Winter is usually when I start sorting out my seeds. I check what’s left from last year, what we need to buy, which crops we’ll start as seedlings, and which seeds are worth testing for germination ahead of time.
Over time, you start to realize that a strong spring start depends a lot on how we prepare seeds in winter. How they’re stored, when to start planting, what soil mix to use, how much light to give them…
Lindy and I usually do all of this little by little. First we sort through the seed boxes, then we make a rough planting plan, and closer to the right dates we bring out the trays, soil, and lights. That way we don’t end up with one chaotic week when everything has to be done at once.
In this article, I’ve tried to put together 10 winter seed-starting strategies that help us grow strong seedlings and start harvesting earlier. Good luck!
1. Choosing the right seeds early in winter
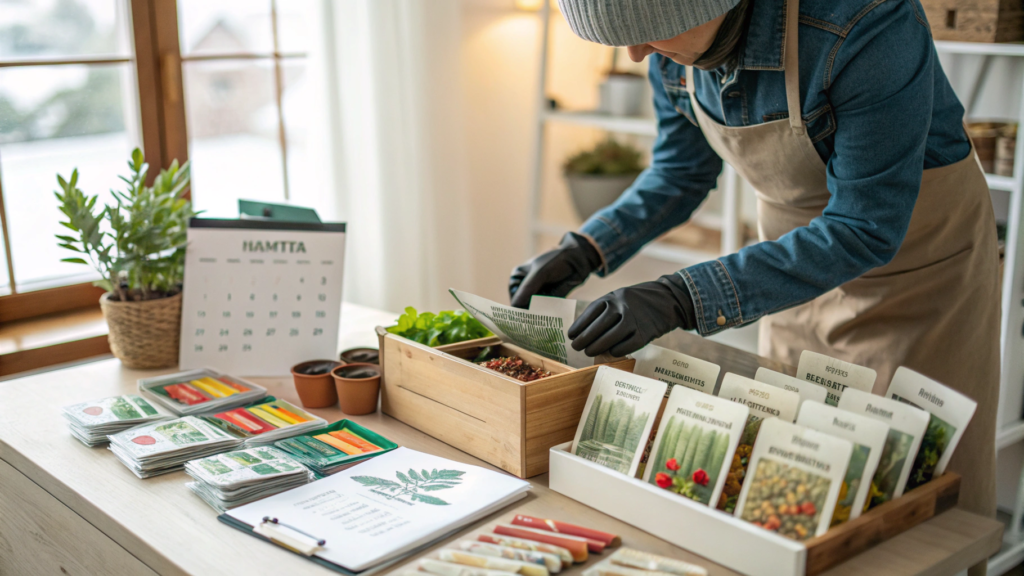
I start getting my seeds ready long before I actually need them. Usually, this happens in early winter, when I finally have time to look through what’s left from the previous season, what we want to grow again, and what no longer deserves space in the garden.
I used to buy seeds pretty randomly, without much thought. Lindy joined in on those shopping trips too, and by February we would have more seed packets than actual room in the garden.
Now I first look at our climate, days to maturity, and the space we really have for planting.
At the beginning of winter, I roughly divide the seeds into three groups:
- crops that need more time from planting to harvest, so we start their seedlings earlier — peppers, eggplants, and some tomato varieties;
- fast, cold-tolerant crops that can be sown in early spring — peas, spinach, radishes, and lettuce;
- seeds for direct sowing once the soil warms up — beans, cucumbers, zucchini, and corn.
This makes it easy to see which seeds we really need to order in winter and which ones can wait.
Consider days to maturity
There’s another important thing to look at — the number of days to maturity. With two varieties of the same crop, a difference of 15–20 days can be huge. If one tomato says 65 days and another says 85, the first one often gives us a much better chance of getting a good harvest before the cool fall nights arrive.
How to count the days
But you also shouldn’t take the number on the packet too literally. With tomatoes, peppers, and some other crops, the days to maturity on the package are usually counted from the time established seedlings are transplanted into the garden, not from the day the seeds were sown in seed trays. That’s something worth paying attention to, especially if you’re just starting to grow vegetables from seed.
Choose different maturity times
I also try to choose several varieties of the same crop with different maturity times so the whole harvest doesn’t ripen at once. With tomatoes, for example, you can choose one variety that starts producing earlier and another that needs two or three extra weeks. That way we pick the first tomatoes sooner, while the others ripen later and keep producing through the season.
For a small garden, that’s much easier than planting five varieties with almost the same maturity time and ending up with several baskets of tomatoes in a single week.
Before I add a seed packet to my shopping list, I check a few things:
- days to maturity;
- recommended planting method;
- disease resistance, if listed;
- mature plant size;
- how many plants we actually need.
That last point is especially important. It’s better to plan the number of plants ahead of time, especially when garden space is limited. One mature zucchini plant, for example, takes up quite a bit of room and can produce several fruits over the season. For a household of two, there’s often no reason to plant ten or twelve plants unless you plan to freeze, preserve, or give away part of the harvest.
I usually try to choose seeds with a specific purpose in mind. A tall sunflower can provide seeds and a little shade. Clover can cover the soil and support pollinators. Peas give us a harvest and work well with nitrogen-fixing bacteria.
And I always check our old seed stash before ordering new seeds. If I still have 40 lettuce seeds from a variety that grew beautifully last spring, there’s no real reason to buy another packet just because the new one has an especially pretty head of lettuce on the front.
Well… at least Lindy keeps trying to convince me of that.
By now, you’ve probably figured out that choosing seeds in winter doesn’t start with a catalog. It starts with knowing what we actually want to grow and why. Once that list is ready, everything else — storage, planting dates, and seedling preparation — gets much easier.
2. How to store seeds without killing germination rates
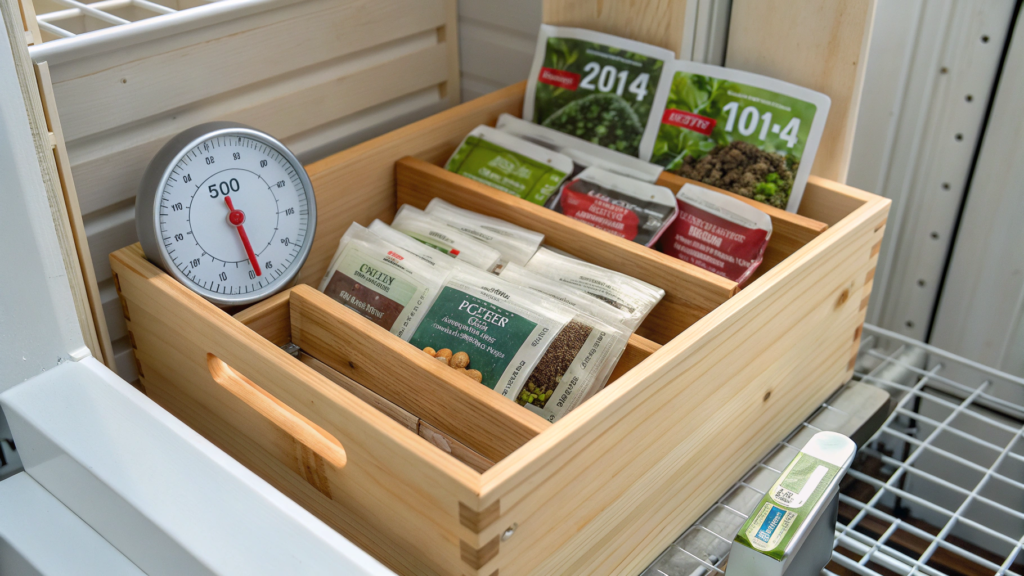
Over the years, we’ve ended up with quite a few half-used seed packets. Some seeds I bought, some I saved myself, and at first all of them just sat in a box in the pantry. I figured that as long as the seeds were dry, nothing would happen to them before the next spring.
But temperature and humidity matter for seed storage. The warmer and more humid the storage area is, the faster seeds lose their ability to germinate. The cooler and drier it is, the better they hold onto their germination rate. There’s a simple guideline — the temperature in degrees Fahrenheit plus the relative humidity should add up to no more than 100. For example, 50°F (10°C) with 40% humidity.
Dry seeds
Store-bought packets are usually easier. If the package is intact and the seeds have been stored properly, they don’t need any extra drying. But seeds collected from your own garden should never be stored while they’re still damp.
I first let bean, pea, or flower seeds dry thoroughly indoors. With some crops, this takes more than a day or two. After harvesting, bean and pea pods are best left to dry indoors for at least two weeks. Once they’re completely dry, you can open the pods and remove the seeds for storage.
And the oven definitely isn’t the answer here. Too much heat can damage the seeds and lower their germination rate. Seeds need to dry gradually, not bake.
Storing seeds in winter
For winter storage, I follow a few simple rules:
- I keep seeds somewhere cool without big temperature swings;
- I protect them from moisture;
- I keep them out of direct sunlight;
- I label the crop, variety, and year they were collected or purchased;
- I put already opened packets into a tightly sealed container.
If the seeds are thoroughly dry, the refrigerator can also work for storage. The University of Minnesota lists 32–41°F (0–5°C) as a suitable range for storing seeds and recommends using airtight glass containers.
We keep ours in a glass jar with the seed packets inside. Everything stays in one place, and I don’t have to go looking for a packet of tomato seeds between gardening gloves and a roll of twine. Although that has definitely happened before.
To keep moisture from building up inside the container, you can add a small packet of silica gel.
If the year printed on the packet has already passed, that doesn’t mean the seeds won’t germinate anymore. With proper storage, many seeds stay viable for at least another year beyond the listed season, and some types can last three years or longer. But the percentage that germinates gradually goes down.
If the bag has been sitting around for a few years, I do a simple germination test: place a few seeds on a damp paper towel and see how many germinate. If the result is good, the seeds can still be used. One or two sprouted sprouts are already a reason not to count on these seeds in the spring.
3. Pre-sprouting tricks for cold months
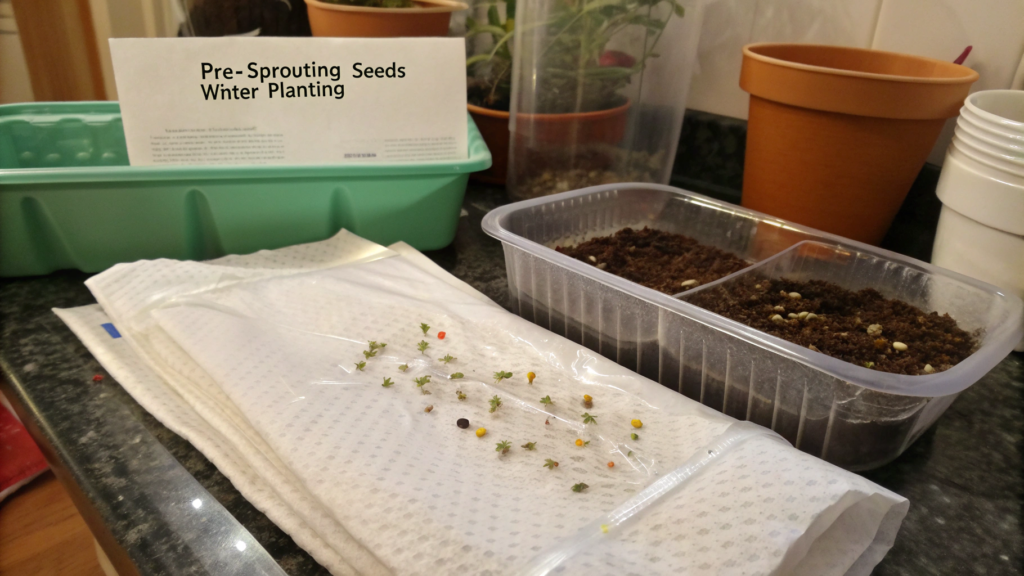
In winter, I sometimes pre-sprout seeds before they ever go into a seed-starting tray. I do this with older seeds or with crops that can take a long time to germinate and come up unevenly. Instead of staring at an empty pot for two weeks and wondering whether anything is happening in there, you can see the first root for yourself.
I usually leave this part to Lindy. She places the seeds between two layers of a slightly damp paper towel, then puts it into a sealable bag or container. I just remind her not to get the towel too wet. It should be damp, but water shouldn’t be dripping from it. If the seeds are sitting in water, they don’t get enough air and are more likely to rot.
For this, reusable zip-top bags are convenient.
Warmth matters more than the calendar
When pre-sprouting seeds, they need enough warmth. For many vegetable crops, a temperature around 70–80°F (21–27°C) helps the root appear faster. Peppers are especially sensitive to cold and can take much longer to germinate at lower temperatures.
In winter, I don’t leave pre-sprouting seeds on the windowsill. The temperature near the glass often drops at night, which slows things down. It’s better to choose a spot in the house where the temperature stays more consistent. We often use the top of the refrigerator.
If the house is cool, you can use a seedling heat mat, such as VIVOSUN Seedling Heat Mat Just. Just don’t let the mat turn the seeds into a tiny sauna. I check the temperature with my hand from time to time and don’t leave them completely unattended for several days.
Root length
This is one of those mistakes that’s easy to make the first time you pre-sprout seeds. It seems logical to wait until you have a nice long root, but in reality, that makes the seed much harder to transplant.
The seed is planted in soil once a small white root develops, usually about 3–6 mm long. At this stage, the seed needs to be handled very carefully without touching the root, then placed in a small hole in the soil.
Tweezers make the process easier than using fingers. The seed can be held gently by the outer shell while being planted.
The root is extremely delicate, and damaging it at this stage can stop the seed from growing.
There’s another reason not to wait too long before transplanting. If the root grows deeply into the fibers of the paper towel, it can be hard to separate without damaging it. I’ve had one of those attempts before…
I don’t see much point in pre-sprouting every seed you have. Carrots, radishes, and many other crops are easier to sow directly where they’ll grow. But I sometimes use this method for older tomato, pepper, or eggplant seeds. It also makes it easy to see which ones are actually worth moving into seed-starting trays and which ones are no longer going to germinate.
4. DIY seed organization for the winter season
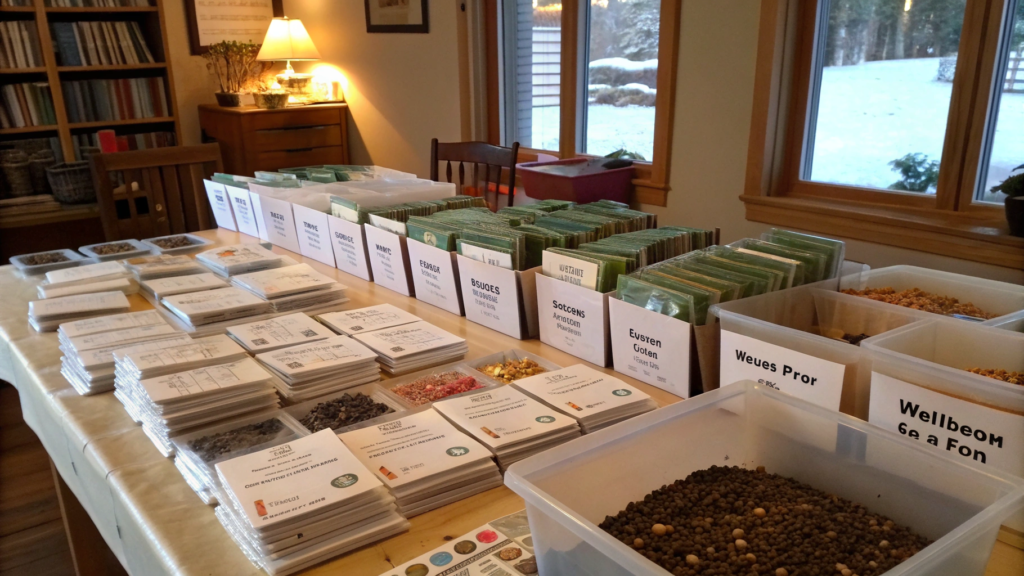
By the middle of winter, we usually already have several groups of seeds. Leftovers from last year, new purchases, seeds we saved ourselves, and a separate stack that still needs to be tested for germination. If everything gets stored together, it’s very easy in spring to buy a second packet of something you already have or forget about a good variety sitting at the bottom of the box.
So in winter, I do a quick seed inventory. I want to be able to find the crop I need in a few seconds and immediately see how old the seeds are.
Lindy usually spreads the packets out on a big table while I check the labels. Half an hour later, instead of one big pile, we have a pretty clear system. And these simple steps really do save a lot of time in spring.
Sorting seeds by crop
I find it easiest to make separate groups for tomatoes, peppers, greens, root vegetables, legumes, flowers, and any other crops we have a lot of. If you only have a small seed collection, you can use broader groups like vegetables, herbs, and flowers.
Then I check each packet and add the variety and the year it was bought or collected if that information is missing. This matters especially with seeds we save ourselves. By spring, a packet labeled “red tomatoes” isn’t very helpful.
For storage, even a regular photo organizer box with separate compartments works well, as long as the seed packets fit inside.
I arrange the seeds so that the ones I’ll need first are easiest to reach. Peppers and tomatoes, which we sow for seedlings earlier, don’t end up buried behind beans or cucumbers that we won’t need until later. This also means I don’t have to dig through the whole box again when seed-starting season begins.
A separate place for older seeds
I don’t mix seeds from previous years with new ones. They have their own section, and during winter I decide which packets are still worth keeping. If we liked the variety and there are enough seeds left, I do a germination test. If the germination rate is very low, I throw them out so I’m not relying on them in spring.
I also keep a separate group of seeds that should be used first. If I have an older packet of a favorite variety, I use those seeds before opening a new one.
I don’t need a perfect storage system. The main thing is being able to find the seeds I need quickly and know how old they are. If I don’t have to dig through the entire box to do that, then the setup is doing its job.
We used to keep seeds in a few paper bags, an old tin, and two different drawers in separate rooms. Finding the right variety in spring became a whole project of its own. Now the main collection stays in one place, and I definitely don’t want to go back to the old way of searching for everything.
5. Picking the perfect time to start seeds indoors
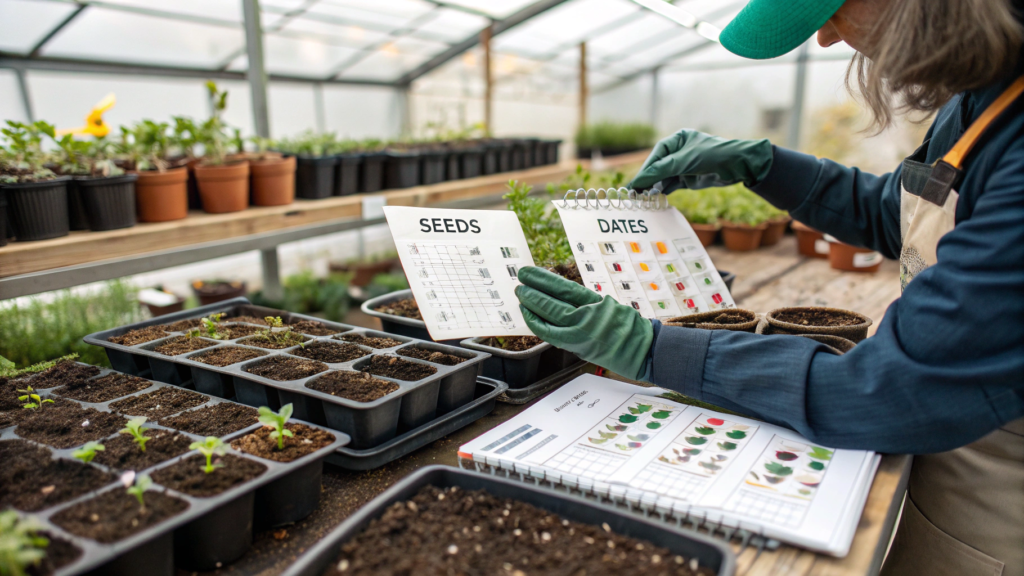
Starting seeds too early can seem like a good idea at first. The plant gets more time to grow, so it should be stronger by spring, right? I thought the same thing in my first few years. But by the time planting season arrived, some of the seedlings were already stretching, their roots were getting crowded in the pots, and there were still several weeks to go before the weather outside was warm enough.
Now I don’t go by the month on the calendar. I start with the approximate date of the last spring frost in our area and count backward from there, depending on how many weeks each crop needs before it can be transplanted into the garden.
For example, if the last frost usually ends around May 15, the schedule might look like this.
| Crop | When to usually start seeds indoors | Example for transplanting around May 15 |
| Peppers | 8–10 weeks before | early to mid-March |
| Eggplants | 8–10 weeks before | early to mid-March |
| Tomatoes | 6–8 weeks before | mid-March to early April |
| Broccoli | 4–6 weeks before | early to mid-April |
These dates won’t work exactly the same way in every garden. Spring arrives at different times in different regions, and the last frost date is still only a guideline, not a guarantee. One year the weather lets you transplant earlier, and the next year you may have to wait.
Earlier isn’t always better
If you start tomatoes in January just to get bigger seedlings, you may end up creating more problems than benefits by spring. The plants have to stay indoors longer, they need more light and space, and their roots gradually fill the entire pot.
Older seedlings can also have a harder time with transplanting. So I’d rather have seedlings at the right age than the biggest plants possible, and get them into the garden before they become crowded in their pots.
Peppers are a little different. They germinate more slowly and grow more slowly during the first few weeks, so they’re usually started earlier than tomatoes. That’s why I never choose one single day to start all of my seedlings.
When to start seeds for seedlings
This calculation only takes me a few minutes. I take the expected transplanting date and check the recommendations for that crop on the seed packet.
If tomatoes are supposed to grow indoors for 6–8 weeks before transplanting into the garden, I count those weeks backward from the expected transplanting date. Then I allow a few extra days for the seeds to germinate. That makes it much easier to choose the right sowing date than starting everything on the same day every year.
Seed packets often already tell you how many weeks before the last frost the seeds should be started. That’s why I try not to throw the packet away as soon as I move the seeds somewhere else.
It also helps to write down your actual dates. If the tomatoes were already too big by transplanting time last year, I start them a week later the next season. If the peppers barely had time to grow, I do the opposite. After a few seasons, those notes become much more useful than any universal chart.
And we don’t get a perfect spring two years in a row either. Sometimes Lindy is already looking for a spot outside for the seedlings, while I’m checking the forecast and saying they need to stay indoors for a few more nights. In the end, we still go by the weather, not just the dates on the calendar.
6. Soil mixes that boost early germination
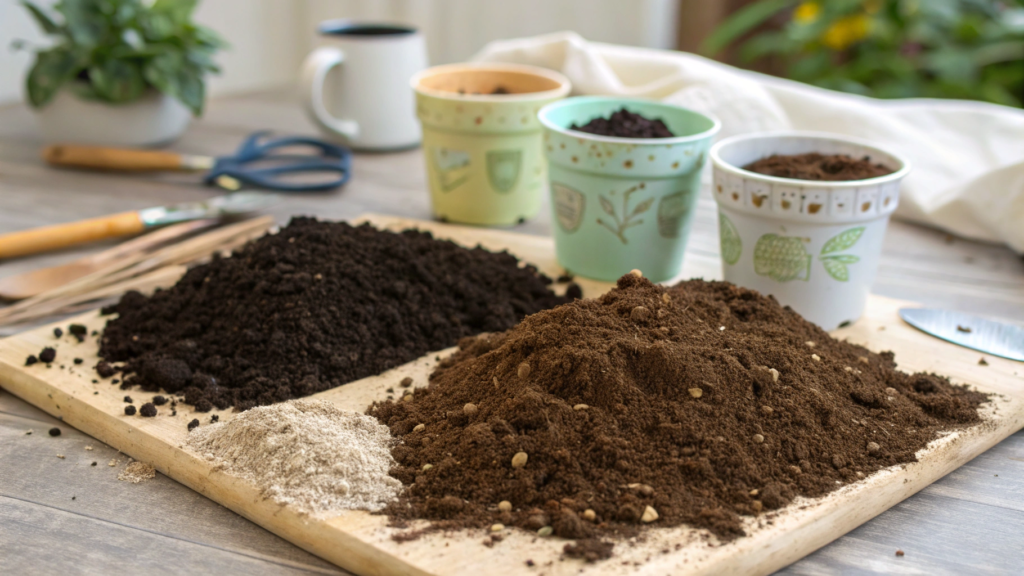
When we first started growing seedlings, I would just scoop regular garden soil into small cups. Eventually, it became clear that a light seed-starting mix works much better for germination.
For sowing, I now use a light, fine-textured mix that holds moisture well but still has plenty of air. Heavy garden soil can compact after a few waterings, which makes it harder for tiny roots to push through.
And bringing soil straight in from the garden can also bring weed seeds, fungi, and tiny pests into the house. That’s why we prepare our seed-starting mix separately.
What I add to the mix
During the first few weeks, seeds don’t need especially rich soil. Until the first true leaves appear, the seedling mostly relies on the nutrients already stored inside the seed. At this stage, moisture, air, and the right temperature matter much more.
For a homemade mix, I usually use just a few simple ingredients.
- Coconut coir or peat moss makes up the base and helps hold moisture.
- Perlite keeps the mix loose and helps excess water drain away.
- A small amount of finely screened compost can be added for structure and nutrients, although it isn’t necessary for germination itself.
I mix about two parts coconut coir or peat moss with one part perlite. If I add compost, I only use a small amount. The mix should crumble easily in your hand instead of turning into a heavy, wet clump after watering.
For a small batch of seedlings, it’s easier to buy a ready-made seed-starting mix, such as Espoma Organic Seed Starter Premium Potting Soil Mix. Especially if you don’t want to store several separate bags of ingredients indoors all winter.
Add water before sowing
Lindy usually starts by moistening the mix before we fill the cells. After that, we follow a few simple rules.
- We add water a little at a time, mixing it through with our hands. If you sow tiny seeds into completely dry mix and then water heavily from above, the water can move them around or push them too deep.
- We check the moisture by hand. If you squeeze a handful of mix, it should hold its shape without releasing water.
- We fill the cells loosely without packing the mix down too hard. Roots need air, so there’s no need to press everything firmly with your fingers.
- We follow the seed packet for planting depth. Very small seeds are often only lightly covered, while larger seeds are planted deeper.
For early germination, I always use a light, loose, evenly moist mix. It shouldn’t be too heavy, soggy, or loaded with fertilizer. At this stage, seeds mostly need moisture and air and enough room for that first root to grow.
With the right mix, seeds usually germinate better and closer together in time, and young roots have an easier time developing from the start. That’s what I look for when preparing soil for winter seed starting.
7. Seed treatments used by professional growers
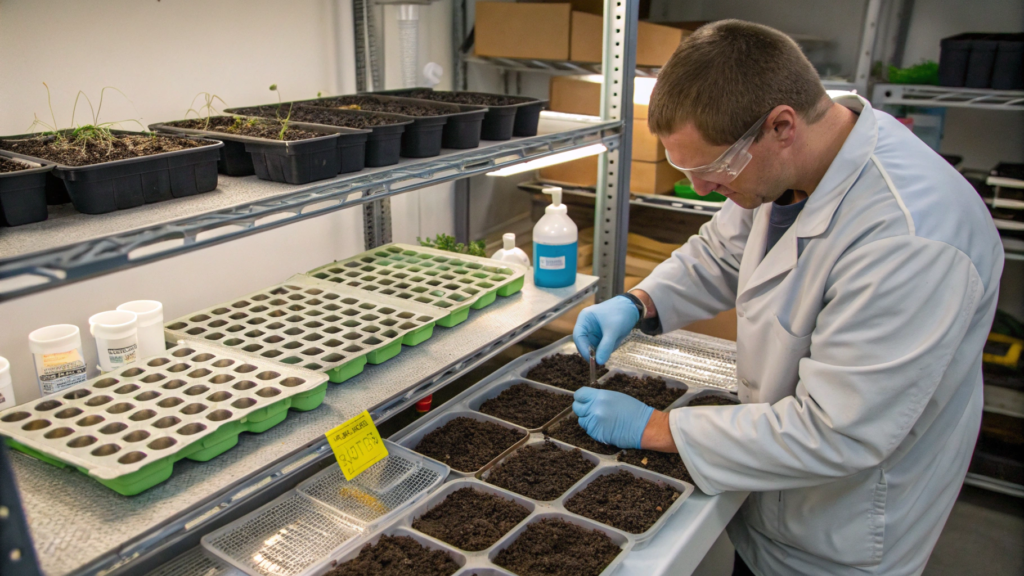
In professional growing, seeds often go through extra preparation before they’re planted. Sometimes the goal is to get more even germination, sometimes it’s to reduce the risk of disease, and some seeds need help absorbing water or going through a cold period first.
I don’t try to copy these methods at home just because large growers use them. What matters more to me is understanding what each treatment is meant to do and whether those particular seeds actually need it. If any extra preparation is needed before planting, it’s usually mentioned on the seed packet.
Main seed treatments used before planting
- Seed priming. This is often used for crops where fast, even germination matters, including carrots, onions, lettuce, tomatoes, and peppers. The seeds are allowed to absorb a controlled amount of water so the early stages of germination begin, but the root doesn’t emerge yet. After planting, primed seeds usually germinate faster and more evenly.
- Hot water treatment. This method is mainly used for seeds of tomatoes, peppers, cabbage, broccoli, and other brassicas when there’s a risk of seed-borne disease. The water temperature and treatment time have to be precise, because too much heat can lower germination.
- Cold stratification. This is more common with perennial flowers, some herbs, shrubs, and trees. Seeds of lavender, echinacea, and some fruiting and ornamental plants, for example, need a period of cold. The seeds are kept in cool, moist conditions for a while to mimic winter.
- Scarification. This is used for seeds with an especially hard outer coat, including lupines, sweet peas, nasturtiums, and some legumes. The seed coat is lightly thinned or damaged so water can get inside more easily and germination can begin.
- Seed disinfection. This is used with different vegetable crops, including tomatoes, peppers, cucumbers, and brassicas, when there’s a risk of a specific fungal or bacterial disease. The treatment depends not only on the crop, but also on the particular pathogen the seeds need protection from.
All of these methods have different purposes, so professional growers don’t use every treatment on every seed. When you’re working with large quantities, it matters whether you need to speed up germination, reduce disease risk, or give a certain seed the extra preparation it needs because of how that plant naturally grows.
For my small garden, what matters more is knowing what the producer has already done and whether a particular seed needs any extra preparation. If the seeds have already been treated, I simply keep that in mind when planting. If they need stratification or another special step, I follow the instructions on the packet.
Most common vegetable seeds don’t need complicated treatment. Proper storage, the right temperature, enough moisture, and a good germination mix usually matter much more.
8. Planning seed crops for maximum early harvests
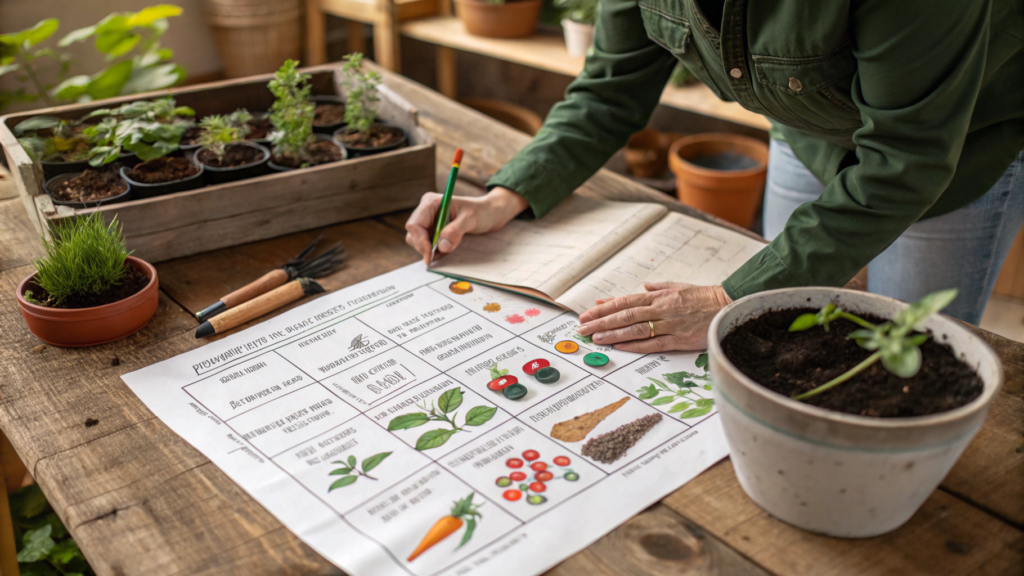
In winter, I try to look at the garden not as a set of separate beds, but as a sequence of plantings for the whole season. What can go in first, what comes next, which vegetables are better started as seedlings, and which ones can be sown several times with a short break in between.
What I plan in winter
- Early cold-tolerant crops. Radishes, spinach, lettuce, peas, and some greens can be planted before warm-season vegetables. They can already be growing while it’s still too cold outside for tomatoes, cucumbers, and beans.
- Seedlings for crops that take longer to mature. Tomatoes, peppers, eggplants, and some brassicas are started as seedlings ahead of time. By the time they go into the garden, they’re already established plants, so there’s less waiting before harvest.
- Successive sowings. I don’t sow all of my lettuce, radishes, or quick-growing greens at once. I can sow a small first batch, then another one 10–14 days later. That way the harvest becomes ready gradually.
- Varieties with different maturity times. If one tomato variety starts producing earlier and another needs two or three extra weeks, I can grow both. That way tomato season starts earlier and lasts longer.
Keep the bed growing after harvest
One of the most useful things Lindy and I do in winter is draw out a planting plan on paper. We often write down two different crops for the same garden bed.
For example, spinach might grow there in early spring. We harvest it once the weather has warmed up, then plant beans or cucumbers in the same spot. You can do something similar with radishes.
I like this much more than giving one bed to a single crop for the entire season. Early vegetables use the cooler part of spring, and later the same space goes to plants that need warmer weather.
Harvest in several rounds
I used to sow an entire bed of radishes or lettuce at once. A few weeks later, almost everything was ready to harvest at the same time, and we had more than we could comfortably use in such a short period.
Now I sow these crops in smaller batches, with a few days or weeks between them. While we’re harvesting the first batch, the next one is still growing. It’s easier both in the kitchen and in the garden because we don’t have to use an entire bed of lettuce or radishes within just a few days.
9. Using light strategically for seedlings in winter
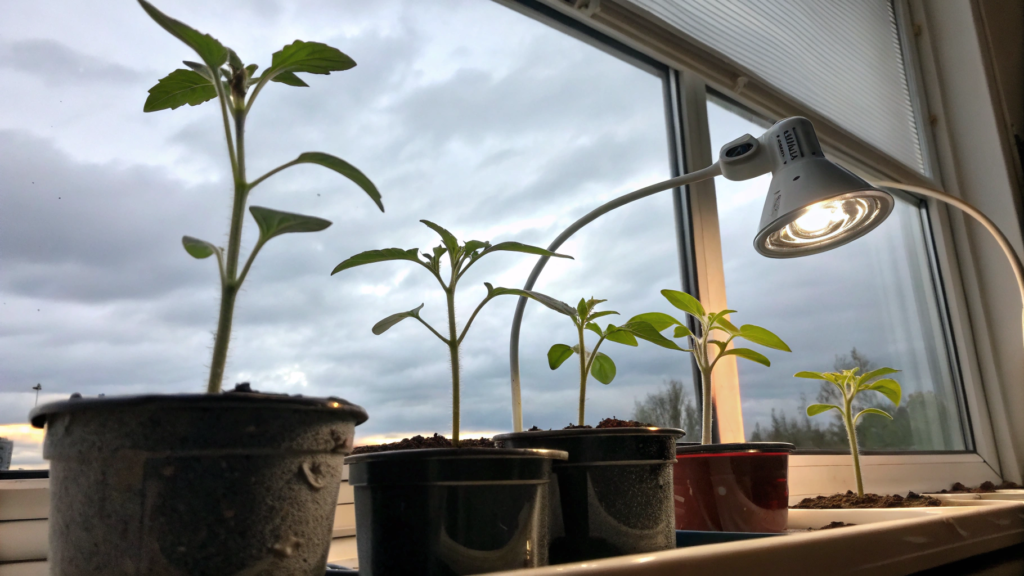
In winter, a windowsill often isn’t enough for seedlings. Even if the room looks bright during the day, young plants may still not be getting enough light, especially during cloudy weeks. That’s when the stems start stretching and become thin and fragile.
Lindy and I usually notice pretty quickly when the seedlings aren’t getting enough light. The stems stretch, the space between the leaves gets bigger, and the plants become thinner. When that happens, the first thing I check is whether they’re getting enough light.
Distance from the light
One of the most common mistakes is putting a grow light somewhere above the plants and assuming that’s enough. The farther the light is from the seedlings, the less light actually reaches them.
I keep the lights as close as the manufacturer recommends for that specific model and raise them as the seedlings grow. That keeps the light at the right height and helps prevent the plants from stretching because they aren’t getting enough light.
I also try to make sure the light comes from above, not from the side. If the lamp is off to one side, the seedlings will start leaning toward it.
How much light
For most vegetable seedlings in winter, I aim for about 14–16 hours of light a day. The easiest way is to put the lights on a timer and not have to think about it.
We turn the lights off at night. Plants need a normal dark period, so there’s no reason to leave the lights on 24 hours a day.
A timer saves a bit of extra work. I don’t have to remember the lights in the morning or walk around the house at night checking whether they’ve been turned off.
What I look for in seedlings
You can usually tell pretty quickly from the plants themselves whether they’re getting enough light.
- Long, thin stems — they probably need more light.
- Seedlings leaning strongly to one side — the light source is off to the side or the lighting is uneven.
- Leaves are too close to the lamp and start fading or drying out — the light should be raised.
- Plants stay compact, stems are sturdy, and new leaves grow normally — the lighting is probably about right.
I don’t measure the light level every day. For home seedlings, it’s usually enough to position the light properly, use a timer, and watch the plants.
10. Common winter seed mistakes to avoid
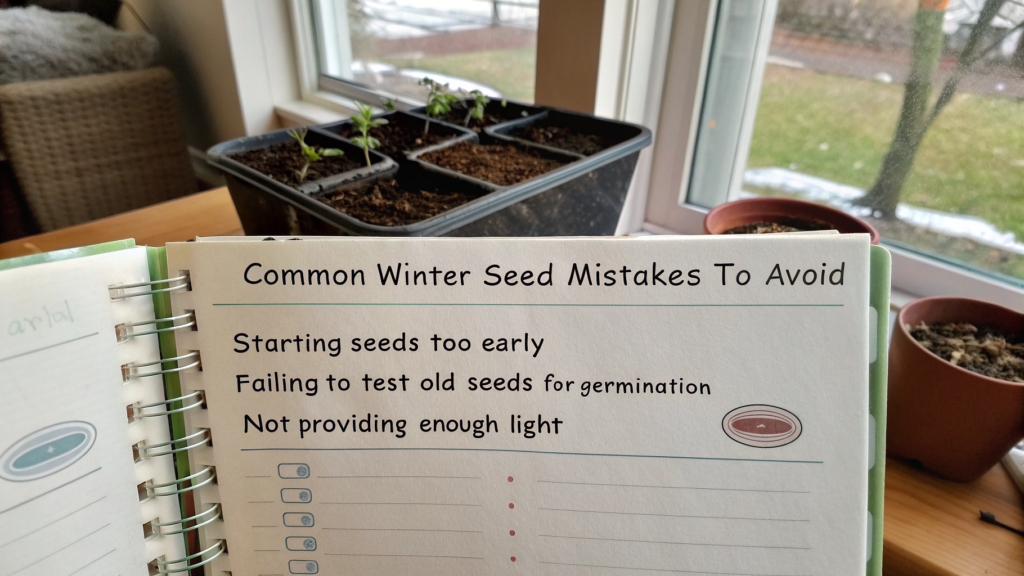
Most seed mistakes are pretty common. Something gets started too early, old seeds don’t get tested for germination, seedlings don’t get enough light — and by spring you can already see the results. Most of these mistakes can be avoided before sowing even begins.
What usually goes wrong
- Seeds are stored somewhere too warm or too humid. If the packets are kept near a radiator, in the kitchen, or in a damp room, germination rates drop faster over time. I try to keep seeds somewhere cool and dry and always write the year on the packet.
- Everything gets started too early. An early start doesn’t always mean an early harvest. If seedlings get too big before they can go into the garden, the plants become crowded in their pots, start stretching, and need much more care.
- All the seeds from an old packet are sown without checking germination first. If a packet has been sitting around for several years, I first test a few seeds on a damp paper towel. That way I know whether it makes sense to give them a whole seed-starting tray.
- The seed-starting mix stays too wet. Seeds need moisture, but constantly soggy mix is another extreme. There’s less air in it, and the risk of rot goes up. I water enough to keep the mix moist, but I don’t let water sit in the cells.
- The needs of each crop are ignored. Peppers, for example, need more warmth to germinate than many cold-tolerant vegetables, and some seeds need stratification or another kind of preparation before sowing. So I still read the back of the packet before the first sowing, even if I’ve grown that crop before.
- Seedlings don’t get enough light after they emerge. Seeds may germinate quickly on a warm windowsill, but in winter there often isn’t enough light there. The seedlings can start stretching within just a few days.
Another mistake I used to make was starting too many crops at the same time. Peppers, tomatoes, lettuce, cabbage, greens — and suddenly the whole house is full of trays, even though half of them could easily have been started later.
Now I check the seeds and dates first, and only then bring out the soil and trays. It’s much easier for me to start with the few crops that are actually ready and leave the rest until their time comes.
Most seed problems don’t start with some complicated mistake. They usually come from rushing or missing small details. So I’d rather spend a little extra time in winter than spend spring wondering why something didn’t germinate, stretched too much, or was started too early.
Seed check
I do most of this work without rushing. While it’s still winter outside, there’s time to test old seeds, fix last year’s mistakes, and decide what’s actually worth growing in the new season.
Then the first little green loops start appearing in the trays, and suddenly the whole winter plan turns into a real garden. I love this time of year!
If you also start getting your seeds ready long before spring, tell me in the comments what you do first in winter. Maybe you have your own storage method, a favorite seedling trick, or one mistake you never want to make again. I’d love to hear what you grow and how it goes in your garden.