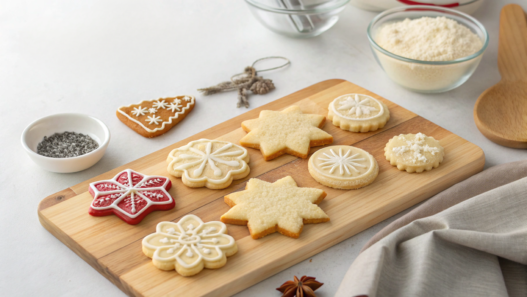
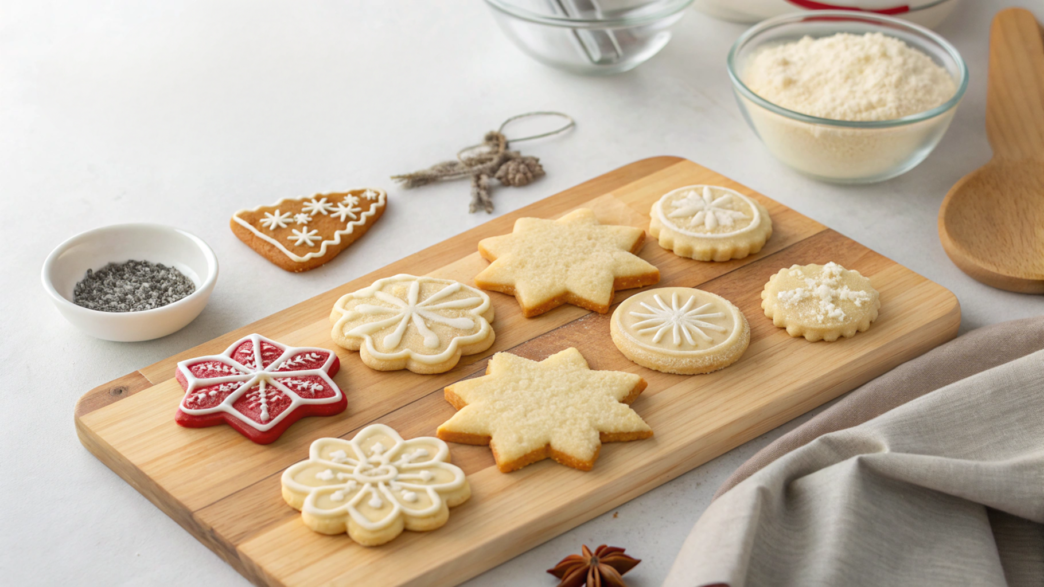
Sugar cookies seem like one of the simplest things to bake at home, but they’re also what I’ve experimented with the most over the years. I changed the proportions just a little, removed one ingredient, or added something different to the dough, and the result came out different every time.
I have a few cookie cutters that I pull out almost every year, a favorite jar of sprinkles, and a habit of always leaving a couple of cookies undecorated. But I still haven’t found one recipe that works for every situation. Sugar cookie recipes are so easy to adjust for a specific purpose, and that’s probably one of the reasons I keep baking them.
In this article, I’ve collected 10 Sugar Cookie Recipes that I really do bake often. They’re all simple enough and easy to make in any home kitchen.
1. Classic soft sugar cookies that stay chewy for days
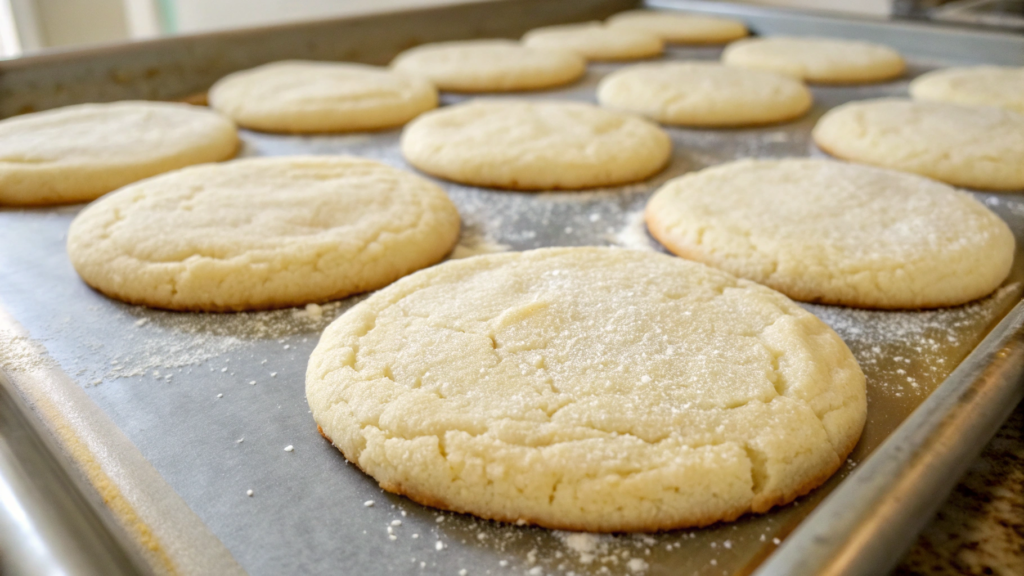
When making soft sugar cookies, you don’t want to wait until they turn a pretty golden color. By that point, the center has already started to dry out. That’s why I take the cookies out of the oven earlier, when the edges have just set and the center still looks soft.
The first couple of times, Lindy looked at the baking sheet and asked if they were really done. They were! After coming out of the oven, the cookies stay on the hot baking sheet for a few more minutes and gradually finish cooking from the residual heat. That gives the center enough time to set without drying out.
The dough itself is pretty simple. But it’s important not to overload it with flour or mix it longer than necessary. Once cooled, the cookies stay soft inside with a slightly chewy center, and they don’t turn dry even after a few days.
Ingredients
For 16–18 cookies, you’ll need:
- ½ cup unsalted butter, at room temperature (113 g);
- ¾ cup white sugar (150 g);
- 1 large egg;
- 1½ teaspoons vanilla extract;
- 1½ cups all-purpose flour (about 190 g);
- ½ teaspoon baking powder;
- ¼ teaspoon baking soda;
- ¼ teaspoon salt;
- 2 tablespoons sugar for coating.
How to make soft sugar cookies
- Cream the butter and sugar. Put the softened butter and sugar in a large bowl and beat for about 2 minutes. The mixture will become lighter and increase slightly in volume. That’s enough.
- Add the egg and vanilla. Mix until smooth. I usually run a spatula around the sides of the bowl once so there isn’t any butter left at the bottom that the mixer didn’t reach.
- Add the dry ingredients. In a separate bowl, mix the flour, baking powder, baking soda, and salt, then add everything to the butter mixture. Mix only until the last dry streaks of flour disappear. At that point, you can turn off the mixer.
- Shape the cookies. Use about 1½ tablespoons of dough for each cookie. Roll into balls, lightly press the top of each one into the sugar, and arrange them on the baking sheet about 2 inches (5 cm) apart.
- Bake at 350°F (175°C) for about 9–11 minutes. Watch the edges first: they should already hold their shape, while the center will still look quite soft. Don’t wait for the tops to turn golden.
After baking, leave the cookies right on the baking sheet for about five minutes. They’re still very delicate, so moving them straight to a cooling rack is awkward—you can easily break one in half. After a few minutes, they hold their shape much better.
Lindy is a big fan of these cookies, so a few of them usually disappear while they’re still warm!
Storage. Once the remaining cookies are completely cool, I put them in a sealed container and leave them on the kitchen counter. Even after two or three days, the centers don’t turn dry. If the air in the house is especially dry, I sometimes put a piece of regular bread in the container. It gradually releases moisture inside the sealed container, which helps the cookies stay soft longer. The bread itself dries out and becomes firmer.
Well, I think it’s pretty clear now why I love soft sugar cookies. They stay soft for more than just the first half hour after coming out of the oven. You can bake them ahead of time, save some for the next day, and even a few days later still pull a normal, tender cookie out of the container instead of a dry little disk that makes you want to dunk it in tea immediately.
2. No-chill sugar cookies you can bake right now
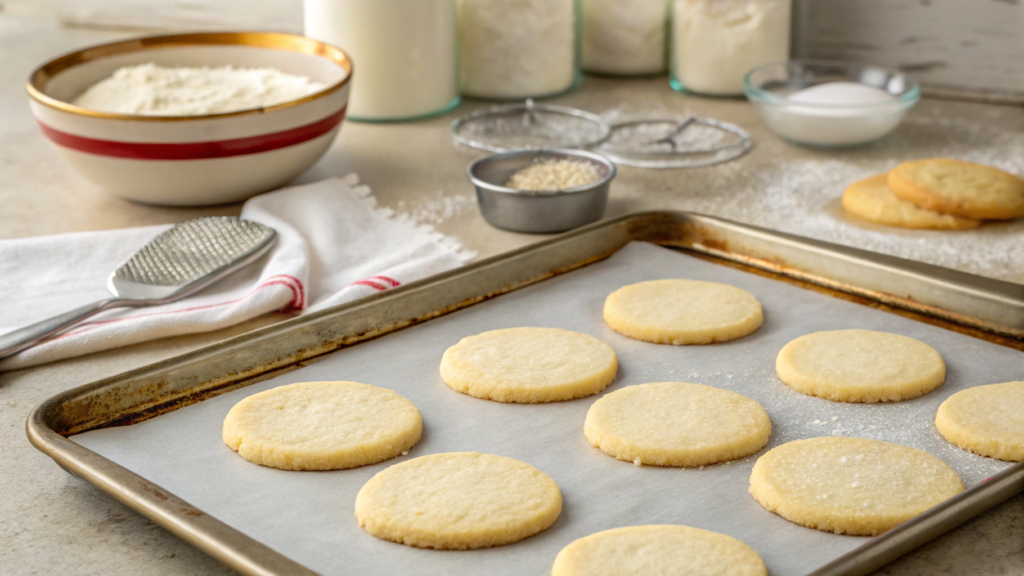
In this recipe, you don’t need to chill the sugar cookie dough before baking. Mix the dough, shape it into balls, and put the baking sheet straight into the oven. You have to admit, that’s really convenient.
One time, Lindy and I were sorting through herbs we had gathered in the kitchen and only remembered later in the evening that we had promised to bring the neighbors something to have with tea. Of course, no one was going to chill the dough for an hour or two at that point. That’s when this no-chill recipe came in handy.
With regular sugar cookies, chilling helps firm up the butter and reduces how much the dough spreads in the oven. Here, the proportions are designed so that the dough stays firm enough right after mixing. That way, the dough balls don’t turn into one big flat cookie on the baking sheet.
Ingredients
For 18–20 cookies, you’ll need:
- ½ cup unsalted butter, at room temperature (113 g);
- ¾ cup white sugar (150 g);
- 1 large egg;
- 1 teaspoon vanilla extract;
- 1¾ cups all-purpose flour (about 220 g);
- ½ teaspoon baking powder;
- ¼ teaspoon baking soda;
- ¼ teaspoon salt;
- 2 tablespoons sugar for coating.
It’s convenient to portion the dough evenly right away. A medium cookie scoop, for example, Medium Cookie Scoop on Amazon, works well for this. It helps the cookies come out about the same size and bake at the same rate.
How to make no-chill sugar cookies
- Cream the butter and sugar. The butter should be soft but not melted. Beat it with the sugar for about 2 minutes, until the mixture becomes lighter and more uniform.
- Add the egg and vanilla. Mix everything again. It’s better to take the egg out of the refrigerator about 15–20 minutes ahead of time. A very cold egg can sometimes make softened butter form small lumps again.
- Combine the dry ingredients. Mix the flour, baking powder, baking soda, and salt, then gradually add them to the bowl. The finished dough should be soft but still hold its shape easily in your hands.
If the kitchen is hot and the butter has become too soft, the cookies may spread more than they should. With a no-chill recipe, this is especially important to keep in mind.
- Shape the balls right away. Use about 1½ tablespoons of dough for each cookie. Lightly roll each ball in sugar and place it on a baking sheet lined with parchment paper. Leave about 2 inches (5 cm) between the cookies.
- Bake at 350°F (175°C) for about 9–11 minutes. The edges should become slightly firmer, while the tops will still stay fairly light. After baking, let the cookies sit on the baking sheet for about 5 minutes, then transfer them to a cooling rack.
We usually put the cooled cookies in a container and leave them on the kitchen counter. The next day, they’re still soft, although the surface becomes a little firmer. These small batches usually don’t last more than three or four days in our house, but a sealed container preserves the texture noticeably better than a plate of cookies covered with a towel.
The main advantage of this version really is the speed. It takes about 20 minutes from starting the dough to putting the baking sheet in the oven, with no separate chilling time to fit into the schedule. For sugar cookies, that saves a noticeable amount of time, while the flavor still stays very classic.
3. 3-ingredient sugar cookies for instant cravings
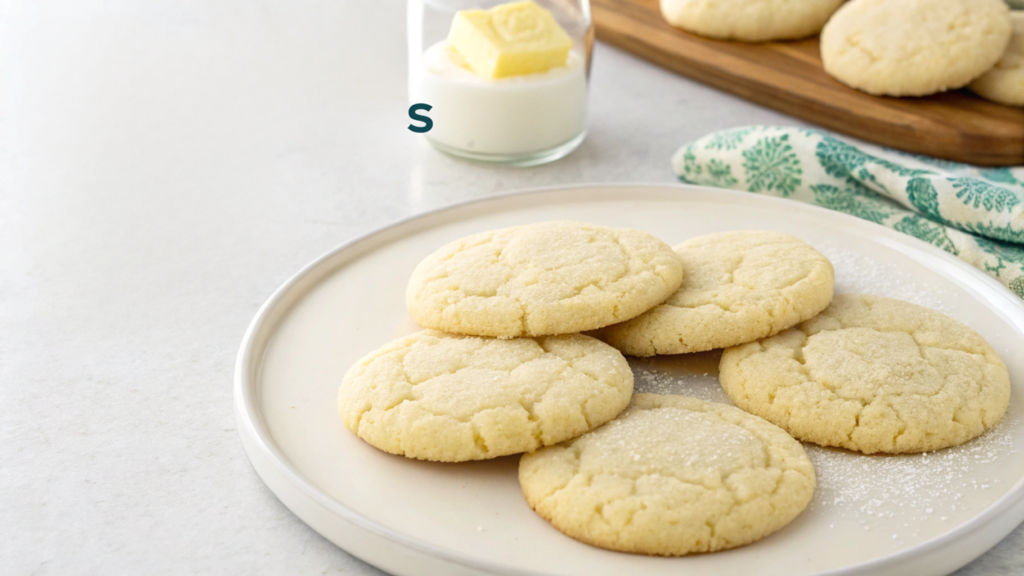
These 3-ingredient sugar cookies can be made with things you usually already have at home. No eggs, baking powder, or complicated add-ins. You get a simple, crumbly cookie with a pronounced buttery flavor.
We once made a small batch after dinner, when I had already cleaned up the kitchen and definitely wasn’t planning to start anything big. I just mixed the dough in one bowl, and twenty minutes later the cookies were already cooling on the rack.
Ingredients
For 12–14 small cookies, you’ll need:
- ½ cup unsalted butter, at room temperature (113 g);
- ⅓ cup white sugar (67 g);
- 1¼ cups all-purpose flour (about 155 g).
How to make 3-ingredient sugar cookies
- Mix the butter and sugar. Cream the softened butter with the sugar until smooth and light. You don’t need a mixer here; a regular spoon or spatula is more than enough.
- Add the flour. Add it gradually and mix until the dough starts coming together. At first, it may look a little crumbly, but after working it with your hands a few times, it will become firmer.
- Shape the cookies. Roll the dough into small balls and place them on a baking sheet lined with parchment paper. Gently press each ball down with your palm or the bottom of a glass. This dough barely spreads on its own, so it’s better to shape the cookies before baking.
- Bake at 350°F (175°C) for about 10–12 minutes. The cookies should stay light, with the edges only just starting to change color. After baking, leave them on the baking sheet for a few minutes, then transfer them to a cooling rack.
As you can see, this recipe has one particular feature. Without an egg, the cookies turn out more crumbly and dense than classic soft sugar cookies. So don’t expect the same chewy center. The texture here is different, closer to a very simple buttery cookie.
Storage. Once the cookies are completely cool, I transfer them to a jar or a container with a lid. They usually keep for a few days and stay crumbly. The main thing is not to leave them uncovered on a plate for too long, or the edges will dry out pretty quickly.
Three ingredients really do get the job done here. You can try the first cookie about 20–25 minutes after you start making them. I don’t think anyone would argue that this version is quick and convenient, especially when you don’t need a long list of ingredients.
4. Cut-out sugar cookies that hold perfect shapes

With these cut-out sugar cookies, all the shapes you cut from the dough shouldn’t spread across the baking sheet beyond recognition once they’re baked. That’s why the right thickness, chilling, and a moderate amount of leavening matter for this kind of dough. In this recipe, I skip it completely so the edges stay sharp.
We’ve collected a lot of cookie cutters over the years. Some we bought ourselves, and others were gifts from friends and relatives. Before the holidays, I usually pull out the whole box and choose a slightly different set each time—some shapes we use constantly, while others only come out once every few years.
For shaped cookies, I roll the dough to about ¼ inch (6 mm) thick. Thinner shapes dry out faster, while thicker ones need more time in the oven.
Ingredients
For 24–30 medium cookies, you’ll need:
- 1 cup unsalted butter, at room temperature (226 g);
- 1 cup white sugar (200 g);
- 1 large egg;
- 1½ teaspoons vanilla extract;
- 2¾ cups all-purpose flour (about 345 g);
- ½ teaspoon salt.
To keep the dough an even thickness, it helps to use a rolling pin with thickness rings. With shaped cookies, even a difference of a few millimeters is noticeable. Thin edges can brown before the centers of thicker pieces are done.
How to make cut-out sugar cookies
- Cream the butter and sugar. The butter should be soft but still hold its shape. Beat it with the sugar for about 2 minutes, until the mixture is smooth and slightly lighter.
- Add the egg and vanilla. Mix until smooth, then gradually add the flour and salt. The dough will be firmer than soft sugar cookie dough. It should come together into one ball and not stick to your hands.
- Chill the dough. Divide it into two parts, flatten each one slightly, and wrap it in plastic wrap. Refrigerate for about 45–60 minutes. Cold butter melts more slowly in the oven, so the cut edges have time to set before the cookies start spreading noticeably.
- Roll and cut the shapes. Lightly flour your work surface and roll out one portion of dough to about ¼ inch (6 mm) thick. Cut out the shapes and transfer them to a baking sheet lined with parchment paper.
If the dough starts sticking to the cutters and the edges stretch when you move the shapes, it has warmed up too much. Put it back in the refrigerator for a few minutes instead of adding more flour. You can gather the scraps and roll them out again.
- Chill the shapes a little longer. Put the filled baking sheet in the refrigerator for about 10–15 minutes. This short step really helps preserve small details on stars, snowflakes, and other shapes with narrow edges.
- Bake at 350°F (175°C) for about 8–10 minutes. The edges should be set but still light. Let the cookies sit on the baking sheet for about 5 minutes, then transfer them to a cooling rack.
Storage. Once the shapes are completely cool, we usually stack them in a sealed container with parchment paper between the layers. This keeps the cookies from drying out and helps them stay crumbly for several days.
After baking, the outlines stay sharp and the small details don’t spread out. That makes this dough useful for stars, Christmas trees, flowers, snowflakes, and other shapes with detailed edges that you can cover with icing afterward if you want.
5. Easy sugar cookie decorating ideas for beginners

To decorate sugar cookies, you don’t need to know how to draw complicated designs with icing. For your first attempts, I’d choose a few simple methods that don’t require perfectly straight lines or precise handwork.
Lindy and I usually decorate cookies in different ways before the holidays. We cover some with icing and add colored sugar or sprinkles to others. That way, you can try several options in one batch and quickly see which one you like best.
Ingredients
For 20–24 cookies, you’ll need:
The cookies
- ¾ cup unsalted butter, at room temperature (170 g);
- ¾ cup white sugar (150 g);
- 1 large egg;
- 1 teaspoon vanilla extract;
- 2¼ cups all-purpose flour (about 280 g);
- ½ teaspoon baking powder;
- ¼ teaspoon salt.
For decorating
- 1½ cups powdered sugar (about 180 g);
- 2–3 tablespoons milk;
- ½ teaspoon vanilla extract;
- colored sugar;
- sprinkles;
- a few drops of food coloring, if desired.
How to make sugar cookies
First, cream the butter and sugar, add the egg and vanilla, then mix in the flour, baking powder, and salt. Roll the dough out to about ¼ inch (6 mm), cut out the cookies, and bake at 350°F (175°C) for about 8–10 minutes.
Let the cookies cool completely before decorating. Icing becomes thinner on warm cookies and may start running over the edges.
Basic icing
Mix the powdered sugar with 2 tablespoons of milk and the vanilla. Stir until smooth. If the icing is too thick, add the remaining milk little by little, just a few drops at a time. It should spread easily over the cookies without running off.
You can leave the icing white or divide it into several portions and add food coloring. Then use it with any of the methods below.
Four simple ways to decorate cookies
1. Icing and sprinkles
This is the simplest option. Spoon a little icing onto the cookie and spread it over the surface. Immediately add sprinkles or colored sugar while the icing is still wet.
I usually work with four or five cookies at a time. If you ice the whole batch first, the surface on the first cookies may start to dry before you get to the sprinkles.
2. Thin icing lines
For this option, you’ll need a small piping bag. Put a little icing inside, snip off a very small tip, and pipe a few lines over the cookie. They don’t need to be identical or perfectly straight. You can make the lines run in one direction or cross them over each other.
3. Simple marbled design
Divide the icing into two portions and color one with food coloring. Cover the cookie with the first color, then add a few small dots of the second color on top. Drag a toothpick through them once or twice so the colors mix slightly.
Don’t swirl them for too long, or you’ll end up with one blended shade instead of separate streaks.
4. Colored sugar without icing
This method is done before baking. After cutting out the shapes, lightly sprinkle them with colored sugar or baking-safe sprinkles and gently press them into the surface of the dough with your fingers.
Then the cookies go straight into the oven. No icing is needed after they cool.
Storage. After decorating, leave the cookies in a single layer until the icing has fully hardened. Then you can transfer them to a container and separate the layers with parchment paper.
For a first try, I’d start with the two simplest options—icing with sprinkles and colored sugar before baking. You don’t need to know how to draw on cookies, and once your hand gets used to it, you can move on to lines, two colors, and smaller details.
6. Egg-free sugar cookie recipe that actually tastes great
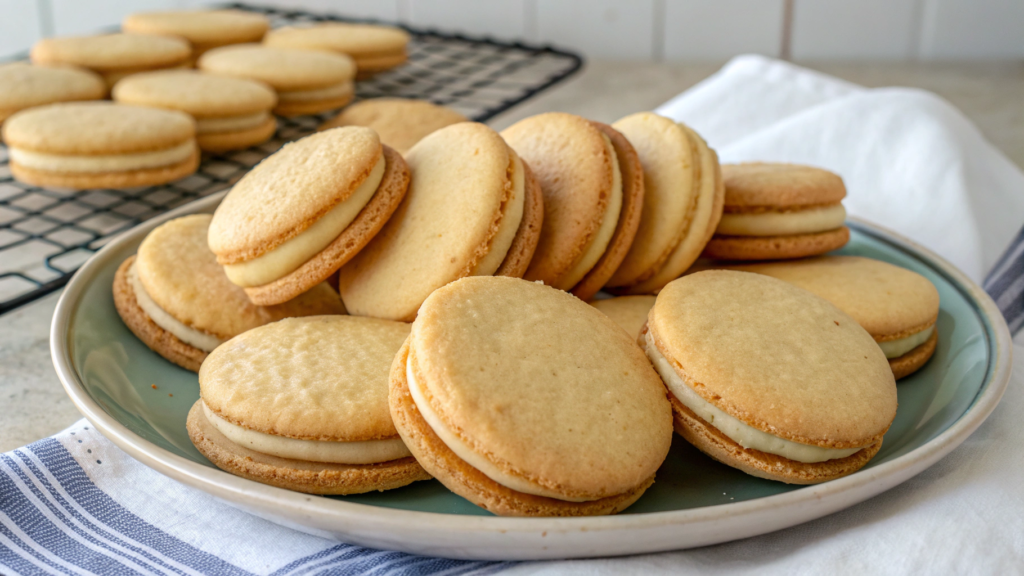
Eggs sometimes have to be left out of the ingredient list because of an allergy, and sometimes simply because there aren’t any in the house. In that case, a regular sugar cookie recipe won’t work as-is. If you just remove the egg, the dough will be drier and more crumbly. So here I adjust the proportions of the whole recipe a little and add milk. It brings back the moisture the dough needs, while the butter helps keep the texture tender. As a result, the cookies hold their shape well and don’t turn out dry.
This recipe came in handy once before a get-together with friends, when one of the guests was a child with an egg allergy. At first, I thought about making a separate small batch, but in the end I baked one batch for everyone. No one even noticed there was no egg in the dough. For me, that’s the best result with recipes like this.
Ingredients
For 18–20 cookies, you’ll need:
- ½ cup unsalted butter, at room temperature (113 g);
- ¾ cup white sugar (150 g);
- 3 tablespoons milk;
- 1½ teaspoons vanilla extract;
- 1¾ cups all-purpose flour (about 220 g);
- ½ teaspoon baking powder;
- ¼ teaspoon baking soda;
- ¼ teaspoon salt;
- 2 tablespoons sugar for coating.
How to make egg-free sugar cookies
- Cream the butter and sugar. Beat them for about 2 minutes, until the mixture becomes lighter and slightly fluffier.
- Add the milk and vanilla. Pour them into the butter mixture and mix well. The mixture may look a little uneven at first, but the dough will come together once you add the flour.
- Add the dry ingredients. In a separate bowl, mix the flour, baking powder, baking soda, and salt. Gradually mix them into the dough. It should be soft and easy to roll into balls. If the dough sticks heavily to your fingers, let it rest for 5–10 minutes. During that time, the flour will absorb some of the moisture.
- Shape the cookies. Use about 1½ tablespoons of dough for each cookie, roll into balls, and lightly coat the tops in sugar. Place them on a baking sheet about 2 inches (5 cm) apart and press them down slightly with your palm.
- Bake at 350°F (175°C) for about 9–11 minutes. The edges should firm up slightly, while the centers stay light. After baking, leave the cookies on the baking sheet for about 5 minutes before transferring them to a cooling rack.
Without the egg, the cookies are a little more tender and crumbly, so it’s better not to handle them too much while they’re hot. After a few minutes on the baking sheet, they become noticeably sturdier and can be transferred to the cooling rack without any trouble.
Storage. Once the cookies are cool, I put them in a sealed container and leave them at room temperature. The next day, they’re still soft in the center, while the edges have a pleasant crispness. That texture usually lasts for three to four days.
In the finished cookies, you can barely tell that there’s no egg, and this works perfectly well as its own version of a sugar cookie. The flavor stays buttery and vanilla-forward, and the texture doesn’t turn dry. Once cooled, the cookies hold their shape well while staying soft inside.
7. Christmas sugar cookies with old-fashioned flavor
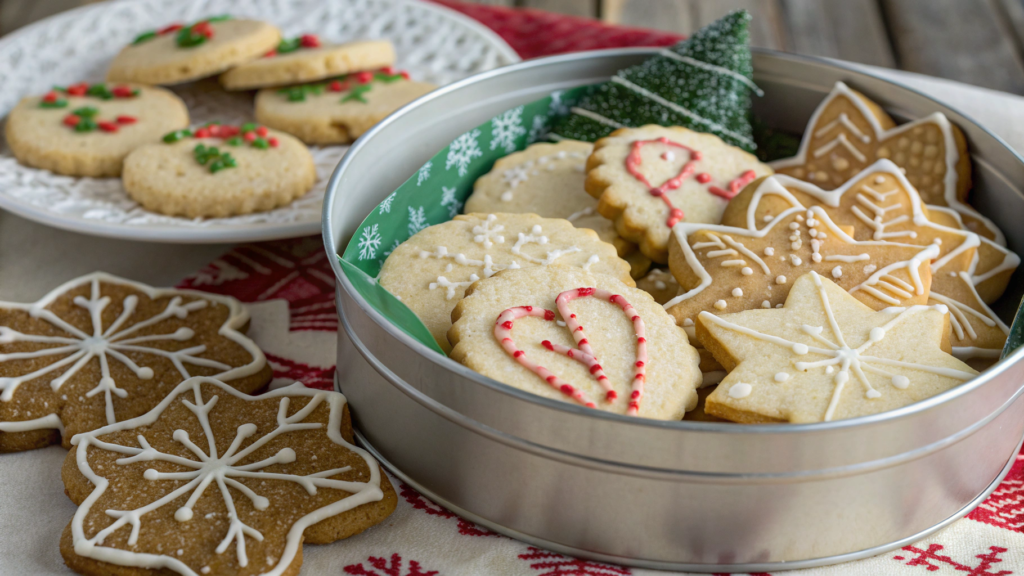
Christmas sugar cookies taste a little different from regular ones because I add nutmeg and just a small amount of almond extract. Together with the vanilla and butter, they give the cookies a more pronounced aroma that I associate with homemade holiday baking.
In December, we usually have several kinds of cookies sitting together in one big tin, and this is always the one I recognize by smell first. Lindy prefers to leave some of the shapes completely plain, with just coarse sugar on top. I usually take a few cookies and decorate them with icing.
Ingredients
For 24–30 cookies, you’ll need:
- 1 cup unsalted butter, at room temperature (226 g);
- 1 cup white sugar (200 g);
- 1 large egg;
- 1 teaspoon vanilla extract;
- ¼ teaspoon almond extract;
- 2¾ cups all-purpose flour (about 345 g);
- ½ teaspoon baking powder;
- ¼ teaspoon ground nutmeg;
- ½ teaspoon salt;
- coarse sugar or colored sprinkles, if desired.
For Christmas shapes, it’s convenient to have a set of metal cookie cutters, for example, Christmas Cookie Cutters Set on Amazon. I’d choose shapes without very thin details. Christmas trees, stars, bells, and gingerbread people are easier to transfer to the baking sheet without breaking.
How to make Christmas sugar cookies
- Cream the butter and sugar. About 2 minutes is enough. The mixture should become lighter, but there’s no need to beat a lot of air into it.
- Add the egg and extracts. Mix in the egg first, then the vanilla and almond extracts. There’s only a small amount of almond extract here. It should complement the flavor without overpowering the butter and vanilla.
- Add the dry ingredients. Mix the flour, baking powder, nutmeg, and salt. Gradually mix them into the butter mixture. The dough should come together into a soft, firm ball.
- Chill the dough. Divide it into two parts, shape each one into a flat disk, and wrap in plastic wrap. Refrigerate for about 45 minutes.
- Roll and cut the shapes. Roll the chilled dough to about ¼ inch (6 mm) thick. Transfer the shapes to a baking sheet lined with parchment paper. If you’re using coarse sugar instead of icing, lightly press it into the surface of the cookies now.
- Bake at 350°F (175°C) for about 8–10 minutes. The cookies should stay fairly light. Once the edges just start to take on a light golden color, you can take the baking sheet out of the oven.
You really only need a small amount of nutmeg for the whole batch. I once added a little more, and it almost completely overpowered the vanilla aroma. That’s why I stick to ¼ teaspoon here.
Once the cookies are completely cool, you can leave them as they are or cover them with simple sugar icing if you want. If you plan to stack the decorated shapes, let the icing dry completely first.
Storage. You can keep these cookies in a sealed cookie tin at room temperature for several days. I separate the layers with parchment paper, especially when there are stars or Christmas trees with thin edges.
Nutmeg and a small amount of almond extract give these cookies the flavor of traditional Christmas baking. At the same time, the spices don’t overpower the buttery base, so the cookies taste good even without icing. And if you’re putting together a gift box, you can decorate some of the shapes with sugar or icing.
8. Small-batch sugar cookies for nights in
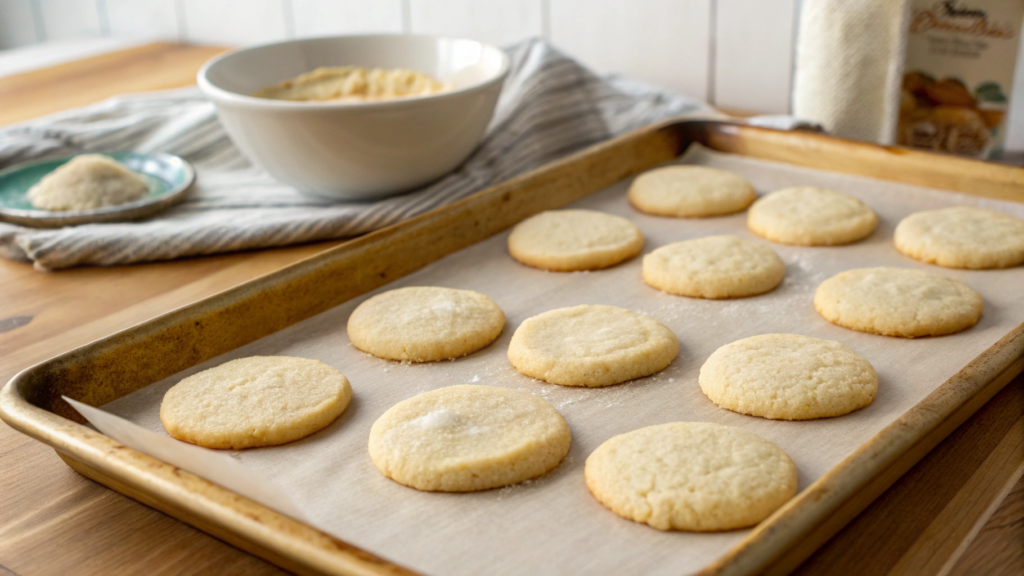
For a small batch of sugar cookies, you only need one bowl and one baking sheet, and you end up with just 6–8 cookies. That’s enough for one or two evenings.
Lindy and I often make small batches when we’re not expecting guests and don’t want to keep a whole box of baked goods around for several days. This recipe uses only one egg yolk, so even with such a small amount of dough, the cookies turn out soft and don’t dry out.
Ingredients
For 6–8 cookies, you’ll need:
- 4 tablespoons unsalted butter, at room temperature (57 g);
- ¼ cup white sugar (50 g);
- 1 egg yolk;
- ½ teaspoon vanilla extract;
- ¾ cup all-purpose flour (about 95 g);
- ⅛ teaspoon baking powder;
- a small pinch of salt;
- 1 tablespoon sugar for coating.
For batches this small, I use a small baking sheet. There’s no need to pull out a huge sheet for just a few cookies, and all the dough portions fit comfortably in one batch.
How to make a small batch of sugar cookies
- Mix the butter and sugar. Stir them together with a spoon or small spatula until smooth. You don’t even need to pull out the mixer for this one.
- Add the egg yolk and vanilla. Mix well until the yolk is fully combined with the butter.
- Add the flour, baking powder, and salt. Mix until the dough comes together. It should be soft and easy to shape with your hands.
- Shape 6–8 balls. Lightly roll the top of each one in sugar and arrange them on a baking sheet lined with parchment paper. Press them down slightly with your palm.
- Bake at 350°F (175°C) for about 9–10 minutes. The edges should be set, while the centers stay light. After baking, leave the cookies on the baking sheet for a few minutes, then transfer them to a cooling rack.
Tip. Try to make the cookies about the same size. Larger ones will need an extra minute or two in the oven, while the smaller ones may already start drying out by then.
Storage. Once the cookies are completely cool, I put the leftovers in a small container. The centers are still soft the next day. And there usually isn’t much reason to think about long-term storage here, because by then there aren’t many of the 6–8 cookies left.
A small batch is also convenient for experimenting. You can divide the finished dough in half and add a little cinnamon, zest, or sprinkles to one portion. That way, you can compare two versions in one small batch and see whether you want to add that ingredient to all the dough next time.
9. Sugar cookies with sprinkles that pop in every bite
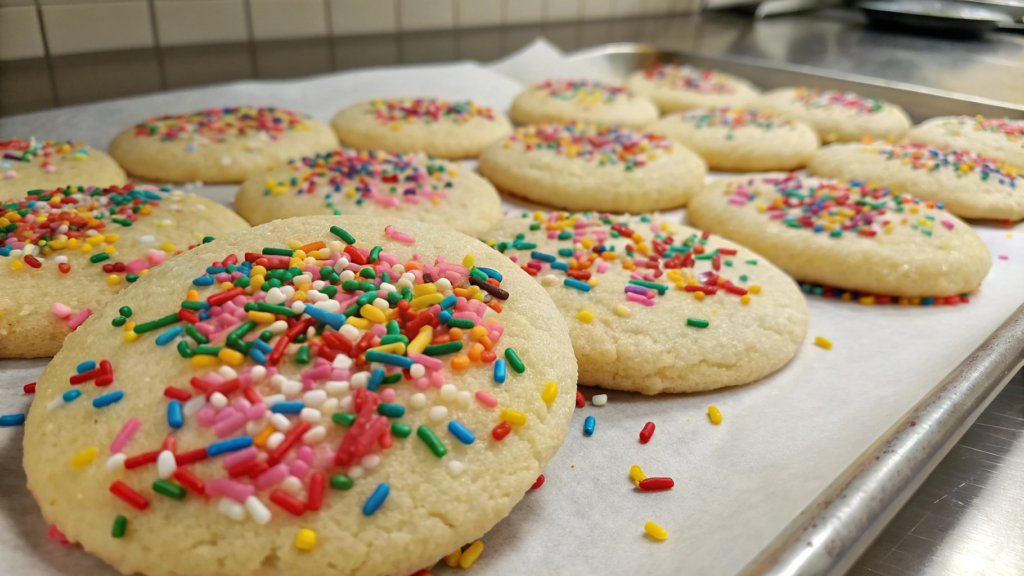
When sprinkles go directly into the dough, they spread throughout the cookie and show up in almost every bite. I use small or medium sprinkles. Large sugar balls are inconvenient here because they’re harder to mix evenly into the dough, and they can fall out while you’re shaping the cookies.
One time, Lindy and I made a batch like this for a little celebration at home and mixed sprinkles in several colors. It came out very colorful, so now I usually stick to two or three shades.
Ingredients
For 18–20 cookies, you’ll need:
- ½ cup unsalted butter, at room temperature (113 g);
- ¾ cup white sugar (150 g);
- 1 large egg;
- 1 teaspoon vanilla extract;
- 1¾ cups all-purpose flour (about 220 g);
- ½ teaspoon baking powder;
- ¼ teaspoon baking soda;
- ¼ teaspoon salt;
- ⅓ cup sprinkles.
How to make sugar cookies with sprinkles
- Cream the butter and sugar. Beat for about 2 minutes, until the mixture becomes lighter and slightly fluffier.
- Add the egg and vanilla. Mix until smooth.
- Add the dry ingredients. In a separate bowl, combine the flour, baking powder, baking soda, and salt, then gradually mix them into the dough.
- Add the sprinkles. Fold them in at the very end with a spatula. Don’t mix for too long, or some of the colored coating may start tinting the dough.
- Shape the cookies. Use about 1½ tablespoons of dough for each cookie, roll into balls, and place them on a baking sheet lined with parchment paper. Press them down slightly on top.
- Bake at 350°F (175°C) for about 9–11 minutes. The edges should be set, while the centers stay light. After baking, leave the cookies on the baking sheet for about 5 minutes, then transfer them to a cooling rack.
By the way, I don’t recommend adding more sprinkles than the recipe calls for, because the dough balls start to crumble more easily while you’re shaping them, and the finished cookies become more fragile.
Storage. Once the cookies are completely cool, I put them in a sealed container. The sprinkles inside stay a little crunchy, so you can still feel them in the soft dough the next day.
You don’t need any extra decoration after baking. The sprinkles are already mixed into the dough, so the colorful pieces are visible both on the surface and when you break the cookie open.
10. Sugar cookies with icing that hardens perfectly

For these cookies, I make a simple sugar icing that isn’t sticky once it dries and holds the design well. That means you can place the cookies in a box or stack them in layers without smudging the decoration. The icing layer stays thin and is easy to bite through along with the cookie.
Ingredients
For 18–20 cookies, you’ll need:
- ¾ cup unsalted butter, at room temperature (170 g);
- ¾ cup white sugar (150 g);
- 1 large egg;
- 1 teaspoon vanilla extract;
- 2¼ cups all-purpose flour (about 280 g);
- ½ teaspoon baking powder;
- ¼ teaspoon salt.
For the icing, you’ll need:
- 1½ cups powdered sugar (about 180 g);
- 2 tablespoons milk;
- 1 tablespoon light corn syrup;
- ½ teaspoon vanilla extract;
- a few drops of food coloring, if desired.
Light corn syrup helps the icing dry with a smoother surface and makes it less brittle once it sets. For decorating, it’s convenient to use small piping bags.
How to make sugar cookies with icing that hardens
- Make the dough. Cream the butter and sugar, then add the egg and vanilla. Mix in the flour, baking powder, and salt. Mix only until the dough is smooth.
- Roll and cut the cookies. Roll the dough to about ¼ inch (6 mm) thick, cut out the shapes, and transfer them to a baking sheet lined with parchment paper.
- Bake the cookies. Bake at 350°F (175°C) for about 8–10 minutes. The edges should be set but not deeply browned. Transfer the cookies to a cooling rack and let them cool completely before adding the icing.
- Mix the icing. Combine the powdered sugar, milk, corn syrup, and vanilla. Stir until smooth and even.
- Check the consistency. Lift the spoon and let a small amount of icing drip back into the bowl. The trail should gradually blend back into the surface. If the icing is too thick, add milk a few drops at a time. If it’s too thin, mix in a little more powdered sugar.
- Add the coloring. Divide the icing between small bowls and add food coloring. Start with one or two drops and add more if needed.
- Decorate the cookies. Cover the surface with icing, or pipe an outline first and then fill in the center. It’s better to add small details after the first layer has dried slightly.
- Let the icing dry. Arrange the cookies in a single layer at room temperature for several hours. Before placing them in a container or box, make sure the icing is no longer sticky.
There’s no need to check the icing with your finger every half hour. The surface can dry fairly quickly while the layer underneath is still soft. I usually just leave the cookies for a few hours, or overnight if I decorate them in the evening.
Storage. Once the cookies are completely ready, I transfer them to a sealed container with parchment paper between the layers. This keeps the decoration from getting damaged and helps the cookies stay soft longer.
These cookies are easy to pack into a gift box without worrying about the design getting smudged. You can give them to friends or put them out for guests. And the next day, the cookies still look just as neat and pretty as they did right after decorating.
Sugar cookie variations
When you bake over time, you start to understand which little details matter most to you. For example, I almost always take sugar cookies out of the oven while the centers are still light, and Lindy is the first to remind me not to put warm cookies into a container. Those little habits gradually become just as much a part of your own recipe as the amount of flour or sugar.
That’s why I don’t think there’s one final, correct version of a sugar cookie. A good recipe gives you a reliable base, and from there you gradually find your favorite shapes, thickness, baking time, and decorations.
Tell me in the comments what little tricks you use when making sugar cookies. I’m always interested in hearing things like that, and some ideas really do end up staying in my own kitchen.